
My Garage
My Account
Cart
Genuine Ford Taurus Crankshaft
Crank Shaft- Select Vehicle by Model
- Select Vehicle by VIN
Select Vehicle by Model
orMake
Model
Year
Select Vehicle by VIN
For the most accurate results, select vehicle by your VIN (Vehicle Identification Number).
16 Crankshafts found
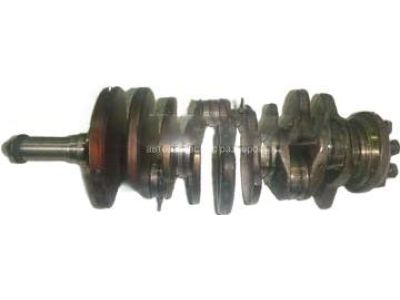
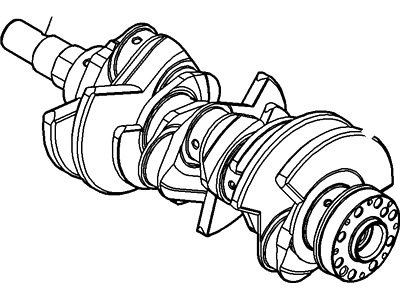
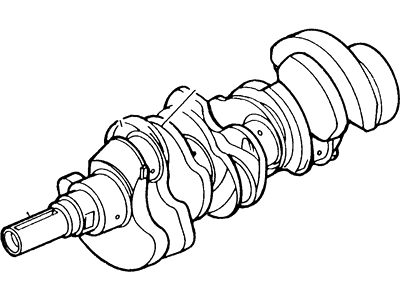
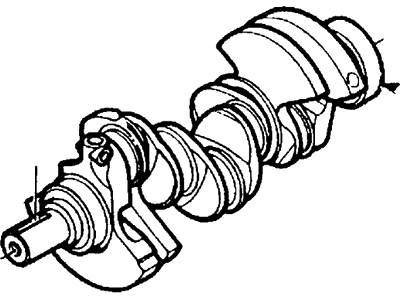
Ford Taurus Crankshaft Assembly
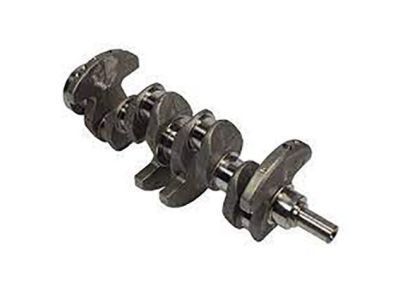
Part Number: F7DZ-6303-AA$294.59 MSRP: $434.50You Save: $139.91 (33%)Ships in 1-3 Business DaysFord Taurus Crankshaft Assembly
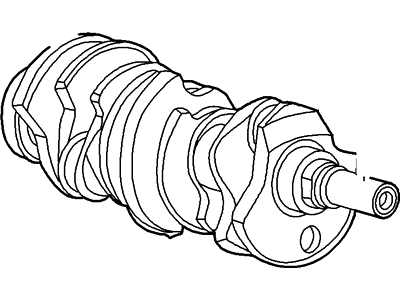
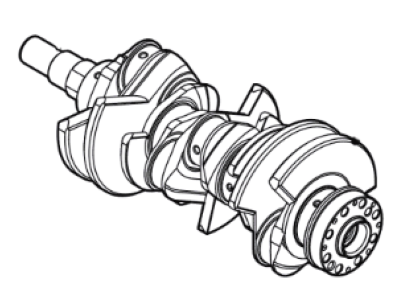
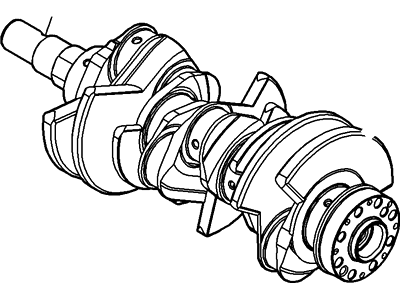
Part Number: HR3Z-6303-B$319.45 MSRP: $471.17You Save: $151.72 (33%)Ford Taurus Crankshaft Assembly
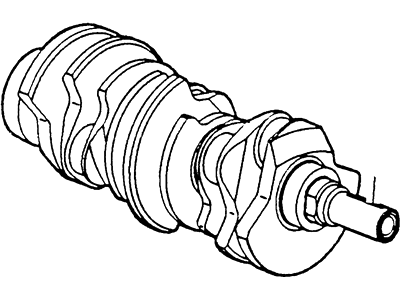
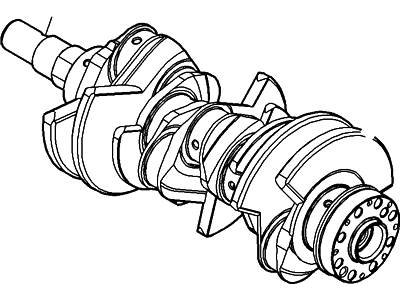
Part Number: HL3Z-6303-A$294.59 MSRP: $434.50You Save: $139.91 (33%)Ships in 1-3 Business DaysFord Taurus Crankshaft Assembly
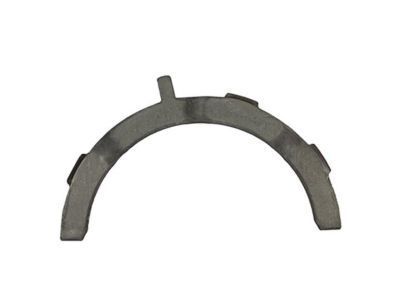
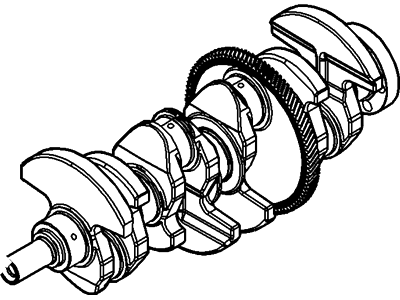
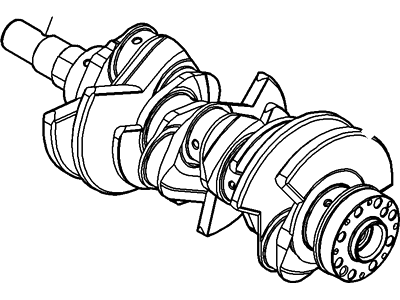
Part Number: 2F1Z-6303-AA$106.80 MSRP: $148.36You Save: $41.56 (29%)Ships in 1-2 Business DaysFord Taurus Crankshaft Assembly
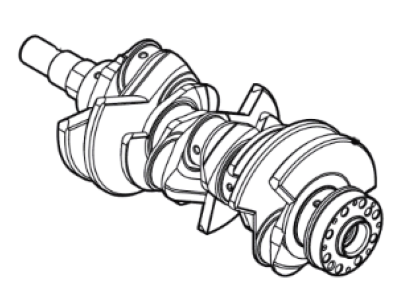
Part Number: FB5Z-6303-A$263.29 MSRP: $388.33You Save: $125.04 (33%)
Ford Taurus Crankshaft
We provide a wide range of Ford Taurus Crankshaft at the best prices possible. If you need Ford Taurus Crankshaft, you can shop with confidence on our website. All our OEM parts come with a manufacturer's warranty and are delivered to your door step with a fast delivery service.
Ford Taurus Crankshaft Parts Questions & Experts Answers
- Q: How is the crankshaft removed and installed on Ford Taurus?A:The crankshaft can only be removed with the engine out of the car provided one or more of the following components have been removed namely the driveplate, crankshaft pulley, timing chain, oil pan, oil pump body, oil filter, and or piston/connecting rod assemblies. Before removal, take an indication of end-play of the crank shaft by placing a dial gauge perpendicular to the crank shaft and zero it when the crank shaft is prodded backwards with the assistance of a screw driver. Then, pry it forward and read the figure; values of endplay will vary between 0.003" and 0.010" (0.076 to 0.254 mm). I fthe endplay is above this range, measure the thrust surfaces for wear. If no wear exists, new main bearings should alleviate the problem. In case of the absence of a dial indicator, clearance can also be measured using feeler gauges. Slightly unfasten the main bearing cap beam bolts or lower cylinder block bolts so that they can be removed by hand-this is to retain them for later identification when checking the oil clearance. In four cylinder engines, further, take out the main bearing cap support beam and for 3.0L V6 engines knock gently on the lower cylinder block. Lever slowly the crankshaft out, which should be a two-man operation because of the component's heavy weight; and tighten the main bearing caps or lower cylinder block only lightly. In installation, make sure that the engine block as well as the crank shaft are clean and checked. Place the engine block in an inverted manner; it is preferable that any beams or caps supporting the block are unbolted; clean all bearing surfaces. New main bearing inserts must be fitted on the engine block with proper orientation of the oil holes and the lower ones must be laid on the corresponding caps. Bury the crankshaft in position by fixing it on the main bearing, then clean faces of the bearings and journals of the crankshaft. The oil clearance between the main bearing should be checked and should be within the standardized limit using Plastigage. As required, remove and if needed, replace bearing inserts by the appropriate size. When all the Plastigage has been cleaned off use a light grease or assembly lube on the bearing surfaces and the thrust faces prior to replacing the crankshaft. Check that no oil is in contact with the sand and if applicable apply RTV sealant to the engine block. Fit the lower cylinder block or the main bearing caps by engaging all the bolts and tighten the same to the appropriate torque at a sequence. Check again crank end float and turn the crank to and fro to check the crankshaft has free movement free of any bind. Last of all, fit a new rear main oil seal.
Related Ford Taurus Parts
Browse by Year
2019 Crankshaft 2018 Crankshaft 2017 Crankshaft 2016 Crankshaft 2015 Crankshaft 2014 Crankshaft 2013 Crankshaft 2012 Crankshaft 2011 Crankshaft 2010 Crankshaft 2009 Crankshaft 2007 Crankshaft 2006 Crankshaft 2005 Crankshaft 2004 Crankshaft 2003 Crankshaft 2002 Crankshaft 2001 Crankshaft 2000 Crankshaft 1999 Crankshaft 1998 Crankshaft 1997 Crankshaft 1996 Crankshaft 1995 Crankshaft 1994 Crankshaft 1993 Crankshaft 1992 Crankshaft 1991 Crankshaft 1990 Crankshaft 1989 Crankshaft 1988 Crankshaft
