

My Garage
My Account
Cart
Genuine 1998 Ford Ranger Crankshaft Pulley
Crankshaft Damper- Select Vehicle by Model
- Select Vehicle by VIN
Select Vehicle by Model
orMake
Model
Year
Select Vehicle by VIN
For the most accurate results, select vehicle by your VIN (Vehicle Identification Number).
4 Crankshaft Pulleys found


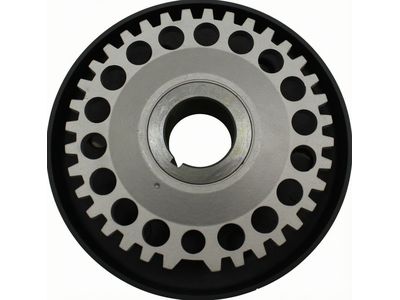

1998 Ford Ranger Crankshaft Pulley
Part Number: F87Z-6312-AA$283.24 MSRP: $393.46You Save: $110.22 (29%)Ships in 1-2 Business DaysProduct Specifications- Other Name: Damper Assembly; Crankshaft Pulley, Pulley
- Replaces: F57Z-6316-A
- Base No.: 6312
- Item Weight: 9.00 Pounds
- Item Dimensions: 8.3 x 6.8 x 6.5 inches
- Condition: New
- Fitment Type: Direct Replacement
- SKU: F87Z-6312-AA
- Warranty: This genuine part is guaranteed by Ford's factory warranty.
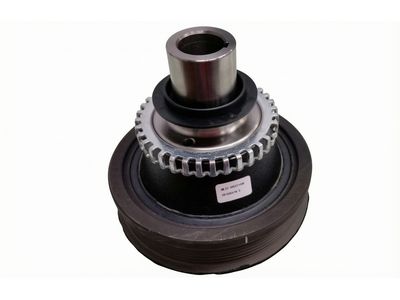
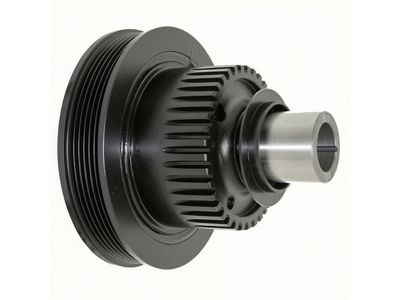
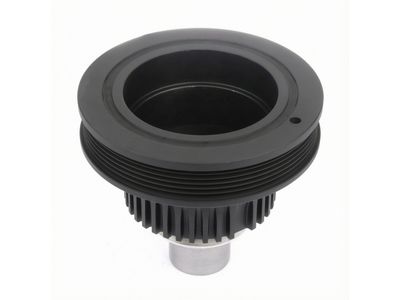
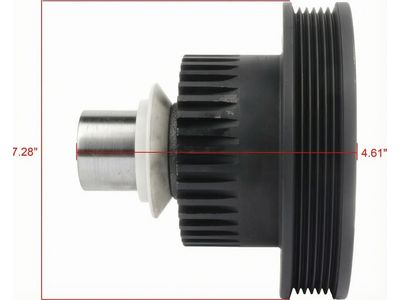

1998 Ford Ranger Crankshaft Pulley
Part Number: XL2Z-6312-BA$164.69 MSRP: $243.33You Save: $78.64 (33%)Product Specifications- Other Name: Pulley - Crankshaft
- Replaced by: 8L2Z-6B321-C
- Base No.: 6312
- Item Weight: 11.90 Pounds
- Item Dimensions: 8.8 x 8.2 x 8.5 inches
- Condition: New
- Fitment Type: Direct Replacement
- SKU: XL2Z-6312-BA
- Warranty: This genuine part is guaranteed by Ford's factory warranty.

 Product Specifications
- Other Name: Pulley - Compressor; Crankshaft Pulley, Pulley
- Base No.: 6A312
- Item Weight: 3.40 Pounds
- Condition: New
- Fitment Type: Direct Replacement
- SKU: F2TZ-6A312-A
- Warranty: This genuine part is guaranteed by Ford's factory warranty.
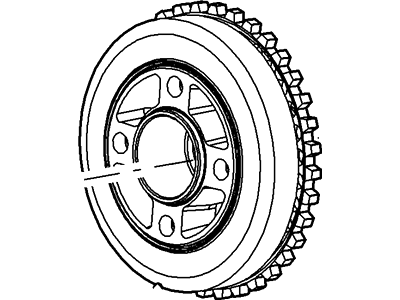 Product Specifications
- Other Name: Damper Assy; Crankshaft Damper, Damper, Vibration Damper
- Base No.: 6316
- Item Weight: 7.80 Pounds
- Item Dimensions: 9.0 x 4.4 x 8.7 inches
- Condition: New
- Fitment Type: Direct Replacement
- SKU: F7DZ-6316-AA
- Warranty: This genuine part is guaranteed by Ford's factory warranty.
1998 Ford Ranger Crankshaft Pulley
At FordPartsGiant.com, you will find an extensive inventory of genuine 1998 Ford Ranger Crankshaft Pulley offered at competitive prices online. These manufacturer-backed OEM 1998 Ford Ranger Crankshaft Pulley ensure your satisfaction with their quality and come with a hassle-free return policy and expedited delivery service, guaranteeing a delightful shopping experience.
1998 Ford Ranger Crankshaft Pulley Parts Questions & Experts Answers
- Q:How to remove and install Crankshaft Pulley in DOHC four cylinder engine on 1998 Ford Ranger?Posted by Mckayla B.A:Once the crankshaft pulley is loosened, the crankshaft sprocket will also be loosened, resulting in the engine being out of time. The installation procedure must be followed exactly to re-time the engine properly to avoid severe damage. Begin by removing the cooling fan and shroud, followed by the auxiliary drivebell and the valve cover. Set the engine to TDC. The crankshaft must be held to prevent rotation while unscrewing the pulley bolt, requiring a special tool available at auto supply stores or equipment rental locations; a suitable equivalent can be fabricated from strap steel. Avoid using a pry bar or similar tool to prevent damage to the crankshaft pulley. Insert the service tool into the pulley to hold it in place while turning the crankshaft pulley bolt with a large wrench or socket breaker-bar combination. Unscrew the pulley bolt and remove the holding tool, then take off the pulley, marking which side faces the engine. Lightly coat the crankshaft front seal with clean engine oil before installing the crankshaft pulley. Install a new crankshaft pulley bolt and hand tighten, aligning the hole in the pulley with the threaded hole in the engine front cover. Use a crankshaft pulley alignment bolt to ensure correct alignment, then tighten the crankshaft pulley bolt to the specified torque. Remove the holding tool and alignment bolt, then take out the timing pin and camshaft alignment tool. Rotate the engine clockwise two complete revolutions, then again to achieve TDC. Install the timing pin and crankshaft pulley alignment bolt; if it cannot be installed, remove and realign the crankshaft pulley, repeating the previous steps until alignment is correct. With the alignment bolt installed, check the position of the camshafts using the camshaft alignment tool; if it cannot be installed, correct the engine timing by repeating the necessary steps. Correct engine timing is confirmed when all alignment tools can be placed simultaneously. Once achieved, remove all tools and bolts, install the timing pin plug, and complete the installation by reversing the removal steps.Answered by Ford Parts Specialist Jack / Oct 18, 2023
Related 1998 Ford Ranger Parts
 1998 Ford Ranger Harmonic Balancer
 1998 Ford Ranger Camshaft
 1998 Ford Ranger Oil Pump
 1998 Ford Ranger Oil Pan Gasket
 1998 Ford Ranger Oil Pump Gasket
 1998 Ford Ranger Crankshaft Gear
 1998 Ford Ranger Oil Pan
 1998 Ford Ranger Crankshaft
 1998 Ford Ranger Rod Bearing
 1998 Ford Ranger Crankshaft Thrust Washer Set
 1998 Ford Ranger Cam Gear