
My Garage
My Account
Cart
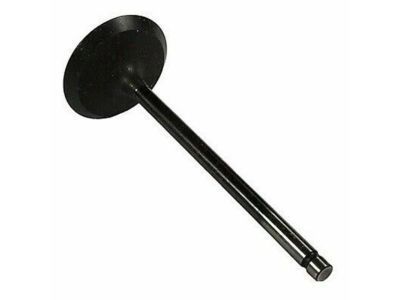
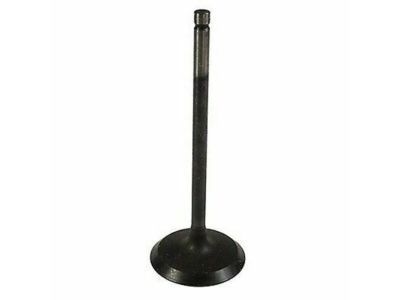
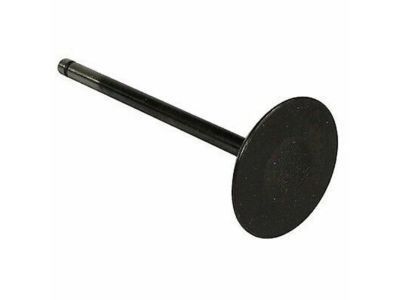
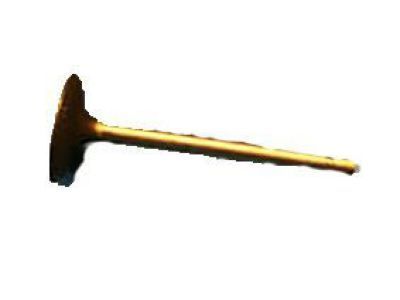
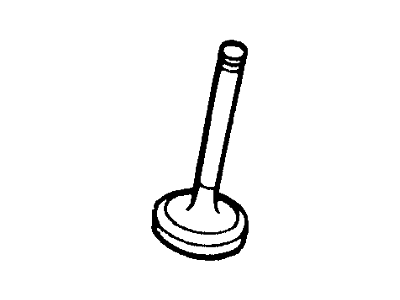
Genuine Ford Taurus Intake Valve
Engine Intake Valve- Select Vehicle by Model
- Select Vehicle by VIN
Select Vehicle by Model
orMake
Model
Year
Select Vehicle by VIN
For the most accurate results, select vehicle by your VIN (Vehicle Identification Number).
12 Intake Valves found
Ford Taurus Inlet Valve
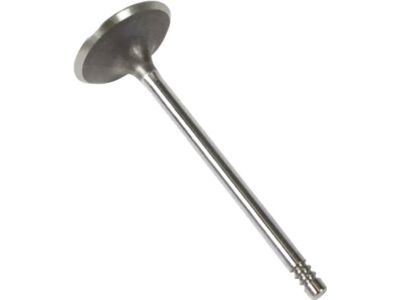
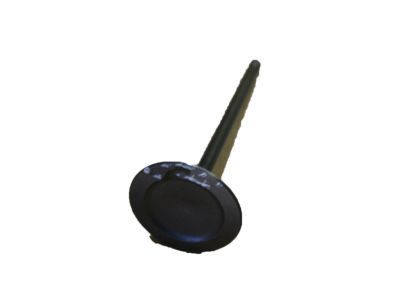
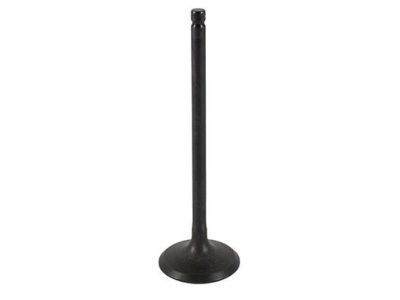
Part Number: 7T4Z-6507-B$18.28 MSRP: $26.03You Save: $7.75 (30%)Ships in 1-3 Business DaysFord Taurus Inlet Valve
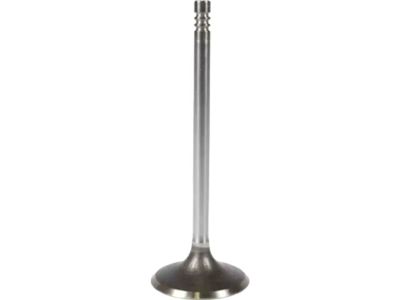
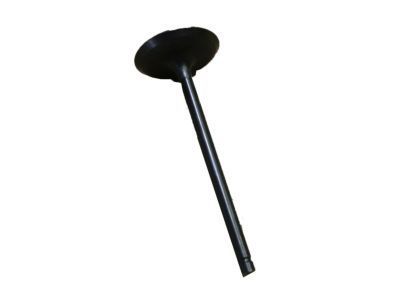
Part Number: AA5Z-6507-A$9.50 MSRP: $13.88You Save: $4.38 (32%)Ships in 1 Business DayFord Taurus Inlet Valve
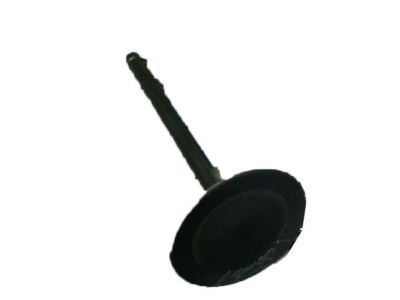
Part Number: 1S7Z-6507-B$17.12 MSRP: $24.38You Save: $7.26 (30%)Ships in 1-3 Business DaysFord Taurus Inlet Valve
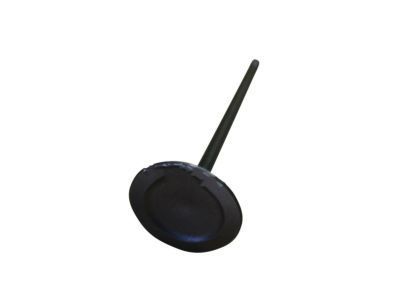
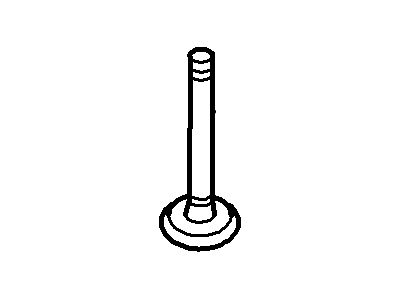
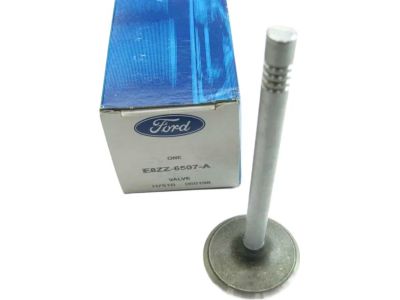
Part Number: E8ZZ-6507-A$53.22 MSRP: $82.13You Save: $28.91 (36%)Ships in 1-3 Business DaysFord Taurus Inlet Valve
Part Number: F6DZ-6507-A$27.84 MSRP: $40.70You Save: $12.86 (32%)Ships in 1-2 Business Days
Ford Taurus Intake Valve
Intake Valve in Ford Taurus is very vital part which helps in to control the air-fuel mixture through the path and helps in boosting up the performance of the vehicle's engine. These valves must open and close after particular time intervals, failure to do so will lead to enhanced poor combustion and reduced engine power. Traditional submissions setting have been delivered in ford Taurus in the past with minor differences in weight and rather notable differences in the strength of the intake valves. Intake Valves are one of the key components required to be replaced on time in order to avert a serious break in the Ford Taurus engine and gauging the value of this part in the general functionality of this car engine.
We provide a wide range of Ford Taurus Intake Valve at the best prices possible. If you need Ford Taurus Intake Valve, you can shop with confidence on our website. All our OEM parts come with a manufacturer's warranty and are delivered to your door step with a fast delivery service.
Ford Taurus Intake Valve Parts Questions & Experts Answers
- Q: How to Measure and Replace Valve Lifters to Achieve Correct Valve Clearance on Ford Taurus?A:Disconnect the cable from the negative terminal of the battery, then remove the spark plugs and the valve covers. Using a socket and a breaker bar on the crankshaft pulley center bolt, rotate the engine until the cam lobes on the cylinder to be checked are pointing away from the lifters. Measure the clearance of the valves with a feeler gauge, ensuring that the gauge has the specified thickness; if the clearance is correct, a slight drag should be felt when pulling it out. Record each measurement and compare them with the desired valve clearance found in the specifications, noting any that are out of specification for later reference regarding required replacement lifters. Repeat the measurement process until all valve clearances have been assessed. If any clearance is out of specification, replace the lifter with a new one that has a different thickness head to correct the clearance, which requires removing the Camshafts to access the lifters. Mark the lifters to be replaced and record their corresponding valves, using a micrometer to measure the thickness of the head of each lifter precisely at the center projection on the underside. To calculate the correct thickness for a replacement lifter that will achieve the specified valve clearance, use the formula: N equal R + (M1 - M2), where N is the thickness of the new lifter, R is the thickness of the old lifter, M1 is the measured valve clearance, and M2 is the standard valve clearance. Lifters are marked on the underside to indicate their size; for example, a marking of 3.310 indicates a thickness of 3.31 mm or 0.13 inch. Finally, mark the new lifters for their destination, lubricate them with engine assembly lube, and install them. After replacing the lifters, reinstall the camshafts and Timing Chains, then re-check the valve clearances.
Related Ford Taurus Parts
Browse by Year
2019 Intake Valve 2018 Intake Valve 2017 Intake Valve 2016 Intake Valve 2015 Intake Valve 2014 Intake Valve 2013 Intake Valve 2012 Intake Valve 2011 Intake Valve 2010 Intake Valve 2009 Intake Valve 2008 Intake Valve 2007 Intake Valve 2006 Intake Valve 2005 Intake Valve 2004 Intake Valve 2003 Intake Valve 2002 Intake Valve 2001 Intake Valve 2000 Intake Valve 1999 Intake Valve 1998 Intake Valve 1997 Intake Valve 1996 Intake Valve 1995 Intake Valve 1994 Intake Valve 1993 Intake Valve 1992 Intake Valve 1991 Intake Valve 1990 Intake Valve 1989 Intake Valve 1988 Intake Valve 1987 Intake Valve 1986 Intake Valve
