
My Garage
My Account
Cart
Genuine Ford Escape Camshaft
Cam- Select Vehicle by Model
- Select Vehicle by VIN
Select Vehicle by Model
orMake
Model
Year
Select Vehicle by VIN
For the most accurate results, select vehicle by your VIN (Vehicle Identification Number).
46 Camshafts found
Ford Escape Camshaft
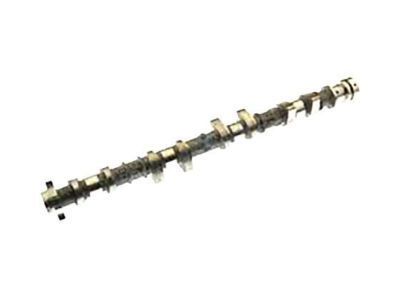
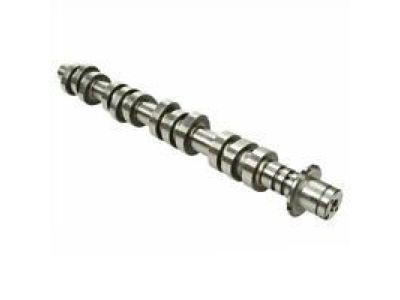
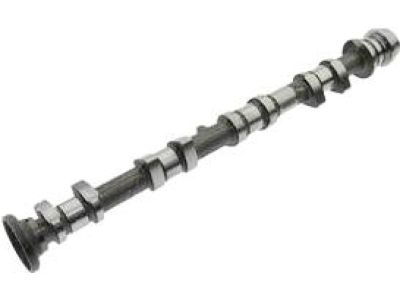
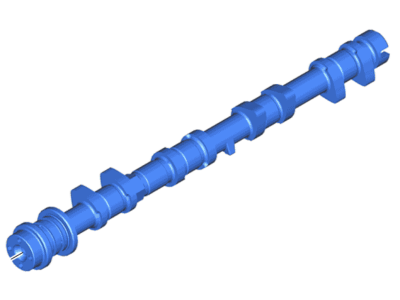
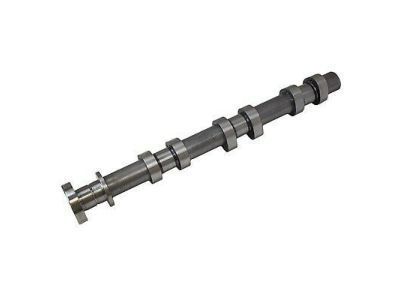
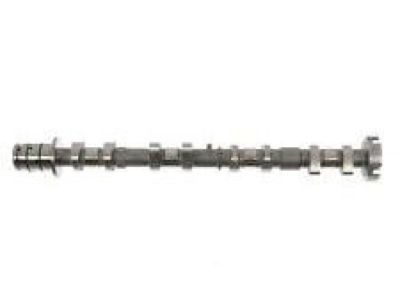
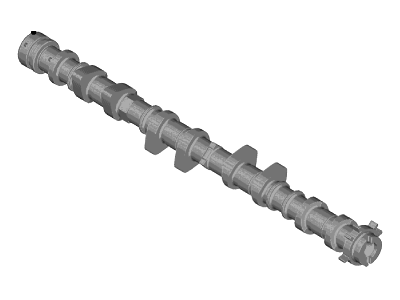
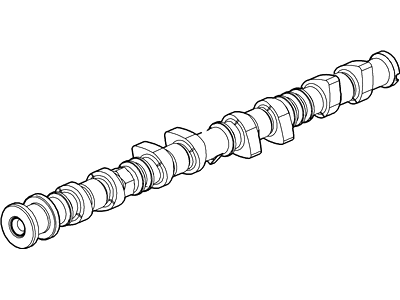
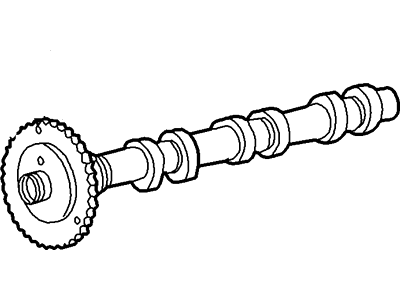
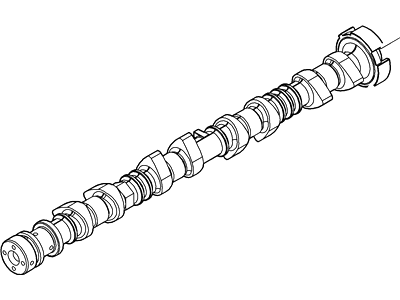
Part Number: DS7Z-6250-D$161.77 MSRP: $236.50You Save: $74.73 (32%)Ships in 1-3 Business DaysFord Escape Camshaft
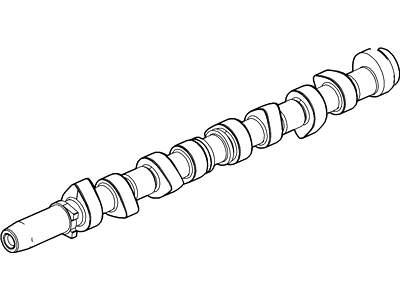
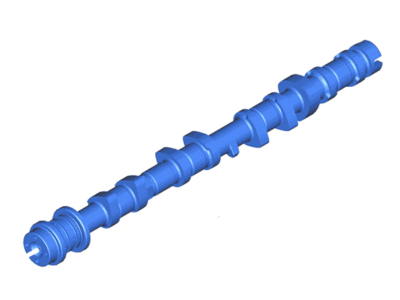
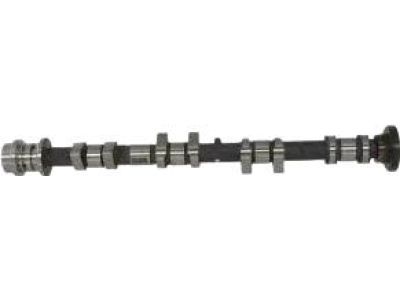
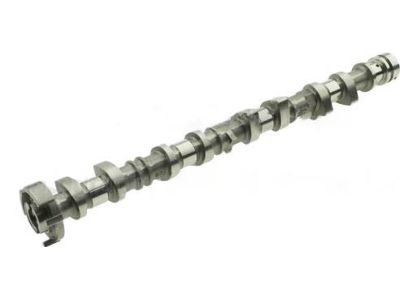
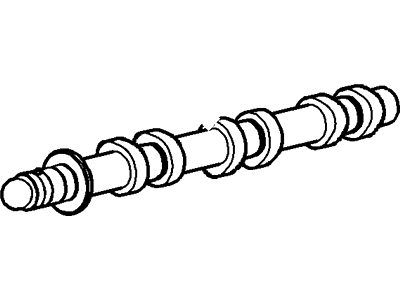
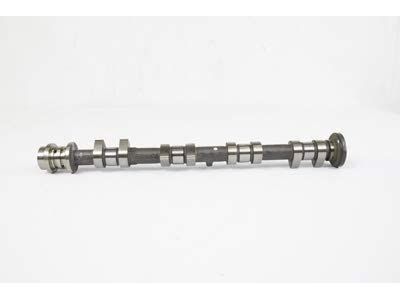
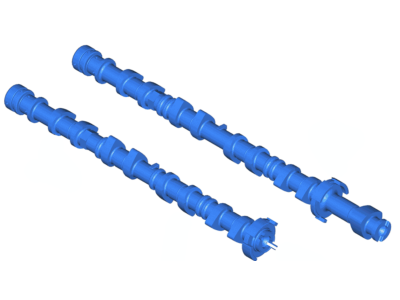
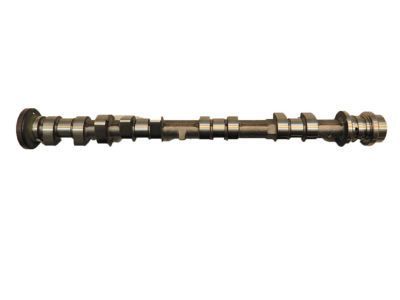
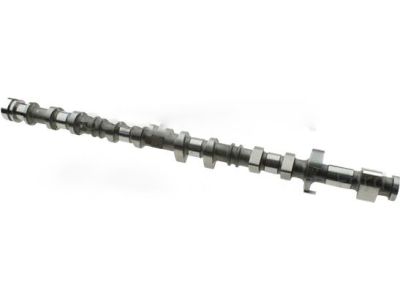
Part Number: BB5Z-6250-A$66.71 MSRP: $97.53You Save: $30.82 (32%)Ships in 1-3 Business DaysFord Escape Camshaft
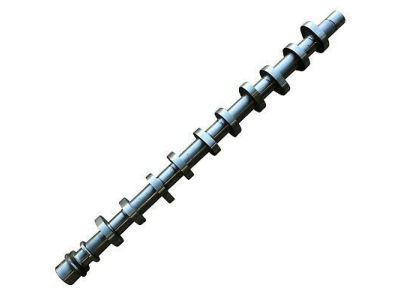
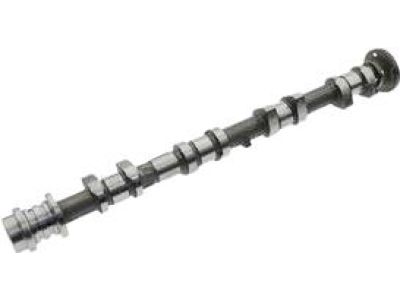
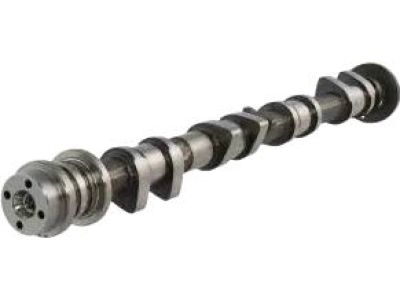
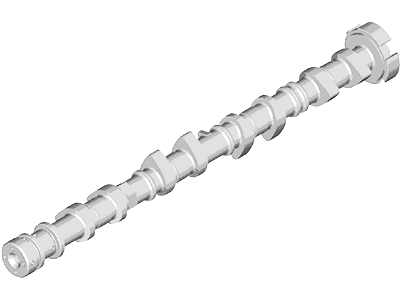
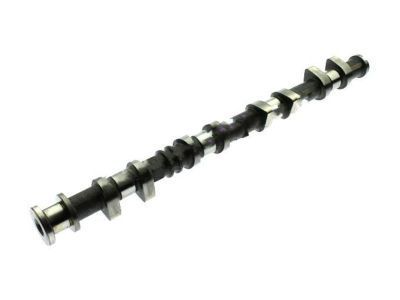
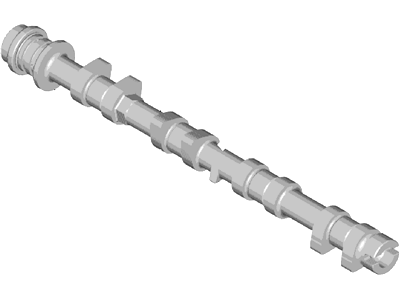
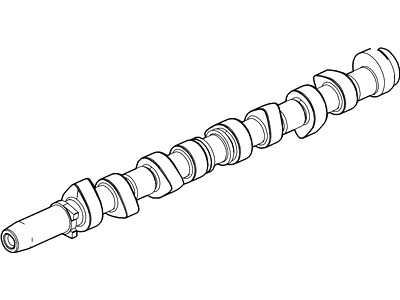
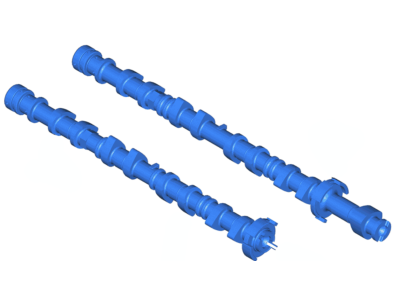
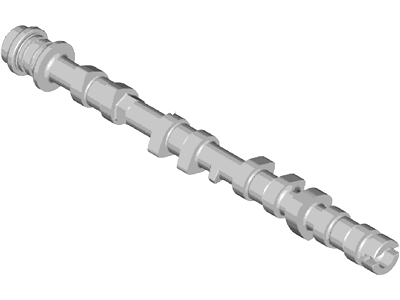
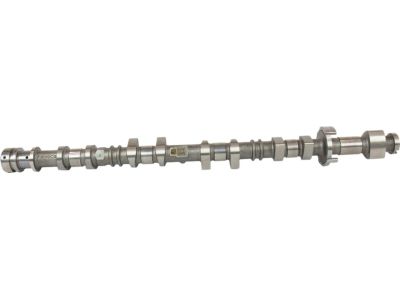
Part Number: 9L8Z-6250-B$104.52 MSRP: $145.20You Save: $40.68 (29%)Ships in 1-2 Business DaysFord Escape Camshaft
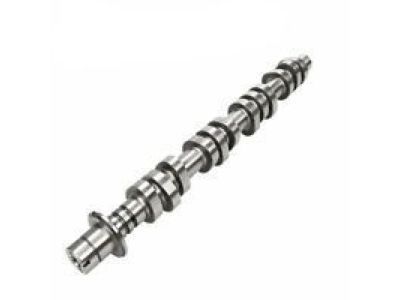
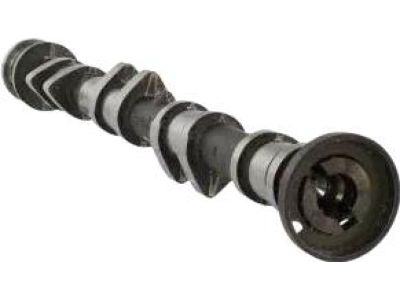
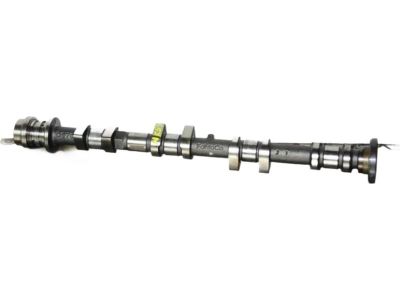
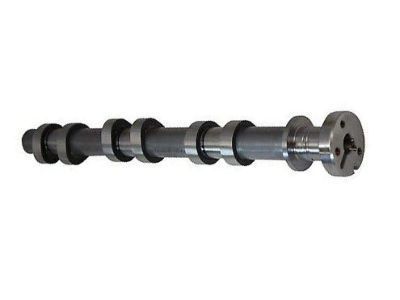
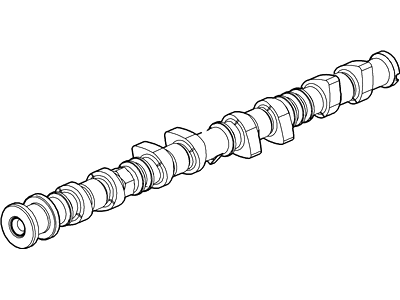
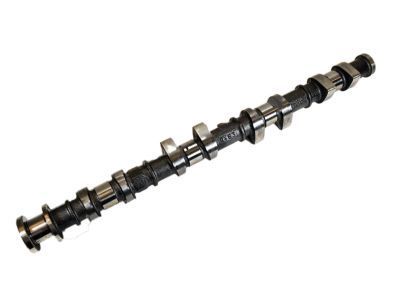
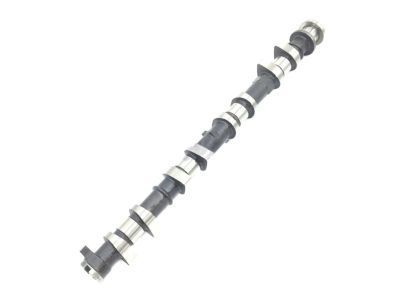
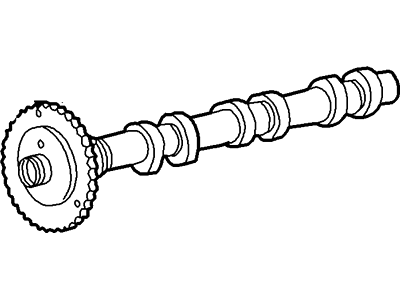
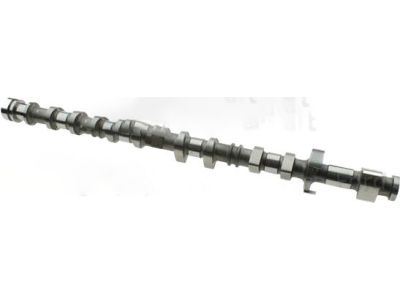
Part Number: DN1Z-6250-A$50.15 MSRP: $72.05You Save: $21.90 (31%)Ships in 1-3 Business DaysFord Escape Camshaft
Part Number: 1S7Z-6250-KA$50.15 MSRP: $72.05You Save: $21.90 (31%)Ships in 1-3 Business DaysFord Escape Camshaft
Part Number: 6S4Z-6250-BA$50.15 MSRP: $72.05You Save: $21.90 (31%)Ships in 1-3 Business DaysFord Escape Camshaft
Part Number: K2GZ-6250-B$119.76 MSRP: $175.08You Save: $55.32 (32%)Ships in 1-2 Business DaysFord Escape Camshaft
Part Number: 3F1Z-6250-DA$125.15 MSRP: $182.97You Save: $57.82 (32%)Ships in 1-3 Business DaysFord Escape Camshaft
Part Number: 3F1Z-6250-CA$156.75 MSRP: $229.17You Save: $72.42 (32%)Ships in 1-3 Business DaysFord Escape Camshaft
Part Number: 5F9Z-6250-AA$156.75 MSRP: $229.17You Save: $72.42 (32%)Ships in 1-3 Business Days
| Page 1 of 3 |Next >
1-20 of 46 Results
Ford Escape Camshaft
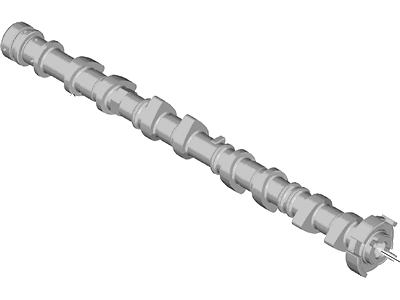
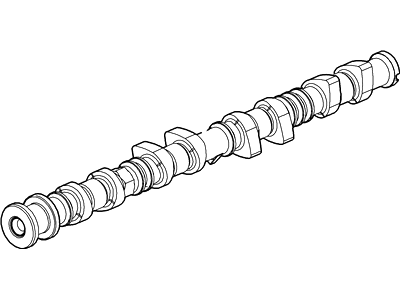
The camshaft in Ford Escape line of cars is instrumental in controlling the opening and closing of the intake and exhaust valves to allow in the mixture of air and fuel and to release out the exhaust fumes respectively. Made of either iron or steel, the camshaft functions through such arrangements as the Over Head Valve (OHV), the Single Over Head Cam (SOHC) and the Double Over Head Cam (DOHC) and each impacts engine performance. These camshaft configurations are used in the Ford Escape models in order to control the boosted capability and efficiency, and for the interestlust for performance parts, ideal performance camshafts can be purchase. Settings like lift, duration and LSA can be changed to attain for certain performance levels, it affects torque and RPM.
We provide a wide range of Ford Escape Camshaft at the best prices possible. If you need Ford Escape Camshaft, you can shop with confidence on our website. All our OEM parts come with a manufacturer's warranty and are delivered to your door step with a fast delivery service.
Ford Escape Camshaft Parts Questions & Experts Answers
- Q: How to remove and install camshafts in four cylinder engine on Ford Escape?A:When working on the Timing Belt or chain, the camshaft sprockets need to be detached; before doing this ensure that they are labeled for reassembly purposes. The camshaft bearing caps are each numbered using a single digit, while those for the exhaust are labeled from 0 to 4, and those for the intake side, from 5 to 9; when reinstalling the caps, the visible side has the number. Turn the camshaft bearing cap bolts in a turning pattern of half a turn to free pressure on the valve springs. Slide out the caps, remembering the marks and dowels, next extract the camshafts and oil seals and the intake camshaft, which has a reference lobe on it. Label the contents of sixteen small containers so that cam followers' bearings remain with shims, not to aggravate wear. Inspect both camshafts vertically as well as horizontally, and the cam followers as well, to look for any overt tapering or ovality, coupled with the normal wear and tear signs and signs of overheating. Take the diameter of each journal and inspect running clearance with Plastigage; if any bearing is worn beyond this, change the camshaft or the Cylinder Head if required. On installation, rotate the engine back from TDC to avoid valve knocking, apply oil to the cam follower bores and to the cam followers, and correct orientation must be done during instalment. New camshaft oil seals are to be placed and the bearings are lubricated before reversing the position of the camshafts while the bearing caps are to be sealed. Tighten the caps in sequence, putting them straight to the cylinder head, and cleaning unwanted sealant off. Before the final assembly, check brittle valve clearances by rotating the crankshaft to TDC and installer the timing pin. Replace camshaft sprockets loosely, continue the reassembly in the same way using the timing belt or chain and setting the valve clearances. Once the battery connection is re-established, let the Powertrain Control Module perform its idle and fuel trim procedure as it will work most effectively.
Related Ford Escape Parts
Browse by Year
2023 Camshaft 2022 Camshaft 2021 Camshaft 2020 Camshaft 2019 Camshaft 2018 Camshaft 2017 Camshaft 2016 Camshaft 2015 Camshaft 2014 Camshaft 2013 Camshaft 2012 Camshaft 2011 Camshaft 2010 Camshaft 2009 Camshaft 2008 Camshaft 2007 Camshaft 2006 Camshaft 2005 Camshaft 2004 Camshaft 2003 Camshaft 2002 Camshaft 2001 Camshaft
