

My Garage
My Account
Cart
Genuine 2001 Ford Explorer Oil Pan
Oil Drain Pan- Select Vehicle by Model
- Select Vehicle by VIN
Select Vehicle by Model
orMake
Model
Year
Select Vehicle by VIN
For the most accurate results, select vehicle by your VIN (Vehicle Identification Number).
5 Oil Pans found
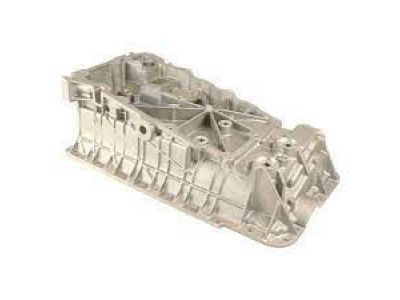
2001 Ford Explorer Upper Oil Pan
Part Number: 1L5Z-6675-AA$143.93 MSRP: $212.67You Save: $68.74 (33%)Ships in 1-3 Business DaysProduct Specifications- Other Name: Frame Assembly; Oil Pan, Upper Oil Pan
- Position: Upper
- Replaces: F77Z-6675-BD
- Base No.: 6675
- Item Weight: 13.70 Pounds
- Condition: New
- Fitment Type: Direct Replacement
- SKU: 1L5Z-6675-AA
- Warranty: This genuine part is guaranteed by Ford's factory warranty.

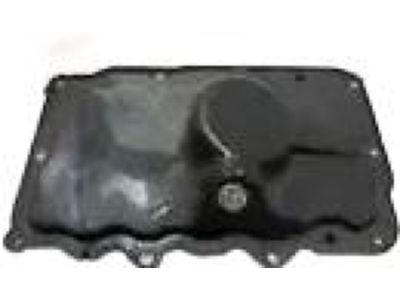
2001 Ford Explorer Engine Oil Pan Assembly
Part Number: 1L2Z-6675-FA$45.67 MSRP: $65.62You Save: $19.95 (31%)Ships in 1-3 Business DaysProduct Specifications- Other Name: Pan Assembly - Engine Oil
- Position: Lower
- Replaced by: 5R3Z-6675-AA
- Item Weight: 2.90 Pounds
- Item Dimensions: 3.4 x 15.8 x 13.7 inches
- Condition: New
- Fitment Type: Direct Replacement
- SKU: 1L2Z-6675-FA
- Warranty: This genuine part is guaranteed by Ford's factory warranty.
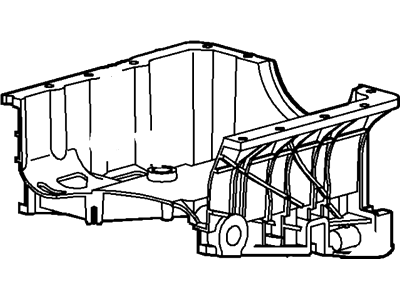
2001 Ford Explorer Engine Oil Pan
Part Number: 1L5Z-6675-DA$83.84 MSRP: $129.62You Save: $45.78 (36%)Ships in 1-2 Business DaysProduct Specifications- Other Name: Bulkhead Assembly - Front; Oil Pan
- Manufacturer Note: Upper cast pan w/hole for oil sensor
- Position: Front
- Replaces: F77Z-6675-AC
- Base No.: 6675
- Item Weight: 12.40 Pounds
- Item Dimensions: 15.9 x 3.1 x 10.0 inches
- Condition: New
- Fitment Type: Direct Replacement
- SKU: 1L5Z-6675-DA
- Warranty: This genuine part is guaranteed by Ford's factory warranty.
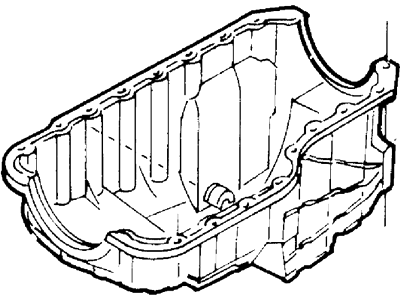
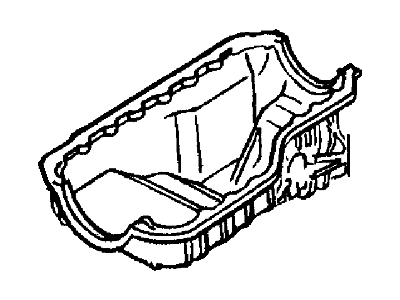 Product Specifications
- Other Name: Pan Assy - Engine Oil; Oil Pan
- Manufacturer Note: W/O low oil level sender, OHV
- Base No.: 6675
- Item Weight: 10.00 Pounds
- Item Dimensions: 8.2 x 12.0 x 20.3 inches
- Condition: New
- Fitment Type: Direct Replacement
- SKU: F5TZ-6675-B
- Warranty: This genuine part is guaranteed by Ford's factory warranty.
- Product Specifications
- Other Name: Pan Assy - Engine Oil; Oil Pan
- Item Weight: 11.80 Pounds
- Item Dimensions: 21.2 x 13.5 x 9.3 inches
- Condition: New
- Fitment Type: Direct Replacement
- SKU: F4TZ6675B
- Warranty: This genuine part is guaranteed by Ford's factory warranty.
2001 Ford Explorer Oil Pan
At FordPartsGiant.com, you will find an extensive inventory of genuine 2001 Ford Explorer Oil Pan offered at competitive prices online. These manufacturer-backed OEM 2001 Ford Explorer Oil Pan ensure your satisfaction with their quality and come with a hassle-free return policy and expedited delivery service, guaranteeing a delightful shopping experience.
2001 Ford Explorer Oil Pan Parts Questions & Experts Answers
- Q:How to remove and install Oil Pan in 5.0L V8 engine on 2001 Ford Explorer?Posted by Cristine F.A:This procedure entails engine pull off in those models that have the cover. Start by removing the oil pan mounting bolts and very gently easing the pan off the block, always avoiding the use of pry-bars as it will damage the sealing surfaces and thus cause oil leaks. Instead, use a large rubber mallet or a wooden block and a hammer to knock off the pan with a lot of care as not to scratch the soft aluminum found on the gasket sealing areas. For installation, refer to the instructions that are shipped together with an OEM or an aftermarket gasket set since the instructions come first. If required, use a gasket scraper, or putty to scrape out the entire area where the gasket once was, to ensure that every trace of the gasket material and the sealant is wiped out from both the pan and the block. Wipe the mating surfaces with lacquer thinner or acetone also checking for cleanness of the block bolt holes. Fasten the new gasket on the bottom of the block, which having a small drop of ATV sealing at right rear main cap and at the front of the front cover mating surface to block interface area, then, another drop over points after the gasket has been fitted. Place the pan against the block and tighten the bolts only enough that they can be removed and ensure that gasket has not moved then tighten progressively in a star and spiral pattern to the proper torque starting in the center and with the 4 larger bolts at each end torqueing to a different value. While the remaining steps are just the inverse of the removal process is important to add the oil and the filter in the engine before the motor is on. Last but not the least, touch the ignition button to start the engine, and in the same process hunt for the oil leak near the oil pan.Answered by Ford Parts Specialist Jack / Jan 06, 2024
Related 2001 Ford Explorer Parts
 2001 Ford Explorer Oil Filter
 2001 Ford Explorer Rod Bearing
 2001 Ford Explorer Crankshaft Thrust Washer Set
 2001 Ford Explorer Drain Plug
 2001 Ford Explorer Oil Cooler
 2001 Ford Explorer Crankshaft Pulley
 2001 Ford Explorer Oil Pump
 2001 Ford Explorer Dipstick Tube