

My Garage
My Account
Cart
Genuine 2000 Ford Ranger Camshaft
Cam- Select Vehicle by Model
- Select Vehicle by VIN
Select Vehicle by Model
orMake
Model
Year
Select Vehicle by VIN
For the most accurate results, select vehicle by your VIN (Vehicle Identification Number).
4 Camshafts found

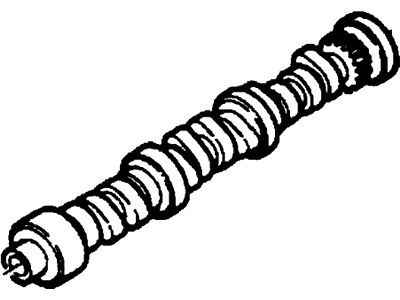 Product Specifications
- Manufacturer Note: LH, SOHC
- Position: Driver Side
- Replaced by: 7L2Z-6250-D
- Item Weight: 4.20 Pounds
- Item Dimensions: 30.6 x 8.2 x 6.1 inches
- Condition: New
- Fitment Type: Direct Replacement
- SKU: F7TZ-6250-AEE
- Warranty: This genuine part is guaranteed by Ford's factory warranty.

 Product Specifications
- Manufacturer Note: RH, SOHC
- Position: Passenger Side
- Replaced by: 7L2Z-6250-C
- Item Weight: 6.50 Pounds
- Item Dimensions: 16.3 x 3.1 x 3.2 inches
- Condition: New
- Fitment Type: Direct Replacement
- SKU: F77Z-6250-AE
- Warranty: This genuine part is guaranteed by Ford's factory warranty.
- Product Specifications
- Manufacturer Note: Roller cam
- Base No.: 6250
- Item Weight: 5.90 Pounds
- Condition: New
- Fitment Type: Direct Replacement
- SKU: F57Z-6250-B
- Warranty: This genuine part is guaranteed by Ford's factory warranty.
 Product Specifications
- Item Weight: 9.00 Pounds
- Condition: New
- Fitment Type: Direct Replacement
- SKU: F3TZ6250A
- Warranty: This genuine part is guaranteed by Ford's factory warranty.
2000 Ford Ranger Camshaft
At FordPartsGiant.com, you will find an extensive inventory of genuine 2000 Ford Ranger Camshaft offered at competitive prices online. These manufacturer-backed OEM 2000 Ford Ranger Camshaft ensure your satisfaction with their quality and come with a hassle-free return policy and expedited delivery service, guaranteeing a delightful shopping experience.
2000 Ford Ranger Camshaft Parts Questions & Experts Answers
- Q:How to remove the camshafts and camshaft bearing caps in 4.0L SOHC V6 engine on 2000 Ford Ranger?Posted by Yorel S.A:This is one of the most complex processes in the context of camshafts' and camshaft bearing cap's removal as it is necessary to use special tools and extract the engine from the car. It is advisable to start with the removal of the valve covers and after that thread a dial indicator to the front of the cylinder head in order to measure the camshaft end play for each camshaft; if the clearance is more than the recommended value, then the camshaft as well as the cylinder head ought to be replaced. Tighten the all the bearing cap bolts by turning them in the reverse of the lightening sequence a 1/4 turn at a time until they can be turned by hand. Take the camshaft off the cylinder head with much attention to guard against interchanging of the components as they are placed back. Check the cam lobes and bearing journals for signs of wear, heat and alignment and use the micrometres to measure the diameters of the camshafts journals and the lift of the lobes for the camshafts to the required specifications. Clean the surfaces to ensure that you get the most accurate reading and then place the camshaft in position and on the journals fit a strip of Plastigage, then put the camshaft cap back and tighten the nuts. Comparing the width of the crushed Plastigage after the removal of the caps, the procedure measures the oil clearance; where the clearance will have exceeded the manufacturers recommended value or where any one of the journal diameter will be below the recommended value then the camshaft or the cylinder head must be replaced. Last but not least, if the lash adjusters and the rocker arms were removed, put them back in their place, put drop of moly based engine assembly lube on the camshaft lobes and on the bearing journals, then put the camshaft back and fasten the camshaft caps into their correct positions and screw and tighten the bolts to the standard measure. The rest of the installation steps are in the order of the removal, that is in the reverse way.Answered by Ford Parts Specialist Don / Jun 04, 2025
Related 2000 Ford Ranger Parts
 2000 Ford Ranger Cylinder Head Bolts
 2000 Ford Ranger Crankshaft Pulley
 2000 Ford Ranger Intake Valve
 2000 Ford Ranger Timing Cover
 2000 Ford Ranger Rocker Arm
 2000 Ford Ranger Crankshaft Gear
 2000 Ford Ranger Cylinder Head Gasket
 2000 Ford Ranger Crankshaft
 2000 Ford Ranger Cylinder Head
 2000 Ford Ranger Cam Gear
 2000 Ford Ranger Rocker Shaft Spring Kit