
My Garage
My Account
Cart
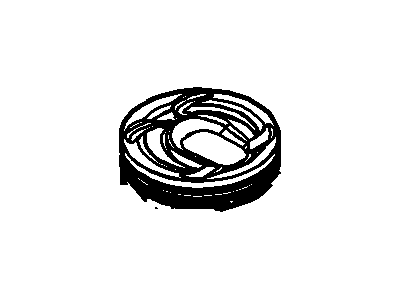
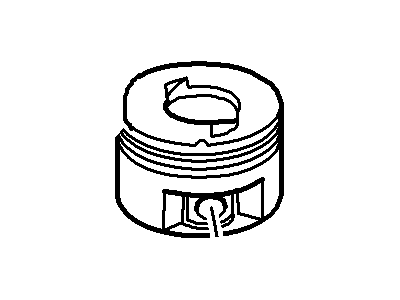
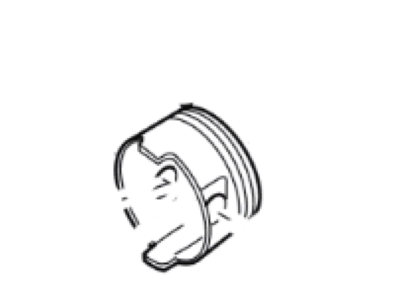
Genuine Ford Taurus Piston
Engine Pistons- Select Vehicle by Model
- Select Vehicle by VIN
Select Vehicle by Model
orMake
Model
Year
Select Vehicle by VIN
For the most accurate results, select vehicle by your VIN (Vehicle Identification Number).
36 Pistons found
Ford Taurus Piston
Part Number: AG9Z-6108-L$173.05 MSRP: $253.00You Save: $79.95 (32%)Ships in 1-3 Business DaysFord Taurus Piston
Part Number: BA5Z-6108-L$78.88 MSRP: $115.32You Save: $36.44 (32%)Ships in 1-2 Business DaysFord Taurus Piston And Pin Assembly
Part Number: AA5Z-6108-P$111.70 MSRP: $172.70You Save: $61.00 (36%)Ships in 1-3 Business DaysFord Taurus Piston
Part Number: AA5Z-6108-N$118.13 MSRP: $172.70You Save: $54.57 (32%)Ships in 1-3 Business DaysFord Taurus Piston
Part Number: AT4Z-6108-B$116.62 MSRP: $170.50You Save: $53.88 (32%)Ships in 1-3 Business DaysFord Taurus Piston
Part Number: E9TZ-6108-DB$19.28 MSRP: $26.34You Save: $7.06 (27%)Ships in 1 Business DayFord Taurus Piston
Part Number: DA5Z-6108-A$125.40 MSRP: $183.33You Save: $57.93 (32%)Ships in 1-3 Business DaysFord Taurus Piston And Pin Assembly
Part Number: AA5Z-6108-L$116.62 MSRP: $170.50You Save: $53.88 (32%)Ships in 1-3 Business DaysFord Taurus Piston And Pin Assembly
Part Number: DA5Z-6108-BA$178.98 MSRP: $261.67You Save: $82.69 (32%)Ships in 1-3 Business DaysFord Taurus Piston
Part Number: AA5Z-6108-M$116.62 MSRP: $170.50You Save: $53.88 (32%)Ships in 1-3 Business DaysFord Taurus Piston
Part Number: AG9Z-6108-K$279.68 MSRP: $412.50You Save: $132.82 (33%)Ships in 1-3 Business DaysFord Taurus Piston And Pin Assembly
Part Number: 2F1Z-6108-CA$32.60 MSRP: $45.29You Save: $12.69 (29%)Ships in 1-2 Business DaysFord Taurus Piston And Pin Assembly
Part Number: AA5Z-6108-C$116.62 MSRP: $170.50You Save: $53.88 (32%)Ships in 1-3 Business DaysFord Taurus Piston And Pin Assembly
Part Number: AA5Z-6108-A$111.70 MSRP: $172.70You Save: $61.00 (36%)Ships in 1-3 Business DaysFord Taurus Piston
Part Number: AA5Z-6108-B$118.13 MSRP: $172.70You Save: $54.57 (32%)Ships in 1-3 Business DaysFord Taurus Piston And Pin Assembly
Part Number: DA5Z-6108-AA$136.69 MSRP: $199.83You Save: $63.14 (32%)Ships in 1-3 Business DaysFord Taurus Piston
Part Number: DA5Z-6108-B$178.98 MSRP: $261.67You Save: $82.69 (32%)Ships in 1-3 Business Days
| Page 1 of 2 |Next >
1-20 of 36 Results
Ford Taurus Piston
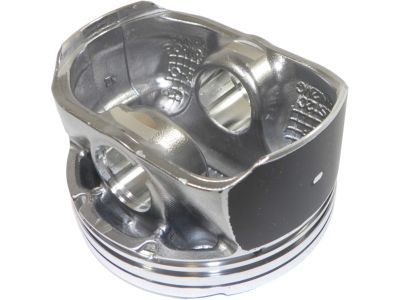
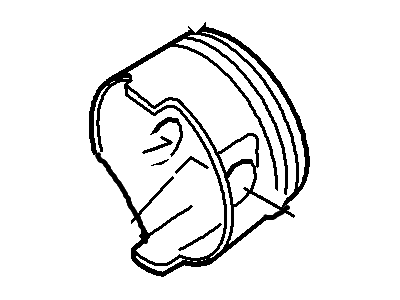
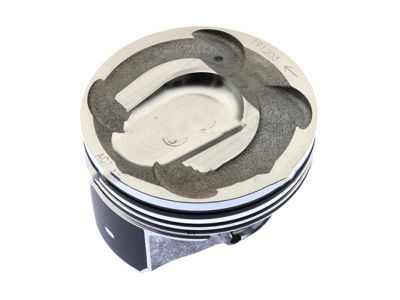
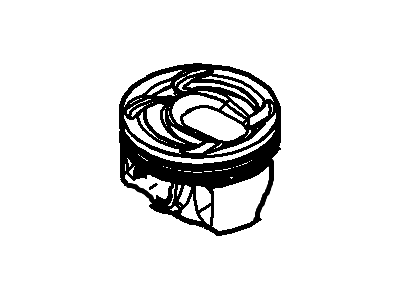
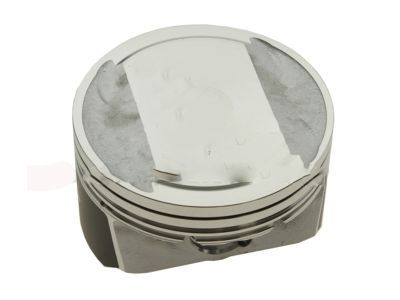
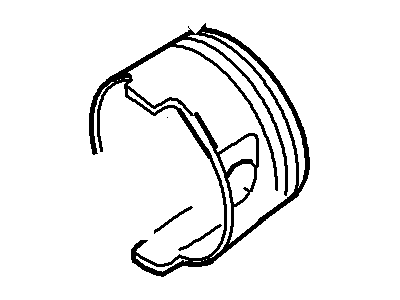
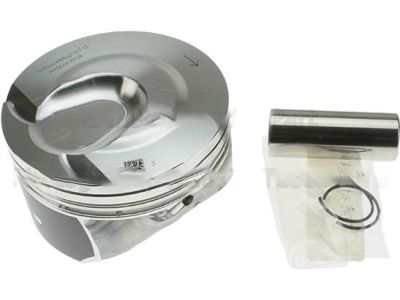
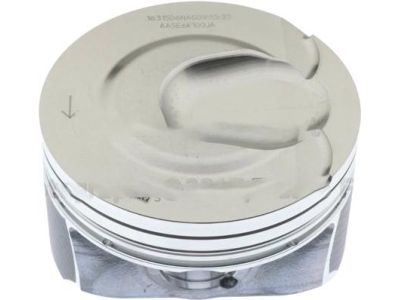
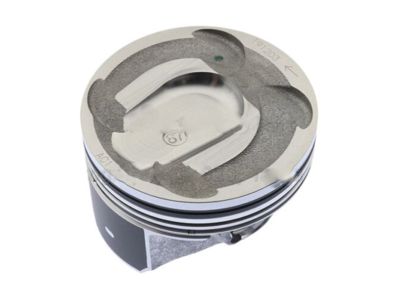
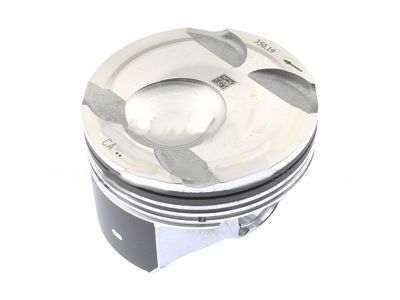
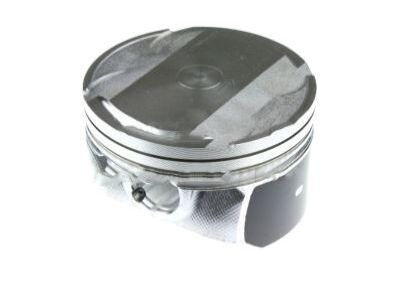
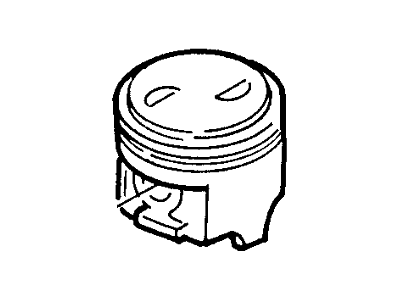
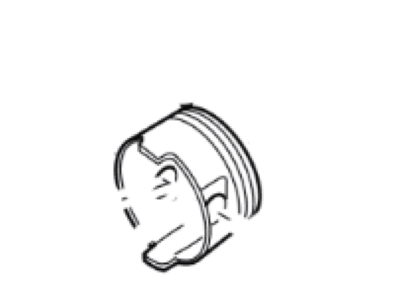
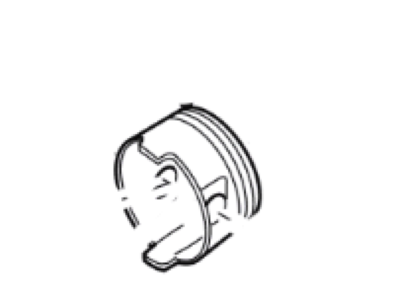
A critical part of the internal combustion engine is the Piston which is making a Ford Taurus car, transforming the power of combustion into energy needed for driving. It functions by transferring power from the expanding gas to the crankshaft which will make the engine effective. Usually made using aluminum alloys for increased strength and decreased weight, Ford Taurus Piston also include forged or billet designs in racing models. Different types of Piston have been applied on the Taurus through the decades such as trunk Piston for petrol and diesel engines which withstand side forces and have the oil rings. Also cross head Piston find applications in larger diesel engines for better lubrication, while slipper system parts are applied in high speed petrol engines for a better balance and efficiency. The careful design of such replacement units featuring cooling cavities and gas-tight Ford replacement part rings optimizes both performance and life.
We provide a wide range of Ford Taurus Piston at the best prices possible. If you need Ford Taurus Piston, you can shop with confidence on our website. All our OEM parts come with a manufacturer's warranty and are delivered to your door step with a fast delivery service.
Ford Taurus Piston Parts Questions & Experts Answers
- Q: How to remove piston/connecting rod assemblies on Ford Taurus?A:Before one could begin removing the piston and connecting rod assemblies, one requires the head of the cylinder and the oil pan. You should run your finger nail from down the bore and feel whether there is any ridge at the top dead center of the rings when they are at the maximum top ring travel in each cylinder; the ridges must be scraped out with a special tool to leave the cylinder bore smooth as per the manufacturer's recommendations in order not to cause breakages to the piston. Next, align the engine with the Crankshaft in an upward manner and, on four-cylinder engines, also, pull out the balance shaft assembly; on the two vehicles with 3.5L engines, you should also take out the main bearing cap support brace. Before taking off the main bearing caps or destroying the connecting rods, check the CON ROD END PLAY with the help of the feeler gauges and it should be always lie within the stipulated limit. If the connecting rods or caps are not marked clearly, then paint or draw a mark around the connecting rods and caps then use a slowly rotating bolt to loosen the connecting rod cap bolts to the point where they can be removed by directly. Lift the first connecting rod cap and its bearing insert off gently; the connecting rod/s piston will then be pushed out of the top of the engine whose ridges must be smoothed. Do the same for the rest of the cylinders; after removal, secure the connecting rod caps and new bearings in their allocated rods keeping the old bearings in to preserve the bearing services. The pistons and cranks or connecting rods are now receptive of inspection and renewal. This step should be performed prior to fitting new pistons rings, the ring end gaps should be examined and the piston ring side clearance should be correct. Piston and connecting rod sets and new rings should be arranged for pairing up. Slide the first intermediate ring into the first cylinder and align it with the walls of the cylinder; check the thickness of the end gap with the feeler gauges and adjust it if necessary. The oil control ring should be placed on first then the mid and finally the top ring in the right position. Before installation, properly degrease the cylinder walls and edge blending and make certain that the crankshaft fits. Remove and clean the bearing housing surfaces to bear on; replace upper and lower bearing inserts with no lubricant applied. Space the gap of the piston ring 90 degrees apart, apply oil to the piston and rings and then use a piston ring compressor while 'installing'. Verify the connecting rod bearing oil clearance using Plastilge as used in determining the right size and condition of the bearing inserts. After making sure of the clearance, it is good to lubricate the bearing faces via grease or engine assembly lube, fit the rod cap with the new bolts and tighten to the degree of torque mentioned. Repeat the same with the other assemblies but make sure that they are also clean and well oriented. Following installation, spin the crankshaft to detect binding and measure/in Adjust connecting rod end-shaft clearance where new stock has been installed.
Related Ford Taurus Parts
Browse by Year
2019 Piston 2018 Piston 2017 Piston 2016 Piston 2015 Piston 2014 Piston 2013 Piston 2012 Piston 2011 Piston 2010 Piston 2007 Piston 2006 Piston 2005 Piston 2004 Piston 2003 Piston 2002 Piston 2001 Piston 2000 Piston 1999 Piston 1998 Piston 1997 Piston 1996 Piston 1995 Piston 1994 Piston 1993 Piston 1992 Piston 1991 Piston 1990 Piston 1989 Piston 1988 Piston 1987 Piston 1986 Piston
