
My Garage
My Account
Cart
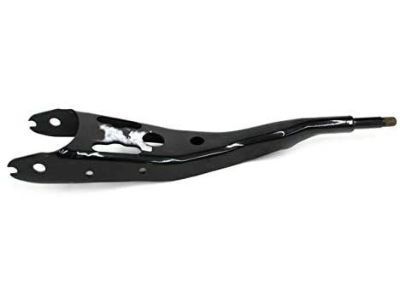
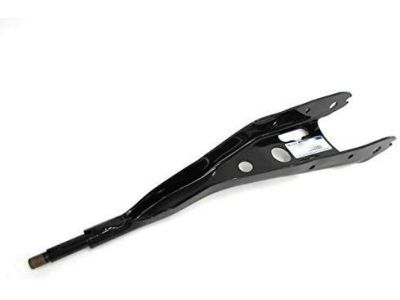
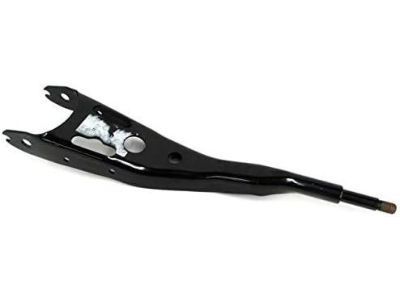
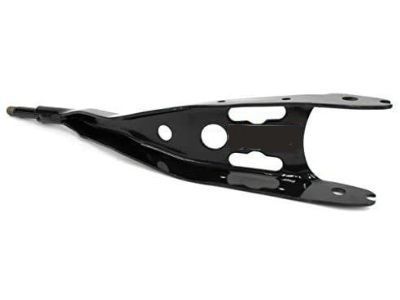
Genuine Ford Ranger Radius Arm
Front Suspension Radius Arm- Select Vehicle by Model
- Select Vehicle by VIN
Select Vehicle by Model
orMake
Model
Year
Select Vehicle by VIN
For the most accurate results, select vehicle by your VIN (Vehicle Identification Number).
4 Radius Arms found
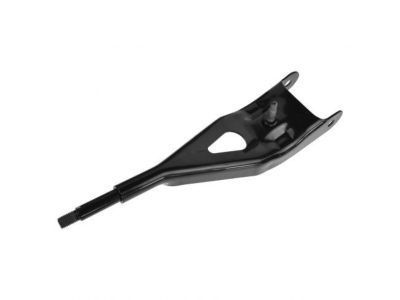
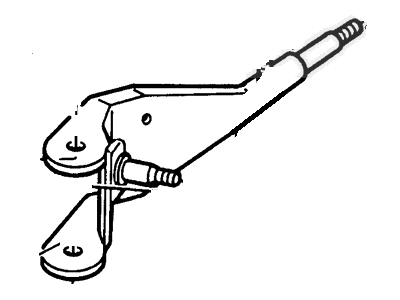
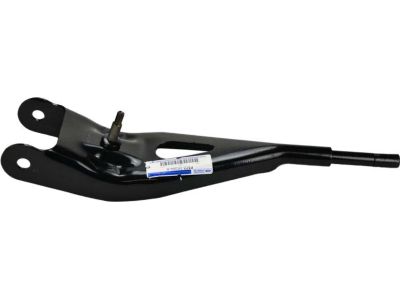
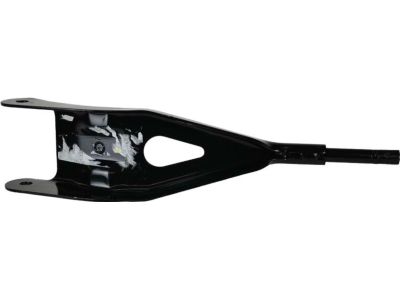
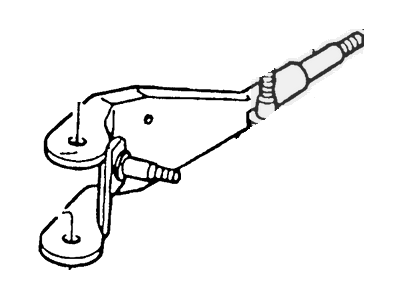
Ford Ranger Arm - Adjustment
Part Number: F57Z-3A360-A$76.36 MSRP: $106.07You Save: $29.71 (29%)Ships in 1-2 Business Days
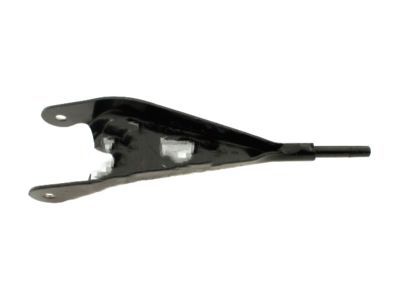
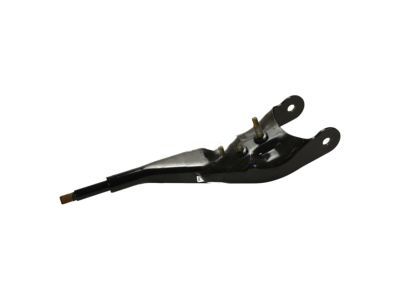
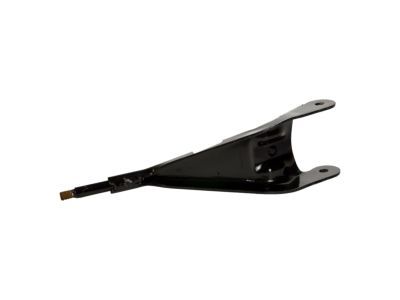
Ford Ranger Radius Arm
Radius Arm commonly called as radius rod or torque arm is another crucial part of Ford Ranger's suspension system that controls the rotation of wheels and makes the car stable. By attaching the axle to the structure of the car through the use of the Radius Arm, the instance of too much wheel movement is minimized in order to offer the premier control over road behavior of the car in off-road conditions. Usually made of stamped steel or aluminum the Ford Ranger's Radius Arm also features less weight while still serving its intended purpose. Different types of Radius Arms have been used in the Ford Ranger vehicles over the years, however with the development in materials the new options are available. With conventional designs being centered on steel and aluminum, recent developments in the area of composites are being observed, although plastic links are still rare. It is therefore very important that the bushings of the Radius Arm be well maintained as damage in this part may cause brake dive and uncontrollable wheel movement which is dangerous and uncomfortable in the Ford Ranger.
We provide a wide range of Ford Ranger Radius Arm at the best prices possible. If you need Ford Ranger Radius Arm, you can shop with confidence on our website. All our OEM parts come with a manufacturer's warranty and are delivered to your door step with a fast delivery service.
Ford Ranger Radius Arm Parts Questions & Experts Answers
- Q: How to remove and install the radius arm on Ford Ranger?A:Before dismantling the coil spring assembly, one has to take off the spring lower seat in the radius arm of the 2WD models or to take off the bolt/nut of the radius arm to the front axle and front bracket, and also two bolts for the radius arm to the front bracket for the earlier model. In the case of 4WD models, it is necessary to remove the spring lower seat as well as the stud, and after that, the bolts which attach the radius arm to the front axle bracket. Subsequently, from the rear side of the radius arm bracket, or from the outside of the automobile, remove the nut, rear washer, the shield which is only applicable to the shield side, and the insulator before pulling out the radius arm together with the inner insulator and the retainer from the threaded side. To install the radius arm insert the front end of the radius arm to the front axle of the vehicle as described above. For 2WD models, there is the attaching bolt which has to be fitted together with a new nut from beneath the axle; the nut at this stage should only be tightened by hand. In the 4WD models, place the front end of the radius arm on the bracket and axle and then screw in the bolts and stud (with a washer only on the left axle) in the bracket but only to the extent of being hand tight. Then please put the rear retainer and the insulator onto the thread end of the radius arm and then placing the radius arm into the bracket then put the insulator washer and new nut then tightening nut to the torque stated. Last of all, make tight the bolts and nuts which are fitted earlier to required torque, and for 2WD model fit the spring lower seat on the radius arm and for 4WD model fit the spring lower seat and insulator on the left radius arm and then fit the spring assembly.
