
My Garage
My Account
Cart
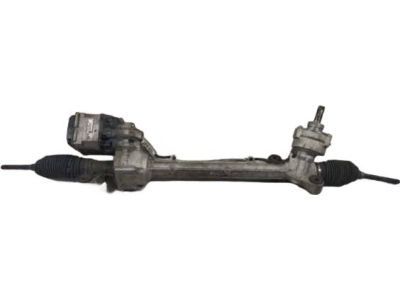
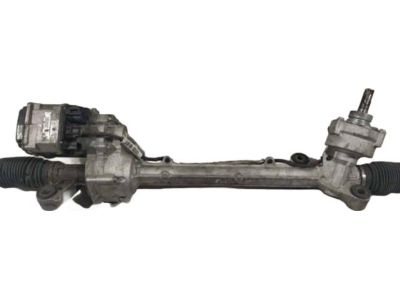
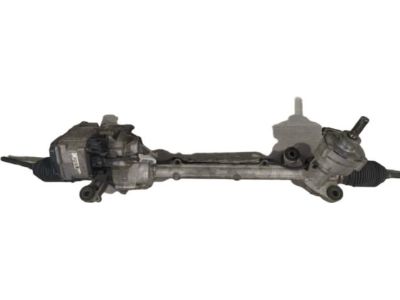
Genuine Ford Fusion Rack And Pinion
Steering Rack And Pinion- Select Vehicle by Model
- Select Vehicle by VIN
Select Vehicle by Model
orMake
Model
Year
Select Vehicle by VIN
For the most accurate results, select vehicle by your VIN (Vehicle Identification Number).
31 Rack And Pinions found
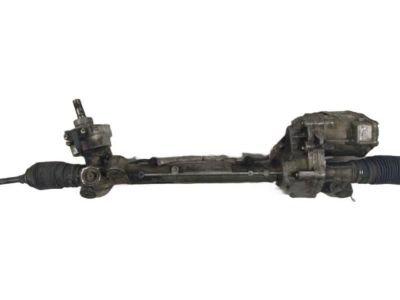
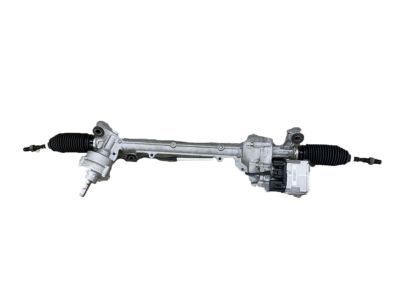
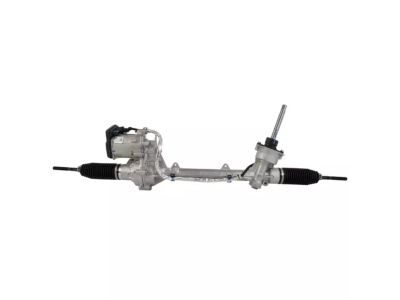
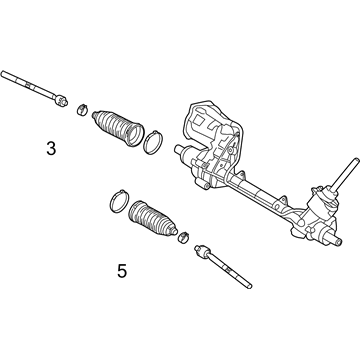
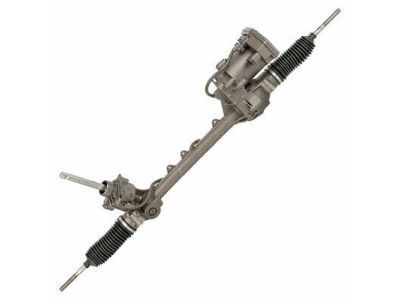
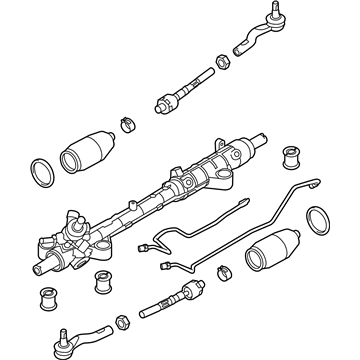
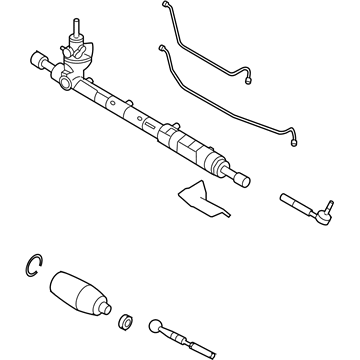
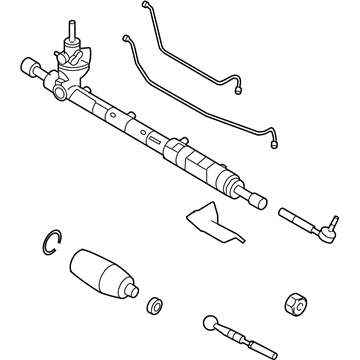
Ford Fusion Steering Gear Assembly
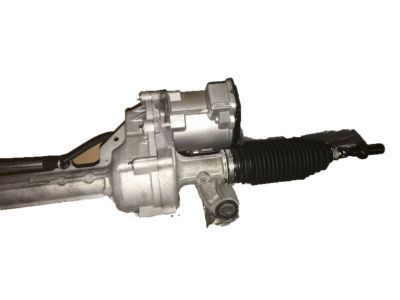
Part Number: AE5Z-3504-BE$1265.17 MSRP: $2096.36You Save: $831.19 (40%)Ships in 1-2 Business DaysFord Fusion Steering Gear Assembly
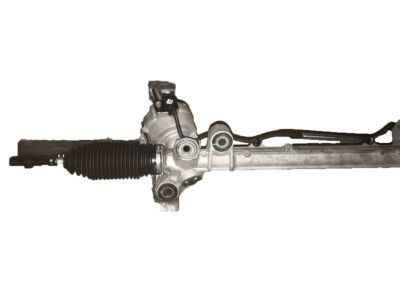
Part Number: AE5Z-3504-CE$1265.17 MSRP: $2096.36You Save: $831.19 (40%)Ford Fusion Steering Gear Assembly
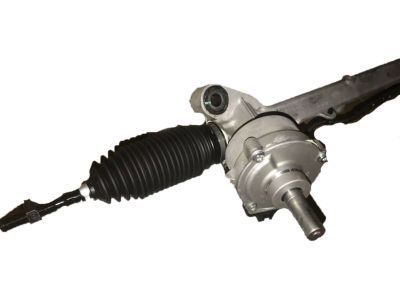
Part Number: AE5Z-3504-EERM$781.21 MSRP: $1289.09You Save: $507.88 (40%)Ford Fusion Steering Gear Assembly
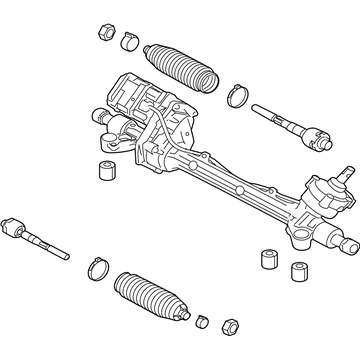
Part Number: FG9Z-3504-A$1910.45 MSRP: $3172.73You Save: $1262.28 (40%)Ships in 1-2 Business DaysFord Fusion Steering Gear Assembly
Part Number: HG9Z-3504-T$1910.45 MSRP: $3172.73You Save: $1262.28 (40%)Ships in 1-2 Business DaysFord Fusion Steering Gear Assembly
Part Number: KG9Z3504G$1910.45 MSRP: $3172.73You Save: $1262.28 (40%)Ships in 1-2 Business DaysFord Fusion Steering Gear Assembly
Part Number: KG9Z-3504-H$1637.95 MSRP: $2718.18You Save: $1080.23 (40%)Ships in 1-3 Business DaysFord Fusion Steering Gear Assembly
Part Number: FG9Z-3504-B$1910.45 MSRP: $3172.73You Save: $1262.28 (40%)Ships in 1-2 Business DaysFord Fusion Steering Gear Assembly
Part Number: HG9Z-3504-AE$1910.45 MSRP: $3172.73You Save: $1262.28 (40%)Ships in 1-2 Business DaysFord Fusion Steering Gear Assembly
Part Number: EG9Z-3504-AE$1910.45 MSRP: $3172.73You Save: $1262.28 (40%)Ships in 1-2 Business DaysFord Fusion Steering Gear Assembly
Part Number: EG9Z-3504-A$1910.45 MSRP: $3172.73You Save: $1262.28 (40%)Ships in 1-2 Business DaysFord Fusion Steering Gear Assembly
Part Number: KG9Z-3504-F$1630.32 MSRP: $2705.45You Save: $1075.13 (40%)Ships in 1-3 Business DaysFord Fusion Steering Gear Assembly
Part Number: FG9Z-3504-CE$1910.45 MSRP: $3172.73You Save: $1262.28 (40%)Ships in 1-2 Business DaysFord Fusion Steering Gear Assembly
Part Number: HG9Z-3504-L$1910.45 MSRP: $3172.73You Save: $1262.28 (40%)Ships in 1-2 Business DaysFord Fusion Steering Gear Assembly
Part Number: 7E5Z-3V504-ARM$415.79 MSRP: $674.55You Save: $258.76 (39%)Ships in 1-3 Business DaysFord Fusion Steering Gear Assembly
Part Number: AH6Z-3504-A$338.38 MSRP: $470.06You Save: $131.68 (29%)Ships in 1-2 Business DaysFord Fusion Steering Gear Assembly
Part Number: DG9Z-3504-CE$1910.45 MSRP: $3172.73You Save: $1262.28 (40%)Ships in 1-2 Business DaysFord Fusion Steering Gear Assembly
Part Number: HG9Z-3504-S$1630.32 MSRP: $2705.45You Save: $1075.13 (40%)Ships in 1-3 Business Days
| Page 1 of 2 |Next >
1-20 of 31 Results
Ford Fusion Rack And Pinion
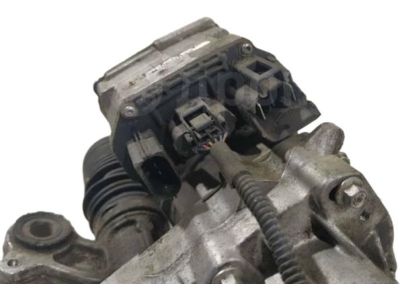
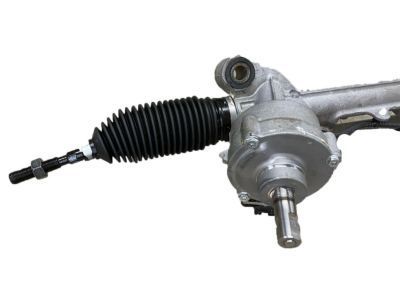
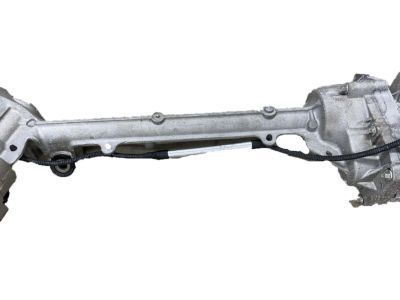
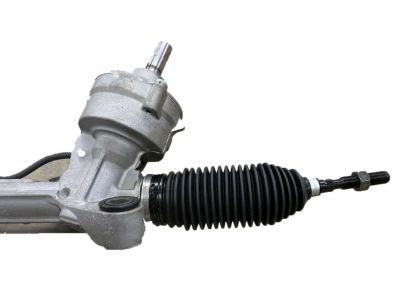
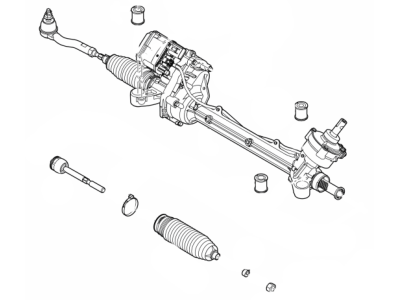
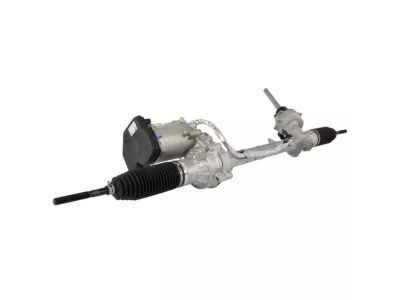
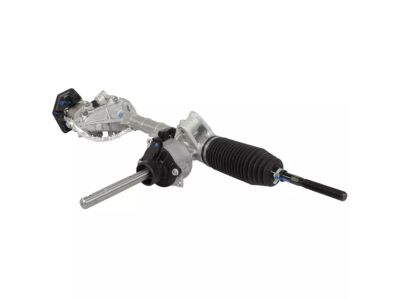
Steering Rack in the Ford Fusion automobiles is a gearbox that alters rotary movement of the steering wheel into the straight line motion of the front wheels. The mechanism of operation is through a rack and pinion in which there is a pinion gear connected to the steering column while there is a rack gear housed in a metal tube, whose function is to move the wheels with respect to the input give to the steering. The Ford Fusion models mainly use power steering rack and pinion steering system also known as power assisted steering making it easy to steer by power assisted hydraulic or electric fluid. Although straight gears are used as standard gears due to their high efficiencies and operating at lower temperature, there may occur situations in some models where helical gears are also used, which in turn results in wear and tear and hence increases the temperature. The Ford Fusion Steering Rack over the years has also undergone change in a bid to increase responsiveness and minimize on mechanical play.
We provide a wide range of Ford Fusion Rack And Pinion at the best prices possible. If you need Ford Fusion Rack And Pinion, you can shop with confidence on our website. All our OEM parts come with a manufacturer's warranty and are delivered to your door step with a fast delivery service.
Ford Fusion Rack And Pinion Parts Questions & Experts Answers
- Q: How to remove the steering gear on Ford Fusion?A:To remove the rack and pinion, first disconnect the cable from the negative terminal of the battery. From inside the vehicle under the instrument panel, remove and discard the intermediate shaft pinch bolt. Loosen the front wheel lug nuts, raise the vehicle securely on jack stands, and remove both front wheels. Detach the tie-rod ends from the Steering Knuckles. If working on an All-Wheel Drive model, disconnect the driveshaft from the transfer case and support it to prevent it from hanging. Remove the front portion of the exhaust system. Place a drain pan under the rack and pinion and detach the power steering pressure and return lines, capping the ends to prevent fluid loss and contamination. For 2013 and later models, disconnect the electrical connectors to the rack and pinion. For 2012 and earlier models, support the rear of the subframe with a floor jack, loosen the front subframe mounting fasteners, remove the rear subframe fasteners, and lower the rear of the subframe approximately three inches. In 2013 and later models, the subframe must be completely removed. Remove the rack and pinion mounting bolts and then take the rack and pinion out of the vehicle. Installation is the reverse of removal, ensuring to align the matchmarks when connecting the rack and pinion input shaft to the intermediate shaft U-joint and install a new pinch bolt. Use new subframe mounting fasteners, a new banjo bolt, and sealing washers for the power steering pressure line, and tighten all fasteners to the specified torque values. Finally, fill the power steering reservoir with the recommended fluid, bleed the power steering hydraulic system, and have the front end alignment checked and adjusted if necessary.
Related Ford Fusion Parts
Browse by Year
2020 Rack And Pinion 2019 Rack And Pinion 2018 Rack And Pinion 2017 Rack And Pinion 2016 Rack And Pinion 2015 Rack And Pinion 2014 Rack And Pinion 2013 Rack And Pinion 2012 Rack And Pinion 2011 Rack And Pinion 2010 Rack And Pinion 2009 Rack And Pinion 2008 Rack And Pinion 2007 Rack And Pinion 2006 Rack And Pinion
