
My Garage
My Account
Cart
Genuine Ford Focus Timing Belt
Engine Timing Belt- Select Vehicle by Model
- Select Vehicle by VIN
Select Vehicle by Model
orMake
Model
Year
Select Vehicle by VIN
For the most accurate results, select vehicle by your VIN (Vehicle Identification Number).
7 Timing Belts found
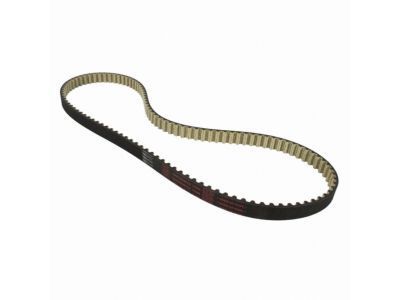
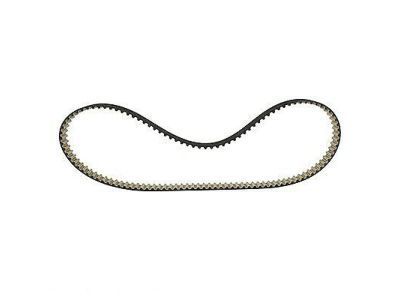
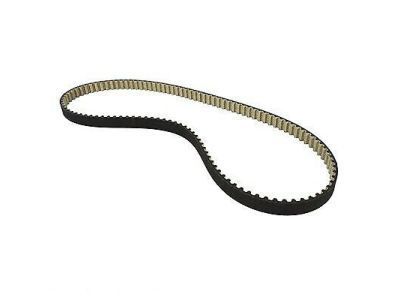
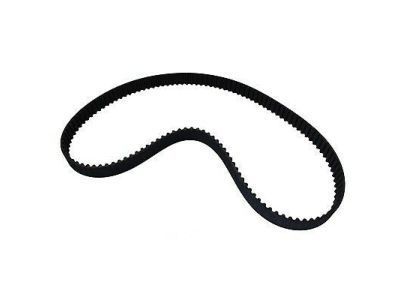
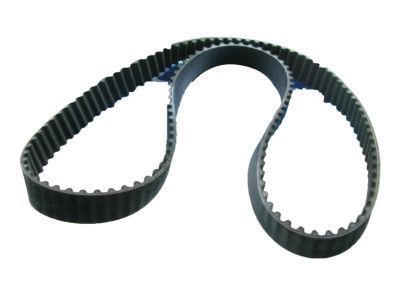
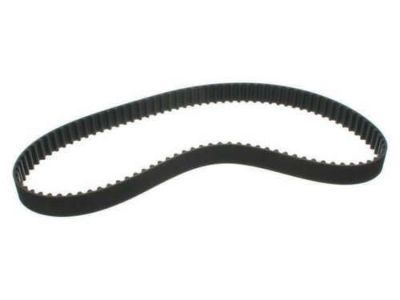
Ford Focus Belt - Timing
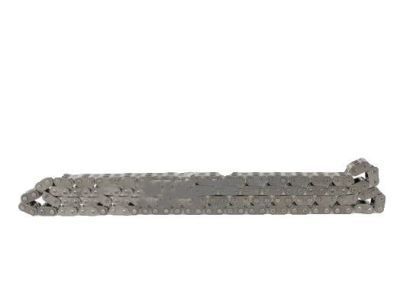
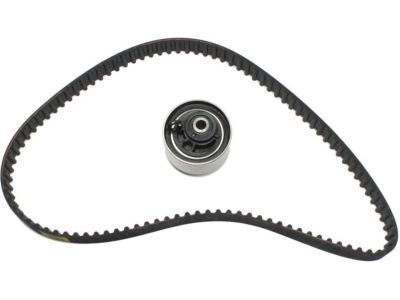
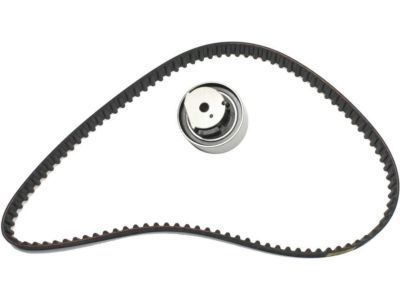
Part Number: CM5Z-6268-A$76.74 MSRP: $112.20You Save: $35.46 (32%)Ships in 1-2 Business DaysFord Focus Belt/Chain - Timing
Part Number: CJ5Z-6268-A$69.85 MSRP: $108.00You Save: $38.15 (36%)Ships in 1-2 Business Days
Ford Focus Timing Belt
The Timing Belt in the Ford Focus cars is a very important belt since it is responsible for the synchronization of the crankshaft and the camshaft, to make certain that the engine valves will open and close at the right time together with piston movements. This synchronisation is done by a fibre reinforced rubber belt that is turned by the crank shaft and which in-turn actuates the cam shaft(s) with the aid of tensioner(s) and idler pulley(s). Throughout the time, the Ford Focus models have incorporated different styles of Timing Belts and progressions toward improved designs include the incorporation of curved teeth for the purpose of increasing belt lifespan as well as decreasing sound. As for the older engines, gears might have been used, however, move to overhead camshaft engines popularised Timing Belts due to their relatively low costing as well as functionality. The TYING BELT must be checked periodically and replaced as required, this is because, if it breaks theimpact on the engine is severe, especially on interference engine where the pistons may hit the open valves.
We provide a wide range of Ford Focus Timing Belt at the best prices possible. If you need Ford Focus Timing Belt, you can shop with confidence on our website. All our OEM parts come with a manufacturer's warranty and are delivered to your door step with a fast delivery service.
Ford Focus Timing Belt Parts Questions & Experts Answers
- Q: How to remove and install Timing Belt in 2.0L SPI engine on Ford Focus?A:The timing system is rather intricate, and major engine harm can result from mistakes at this procedure; therefore, only skillful personnel should undertake it. Start, if possible, with the removal of the negative battery cable, then ensuring that the car is raised on jackstands safely, and the right front tire removed. Then remove the accessory drivebelt and drivebelt tensioner and then the power steering pump reservoir and the coolant expansion tank. It may require the removal of the timing belt cover, for which the Engine Mount support may also have to be taken off. Realign the engine by clockwise, until you see the timing marks on the camshaft and crankshaft pulleys lined up. Turn the tensioner bolt counterclockwise a little, push the tensioner away from the belt and install the bolt and nut. Less the spark plugs, place the rear wheels and cover the front wheels then use the jack to lift the front end and take out the splash shield. A crankshaft should be gripped with a chain or strap wrench when the crankshaft damper bolt and the crankshaft manual has been unscrewed and removed together with the damper, and timing belt also withdrawn. Whenever putting on a new belt make sure that it is of the same type as the first one and when checking the belts also check the water pump. To identify problems when the engine is off, turn the crankshaft two times clockwise prior to turning the ignition switch. Ensure that the timing marks are lined up, then place the new belt counterclockwise round the pulleys ensuring it is taut and then the tensioner will lock into position. Replace the crankshaft damper and its bolt, then turn the crankshaft back and forth in order to check the alignment of the timing marks is not affected. Fasten the tensioner bolt and fully assemble by performing the operational instructions in the reverse method of the removal process.
