
My Garage
My Account
Cart
Genuine Ford Focus Piston Ring Set
Piston Ring- Select Vehicle by Model
- Select Vehicle by VIN
Select Vehicle by Model
orMake
Model
Year
Select Vehicle by VIN
For the most accurate results, select vehicle by your VIN (Vehicle Identification Number).
13 Piston Ring Sets found
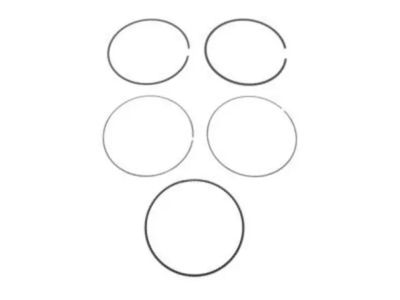
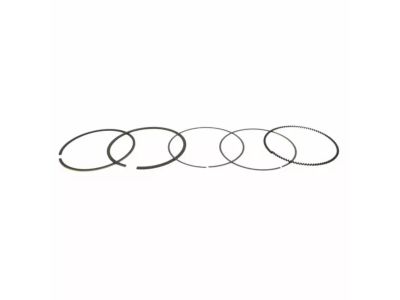
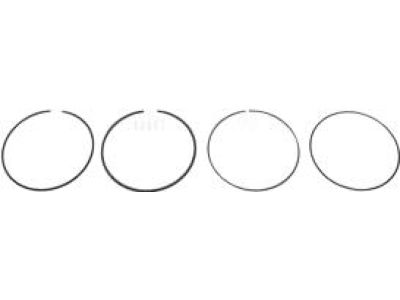
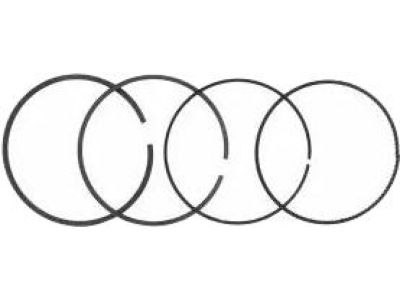
Ford Focus Piston Ring Kit
Part Number: AG9Z-6148-A$32.30 MSRP: $46.02You Save: $13.72 (30%)Ships in 1-3 Business DaysFord Focus Piston Ring Kit
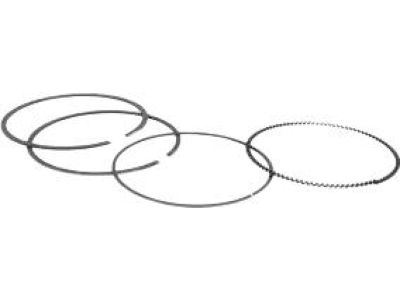
Part Number: CM5Z-6148-AB$28.57 MSRP: $40.70You Save: $12.13 (30%)Ships in 1-3 Business DaysFord Focus Piston Ring Kit
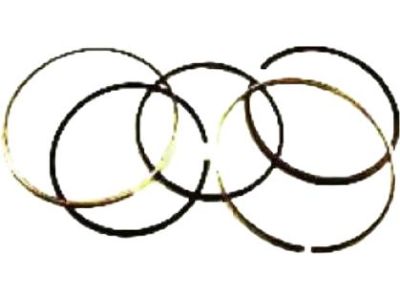
Part Number: CM5Z-6148-C$219.07 MSRP: $342.83You Save: $123.76 (37%)Ships in 1-3 Business DaysFord Focus Piston Ring Kit
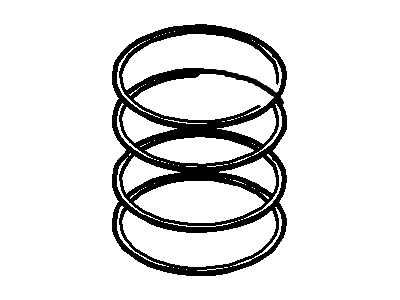
Part Number: 3S4Z-6148-BA$99.84 MSRP: $154.37You Save: $54.53 (36%)Ships in 1-2 Business DaysFord Focus Piston Ring Kit
Part Number: CM5Z-6148-BA$102.09 MSRP: $157.83You Save: $55.74 (36%)Ships in 1-3 Business DaysFord Focus Piston Ring Kit
Part Number: F7CZ-6148-AA$29.87 MSRP: $40.81You Save: $10.94 (27%)Ships in 1-2 Business DaysFord Focus Piston Ring Kit
Part Number: G1FZ-6148-A$326.91 MSRP: $482.17You Save: $155.26 (33%)Ships in 1-3 Business Days
Ford Focus Piston Ring Set
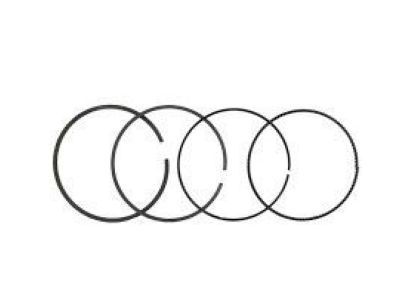
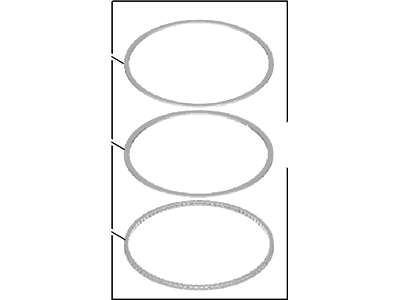
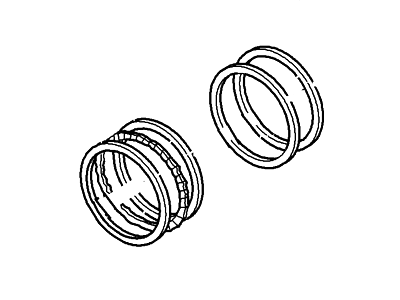
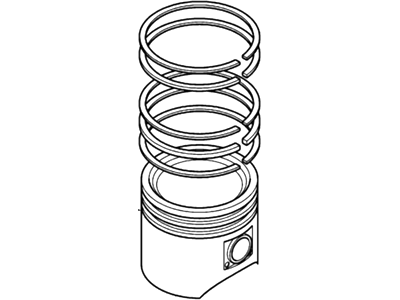
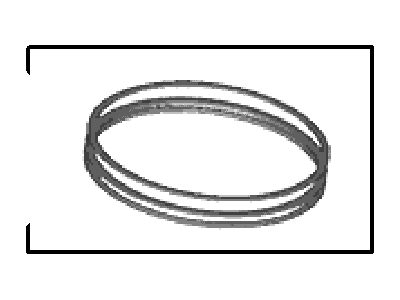
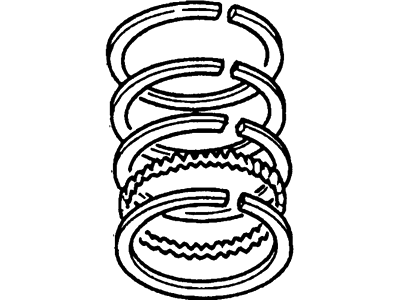
Particularly, the Piston Ring Set in the Ford Focus cars assures the closed structure of the combustion chamber to minimize gas leakage, heat exchange, and control of oil intake. These are usually of cast iron or steel material, and the selection is made depending on the small friction together with good sealing performances which is essential for the engine performance and durability. The trending Ford Focus models through the years have used different models of Piston Ring Sets, the modern Piston Ring Sets are thinner to promote low friction and better seal. Such thin wheels, used mostly with steel or ductile iron materials of construction, can include additional advanced coatings. This is consisted of two height compression rings and one low tension oil control ring per piston for maximum performance under various operational conditions. As applies to Piston Ring Set technology in the Ford Focus the continual the advancement is revealed as ongoing effort to increase total engine efficiency and minimise mechanical losses.
We provide a wide range of Ford Focus Piston Ring Set at the best prices possible. If you need Ford Focus Piston Ring Set, you can shop with confidence on our website. All our OEM parts come with a manufacturer's warranty and are delivered to your door step with a fast delivery service.
Ford Focus Piston Ring Set Parts Questions & Experts Answers
- Q: How should piston rings be installed and what steps should be followed to ensure proper end gap measurement on Ford Focus?A:Before installing new Piston rings, check the end gaps and lay out each piston set with a piston/connecting rod assembly, keeping them together as a matched set. Insert the top compression ring into the first cylinder, squaring it with the cylinder walls by pushing it in with the top of the piston, ensuring the ring is near the bottom of the cylinder at the lower limit of ring travel. To measure the end gap, slip feeler gauges between the ends of the ring until a gauge equal to the gap width is found; the feeler gauge should slide between the ring ends with slight drag. Compare the measurement to the specified value, and if the gap is incorrect, double-check the rings. For used rings, have the cylinder bores checked by a specialist to determine wear and seek advice on the best course of action. If the end gap is too small, carefully file the ring ends with a fine file; if too large, check the dimensions of all components and new parts. Repeat the procedure for each ring in the first cylinder and the remaining cylinders, ensuring rings, pistons, and cylinders remain matched. Install the piston rings using marks or notes made during removal for original groove placement, and ensure new rings have their top surfaces marked facing up. The oil control ring should be installed first, composed of three elements: slip the spacer/expander into the groove, then install the lower side rail without using a piston ring installation tool to avoid damage, and finally install the upper side rail in the same manner. After installing the oil ring components, check that both side rails can turn smoothly in the ring groove. Next, install the second compression ring followed by the top compression ring, ensuring their marks face up and avoiding unnecessary expansion. With all rings in position, space the ring gaps uniformly around the piston at 120 degrees intervals, and repeat the procedure for the remaining pistons and rings.
Related Ford Focus Parts
Browse by Year
2018 Piston Ring Set 2017 Piston Ring Set 2016 Piston Ring Set 2015 Piston Ring Set 2014 Piston Ring Set 2013 Piston Ring Set 2011 Piston Ring Set 2010 Piston Ring Set 2009 Piston Ring Set 2008 Piston Ring Set 2004 Piston Ring Set 2003 Piston Ring Set 2002 Piston Ring Set 2001 Piston Ring Set 2000 Piston Ring Set
