
My Garage
My Account
Cart
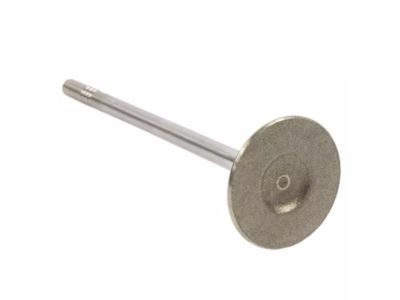
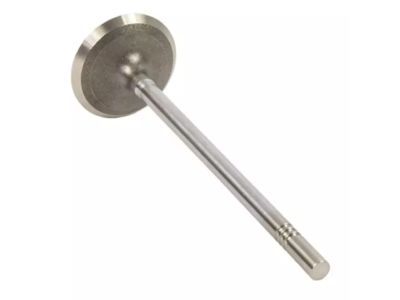
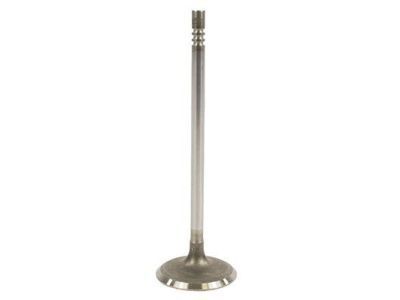
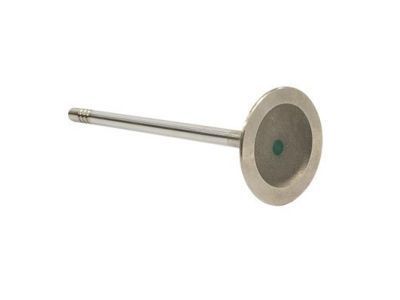
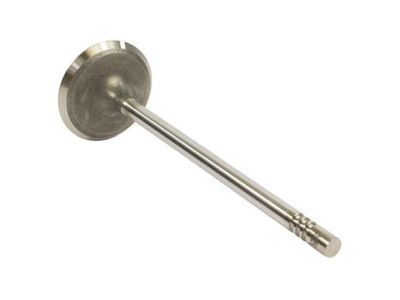
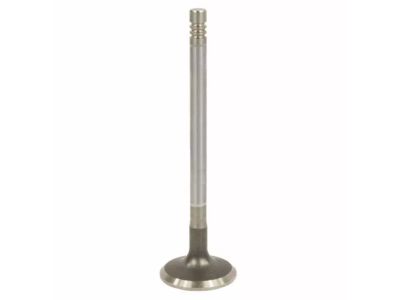
Genuine Ford F-150 Intake Valve
Engine Intake Valve- Select Vehicle by Model
- Select Vehicle by VIN
Select Vehicle by Model
orMake
Model
Year
Select Vehicle by VIN
For the most accurate results, select vehicle by your VIN (Vehicle Identification Number).
29 Intake Valves found
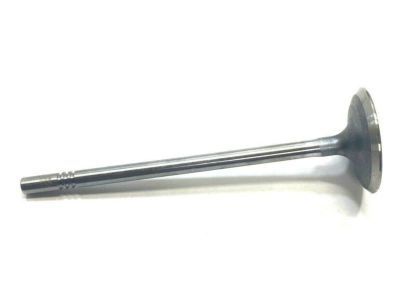
Ford F-150 Inlet Valve
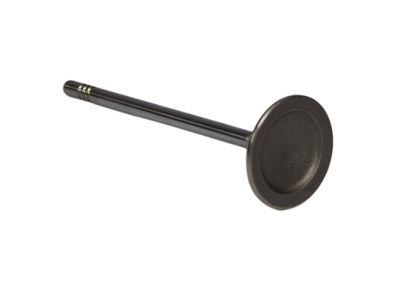
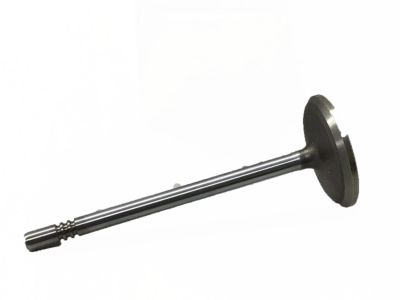
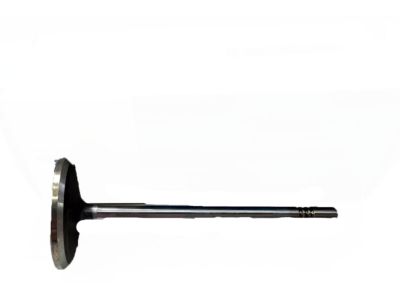
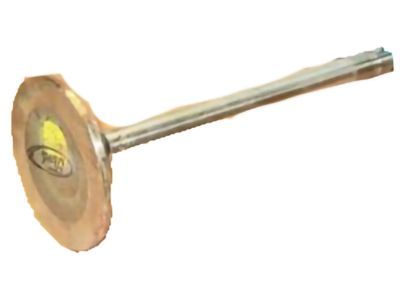
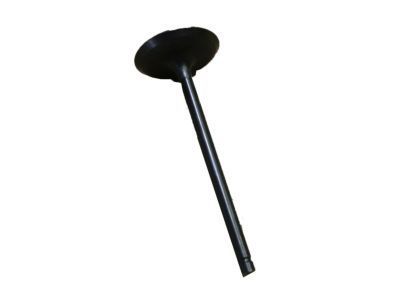
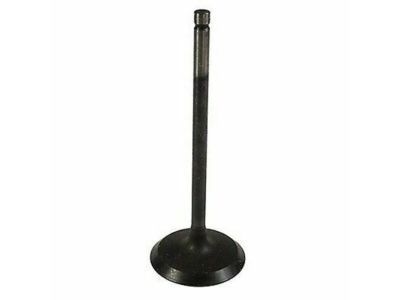
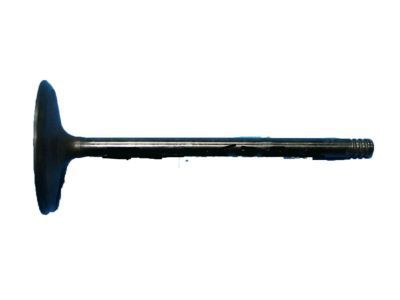
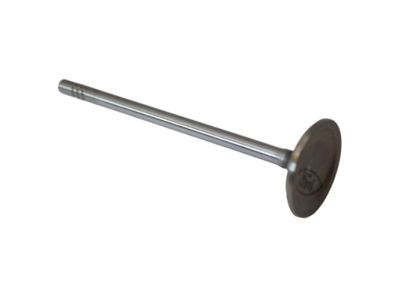
Part Number: XL3Z-6507-AA$64.98 MSRP: $100.47You Save: $35.49 (36%)Ships in 1-2 Business DaysFord F-150 Intake Valve
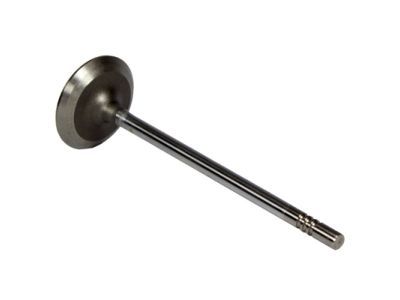
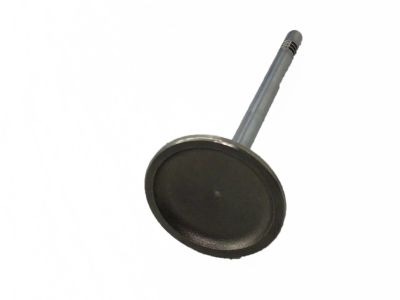
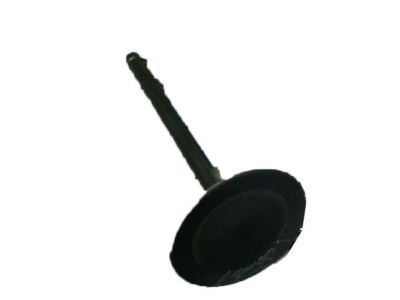
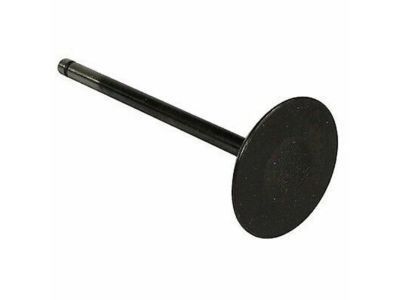
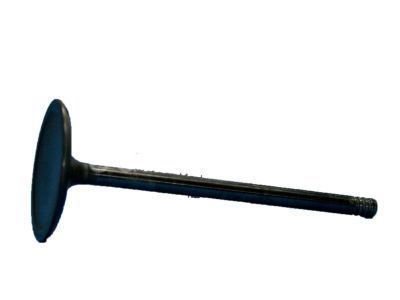
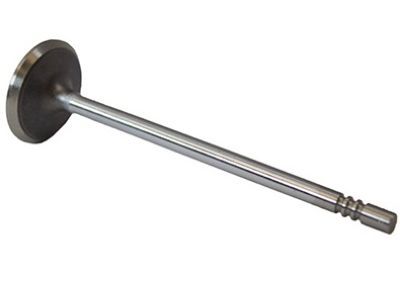
Part Number: E7TZ6507G$18.74 MSRP: $25.61You Save: $6.87 (27%)Ships in 1-2 Business DaysFord F-150 Inlet Valve
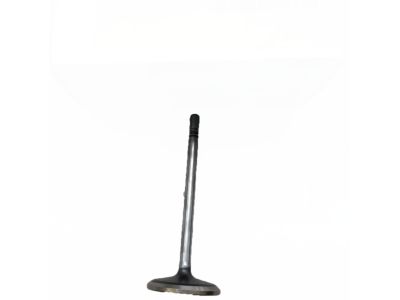
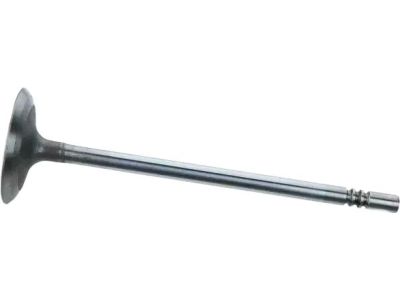
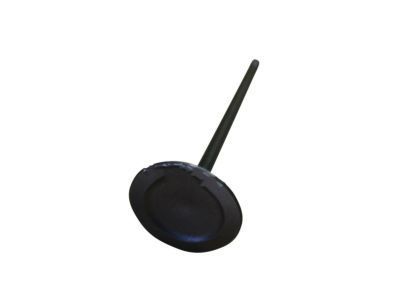
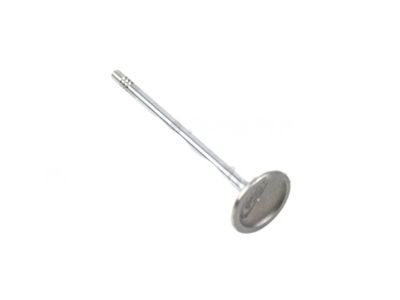
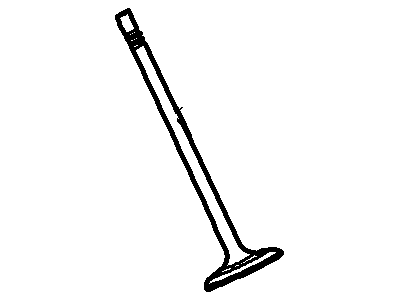
Part Number: 7T4Z-6507-B$18.28 MSRP: $26.03You Save: $7.75 (30%)Ships in 1-3 Business DaysFord F-150 Inlet Valve
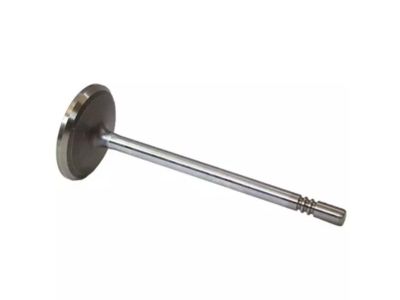
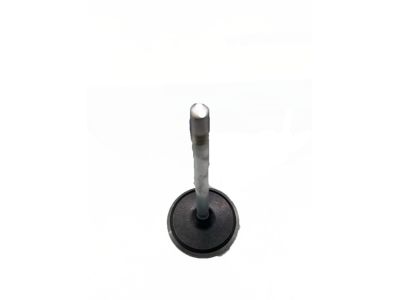
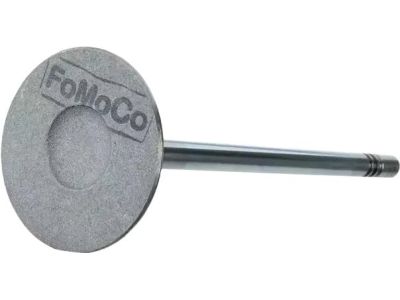
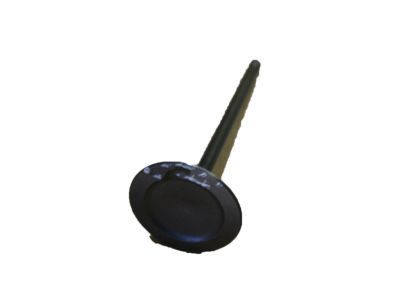
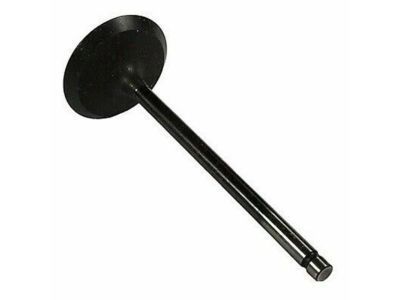
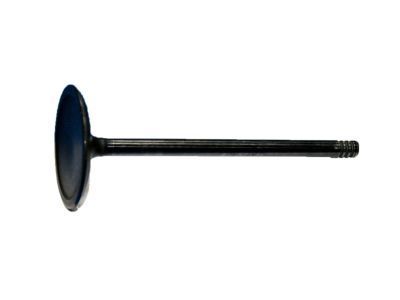
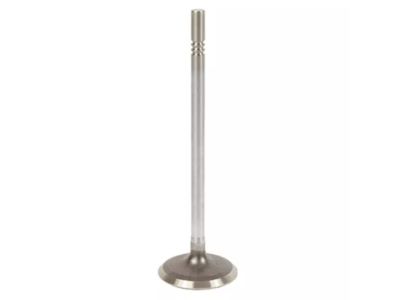
Part Number: AA5Z-6507-A$9.50 MSRP: $13.88You Save: $4.38 (32%)Ships in 1 Business DayFord F-150 Inlet Valve
Part Number: AL3Z-6507-A$18.31 MSRP: $26.77You Save: $8.46 (32%)Ships in 1-3 Business DaysFord F-150 Inlet Valve
Part Number: 3L3Z-6507-BA$11.31 MSRP: $16.12You Save: $4.81 (30%)Ships in 1-2 Business Days
Ford F-150 Inlet Valve
Part Number: JT4Z-6507-B$11.91 MSRP: $16.97You Save: $5.06 (30%)Ships in 1-2 Business DaysFord F-150 Inlet Valve
Part Number: JL3Z-6507-A$11.24 MSRP: $16.02You Save: $4.78 (30%)Ships in 1-3 Business DaysFord F-150 Inlet Valve
Part Number: 4S7Z-6507-A$12.78 MSRP: $18.52You Save: $5.74 (31%)Ships in 1-3 Business DaysFord F-150 Inlet Valve
Part Number: HL3Z-6507-C$16.15 MSRP: $23.10You Save: $6.95 (31%)Ships in 1-3 Business DaysFord F-150 Inlet Valve
Part Number: EK4Z-6507-A$18.28 MSRP: $26.03You Save: $7.75 (30%)Ships in 1-2 Business DaysFord F-150 Inlet Valve
Part Number: KL3Z-6507-A$20.21 MSRP: $28.78You Save: $8.57 (30%)Ships in 1-3 Business DaysFord F-150 Inlet Valve
Part Number: F65Z-6507-AA$9.73 MSRP: $13.87You Save: $4.14 (30%)Ships in 1-3 Business DaysFord F-150 Inlet Valve
Part Number: GL3Z-6507-A$25.16 MSRP: $35.83You Save: $10.67 (30%)Ships in 1-3 Business DaysFord F-150 Inlet Valve
Part Number: ML3Z-6507-A$23.04 MSRP: $32.82You Save: $9.78 (30%)Ships in 1-2 Business DaysFord F-150 Inlet Valve
Part Number: ML3Z-6507-B$17.67 MSRP: $25.17You Save: $7.50 (30%)Ships in 1-2 Business Days
| Page 1 of 2 |Next >
1-20 of 29 Results
Ford F-150 Intake Valve
The Intake Valve in Ford F-150 vehicles has the primary function of improving the performance of the engine as well as the combustion. It is mainly involved with control of air and fuel mixture to the engine and therefore requires proper timing on its opening and closing. In the event where one of the valves, the Intake Valve is damaged, this will lead to low combustion and hence reduced power output of the engine further supporting the need to replace any damaged valves. In the Ford F-150 models, there has been the use of different types of Intake Valves styles with a view of enhancing efficiency of the engine. The repair process of the Ford F-150 Intake Valve requires the use of certain tools and utmost precision so as not to cause damage to the nearby parts. It becomes significant to ensure the Intake Valve of Ford F-150 vehicles are properly installed to ensure the performance of the vehicle's engine does not degrade in future with potential recurring expensive damaging effects.
We provide a wide range of Ford F-150 Intake Valve at the best prices possible. If you need Ford F-150 Intake Valve, you can shop with confidence on our website. All our OEM parts come with a manufacturer's warranty and are delivered to your door step with a fast delivery service.
Ford F-150 Intake Valve Parts Questions & Experts Answers
- Q: How do you check and adjust valve clearances after replacing camshafts or valve-related parts on Ford F-150?A:The engine must be cold as the checking of the valve clearances should be done only in case where camshaft or other parts related to the valve have been changed or replaced or where excessive noise is heard coming from the valve train area. Loosen the connection of the cable from the negative terminal of the battery, next remove the spark plugs and the valve covers. Loosening the crankshaft pulley centre bolt one can use a socket and a breaker bar to rotate the engine until the camshaft lobes of the cylinder to be checked are positioned away from the tappets. With the feeler gauge, ascertain valve clearance for the valves which have been indicated and ensure they jot down all the readings taken; then compare the observed readings with the standard valve clearance in order to point out those valve clearances which are beyond the standard. Do the same process to all valves to obtain its initial measurement. If any clearance is out of specification, one has to replace the tappet with one of another thickness to correct it and, of course, the camshafts have to be removed in order to be able to deal with the tappets. Sticker the lifters for replacement and the valves that should go together with them using a micrometer to measure the thickness of the head of each lifter to the nearest 0.001 inches. If you'd like to know how thick the new lifter should be so as to achieve the desired valve clearance, then the formula N equal R + (M1-M2) should do it for you, where N is the thickness of the new tappet, R is the thickness of the old tappet, M1 is your measured valve clearance and M2 is the standard valve clearance. Coated lifters are coded on the bottom aspect to express their measurement where a marking of 3.310 denoted thickness of 3.31 mm or 0.13 inch. At last, select the new lifters that should be placed in the specific location, while apply the engine assembly lube on it, and place it into its correct position; replace the camshafts and timing chains back, and check it with the valve clearance.
Related Ford F-150 Parts
Browse by Year
2023 Intake Valve 2022 Intake Valve 2021 Intake Valve 2020 Intake Valve 2019 Intake Valve 2018 Intake Valve 2017 Intake Valve 2016 Intake Valve 2015 Intake Valve 2014 Intake Valve 2013 Intake Valve 2012 Intake Valve 2011 Intake Valve 2010 Intake Valve 2009 Intake Valve 2008 Intake Valve 2007 Intake Valve 2006 Intake Valve 2005 Intake Valve 2004 Intake Valve 2003 Intake Valve 2002 Intake Valve 2001 Intake Valve 2000 Intake Valve 1999 Intake Valve 1998 Intake Valve 1997 Intake Valve 1996 Intake Valve 1995 Intake Valve 1994 Intake Valve 1993 Intake Valve 1992 Intake Valve 1991 Intake Valve 1990 Intake Valve 1989 Intake Valve 1988 Intake Valve 1987 Intake Valve 1986 Intake Valve 1985 Intake Valve 1984 Intake Valve 1983 Intake Valve 1982 Intake Valve 1981 Intake Valve 1980 Intake Valve
