
My Garage
My Account
Cart
Genuine Ford F-150 Flywheel
Clutch Flywheel- Select Vehicle by Model
- Select Vehicle by VIN
Select Vehicle by Model
orMake
Model
Year
Select Vehicle by VIN
For the most accurate results, select vehicle by your VIN (Vehicle Identification Number).
26 Flywheels found
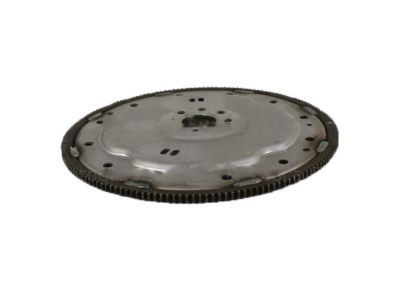
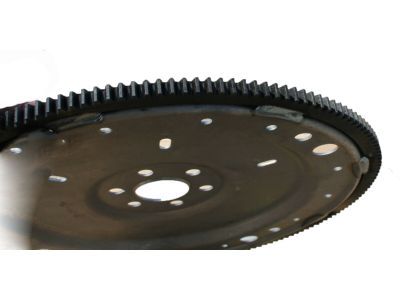
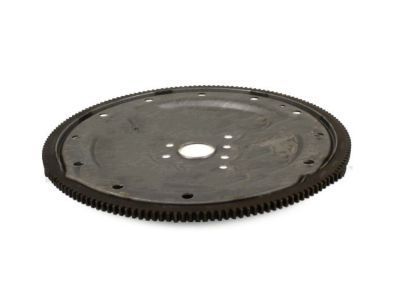
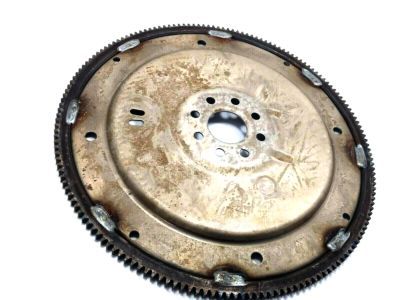
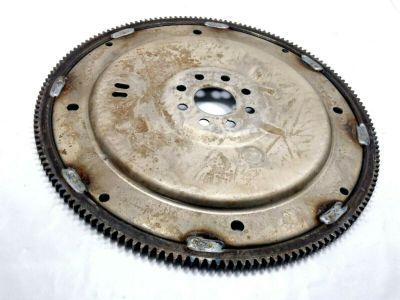
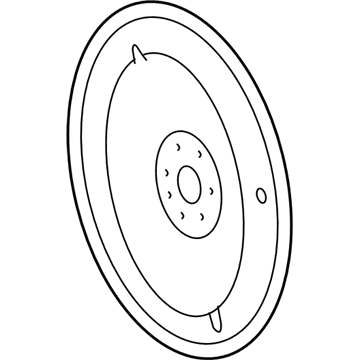
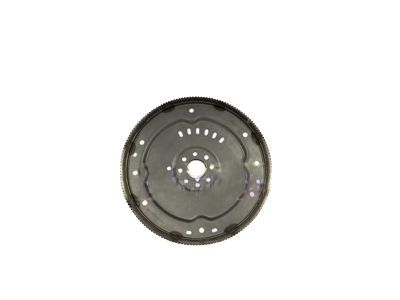
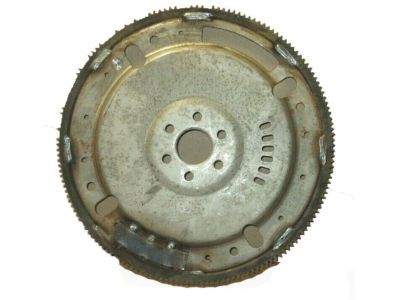
Ford F-150 Flywheel Assembly
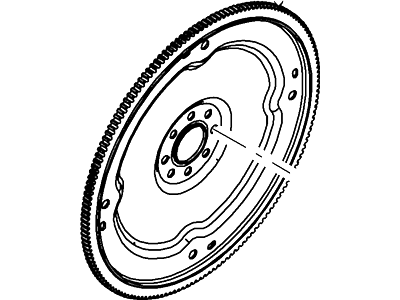
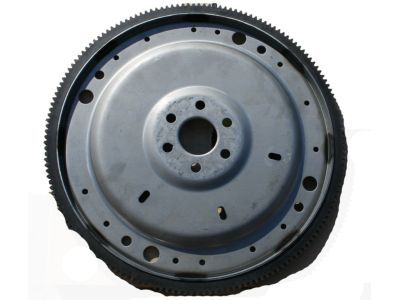
Part Number: 4C3Z-6375-AA$72.96 MSRP: $106.67You Save: $33.71 (32%)Ships in 1 Business DayFord F-150 Flywheel Assembly
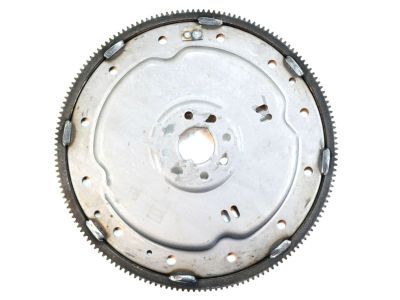
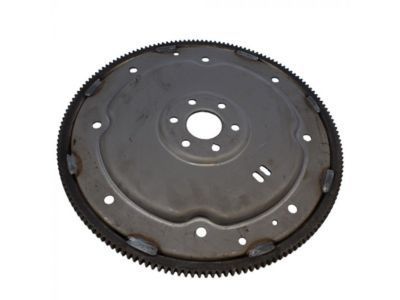
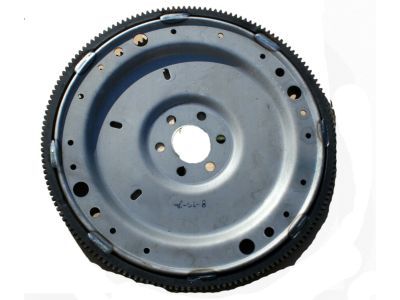
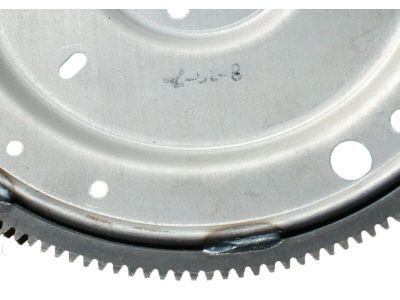
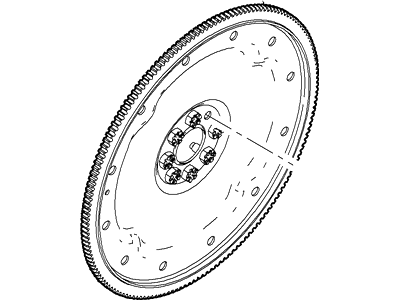
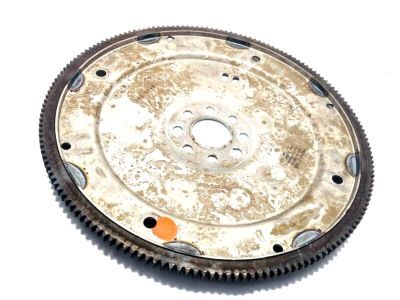
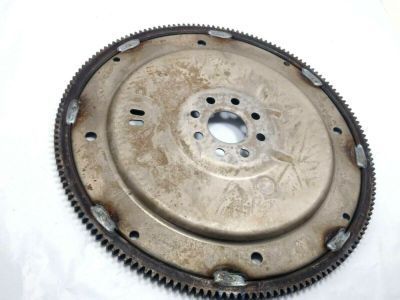
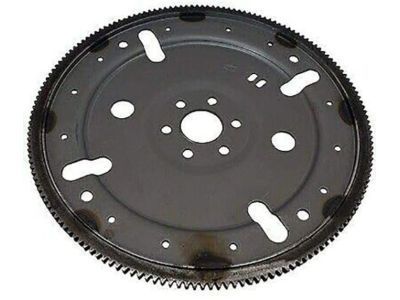
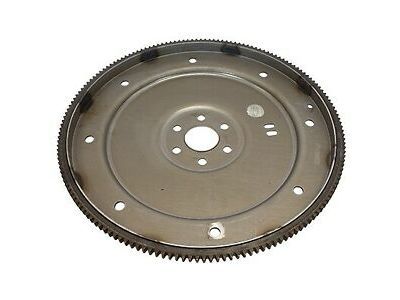
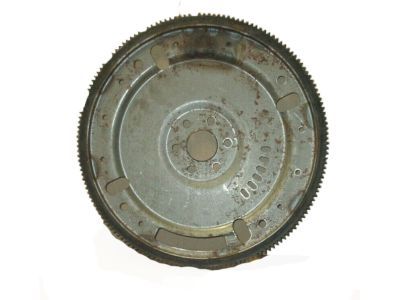
Part Number: BL3Z-6375-A$106.02 MSRP: $155.00You Save: $48.98 (32%)Ships in 1-2 Business DaysFord F-150 Flywheel Assembly
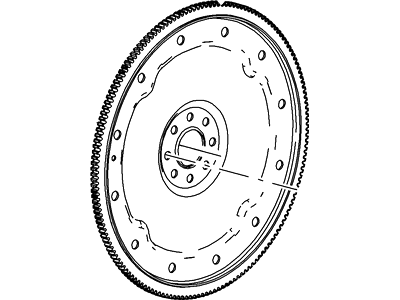
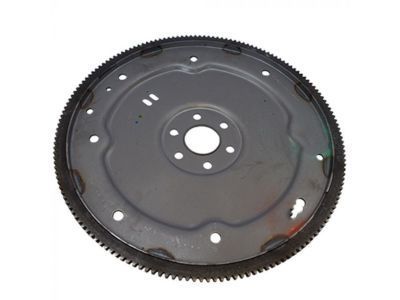
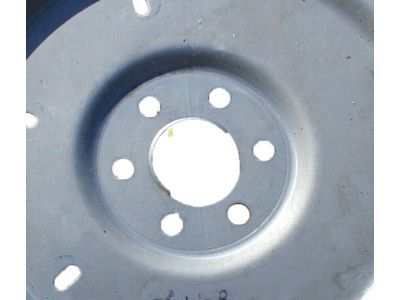
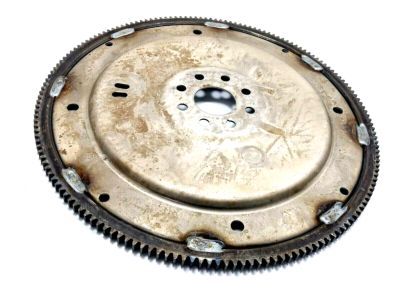
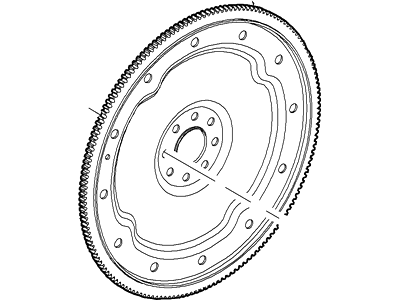
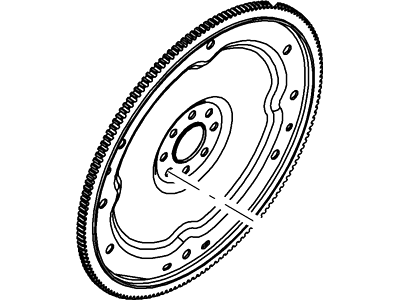
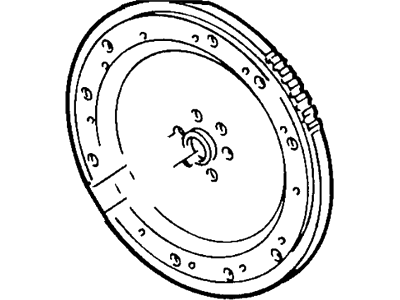
Part Number: 4W7Z-6375-AA$56.66 MSRP: $82.83You Save: $26.17 (32%)Ships in 1-3 Business DaysFord F-150 Flywheel Assembly
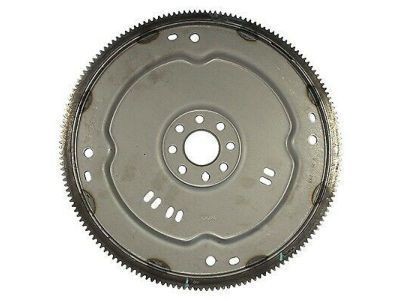
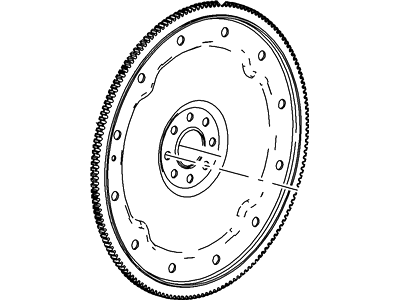
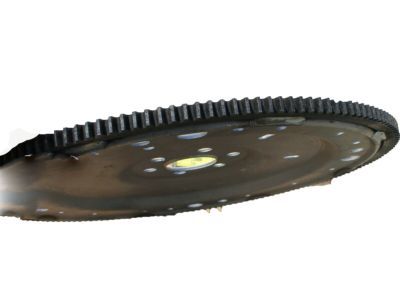
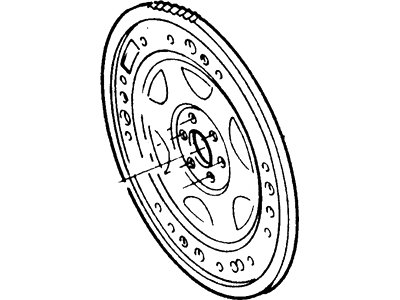
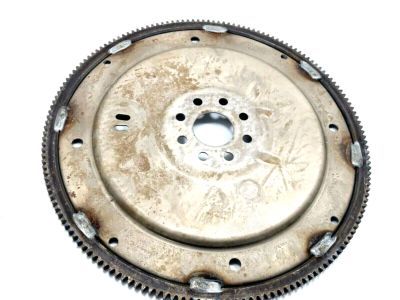
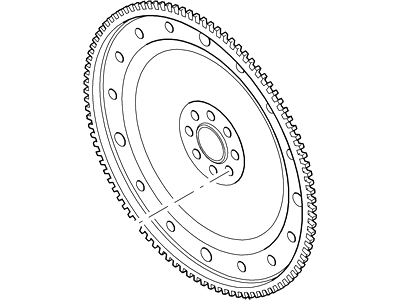
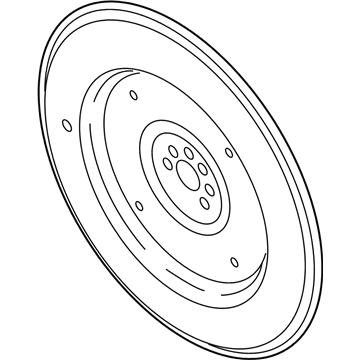
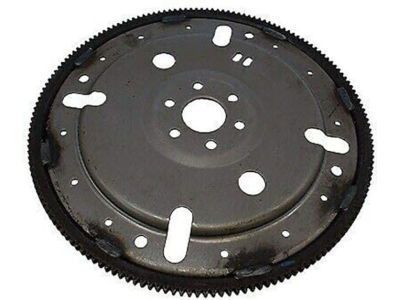
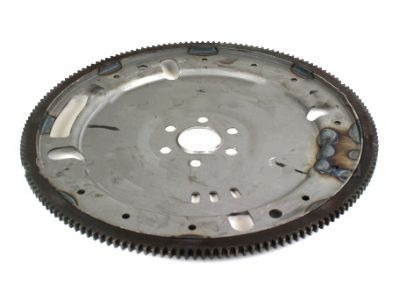
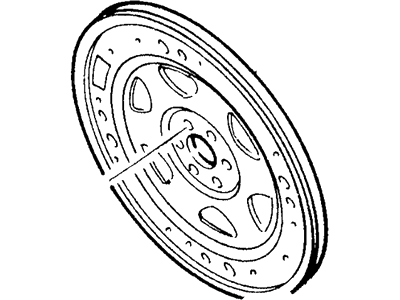
Part Number: D5TZ-6375-A$57.00 MSRP: $83.33You Save: $26.33 (32%)Ships in 1-3 Business DaysFord F-150 Flywheel Assembly
Part Number: 1C3Z-6375-BA$116.28 MSRP: $170.00You Save: $53.72 (32%)Ships in 1-3 Business DaysFord F-150 Flywheel Assembly
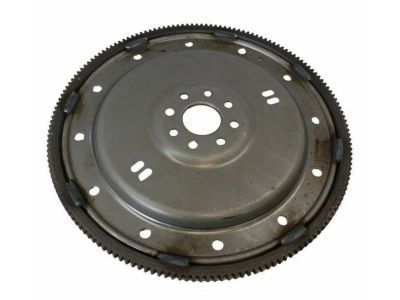
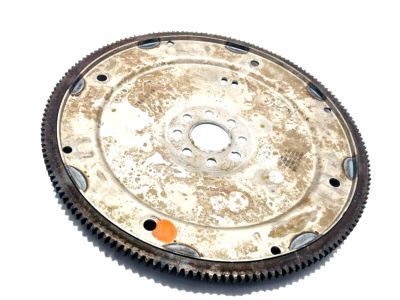
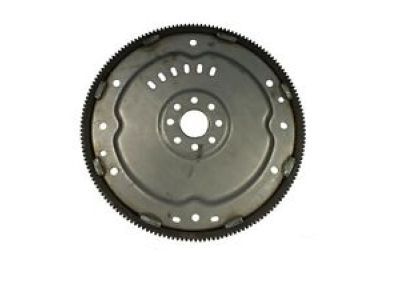
Part Number: F6AZ-6375-DA$72.96 MSRP: $106.67You Save: $33.71 (32%)Ships in 1 Business DayFord F-150 Flywheel Assembly
Part Number: F6AZ-6375-BA$56.66 MSRP: $82.83You Save: $26.17 (32%)Ships in 1-2 Business DaysFord F-150 Flywheel Assembly
Part Number: HL3Z-6375-A$59.19 MSRP: $86.53You Save: $27.34 (32%)Ships in 1-3 Business DaysFord F-150 Flywheel Assembly
Part Number: FL3Z-6375-A$82.39 MSRP: $120.45You Save: $38.06 (32%)Ships in 1-3 Business DaysFord F-150 Flywheel Assembly
Part Number: JL3Z-6375-B$69.97 MSRP: $102.30You Save: $32.33 (32%)Ships in 1-3 Business DaysFord F-150 FLYWHEEL ASY
Part Number: ML3Z-6477-A$622.16 MSRP: $925.83You Save: $303.67 (33%)Ships in 1-2 Business Days
| Page 1 of 2 |Next >
1-20 of 26 Results
Ford F-150 Flywheel
We provide a wide range of Ford F-150 Flywheel at the best prices possible. If you need Ford F-150 Flywheel, you can shop with confidence on our website. All our OEM parts come with a manufacturer's warranty and are delivered to your door step with a fast delivery service.
Ford F-150 Flywheel Parts Questions & Experts Answers
- Q: How do you properly remove and reinstall a flywheel or driveplate from a crankshaft in 4.2L V6 engine on Ford F-150?A:Raise the vehicle and support it securely on jackstands, then remove the transmission; if it's leaking, now is a good time to replace the front pump seal/O-ring for automatic transmissions. For manual transmission vehicles, remove the pressure plate and clutch disc, and consider checking or replacing the clutch components and pilot bearing. Look for factory paint marks indicating flywheel-to-crankshaft alignment; if absent, use a center-punch or paint to create alignment marks to ensure correct positioning during reinstallation. Remove the bolts securing the flywheel/driveplate to the crankshaft, using a prybar through a hole on automatic transmissions to prevent the crankshaft from turning. If the crankshaft turns, use a flywheel-holding tool or jam a screwdriver through the starter opening. For manual-shift transmission flywheels, insert two bolts into the extra threaded holes and tighten them evenly to force the flywheel off the crankshaft. Carefully remove the flywheel/driveplate, supporting it while removing the last bolt. Clean the flywheel with brake cleaner, inspecting for cracks, rivet grooves, burned areas, and score marks, with light scoring removable using emery cloth. Check for cracked and broken ring gear teeth, and lay the flywheel on a flat surface to check for warpage with a straightedge. Clean and inspect the mating surfaces of the flywheel/driveplate and crankshaft, replacing the crankshaft rear seal if leaking before reinstalling. Position the flywheel/driveplate against the crankshaft, aligning the marks made during removal, and note that some engines have an alignment dowel or staggered bolt holes for correct installation. Apply Teflon thread sealant to the bolt threads before tightening them to the specified torque while using a flywheel holding tool or a screwdriver to prevent movement. Complete the installation by reversing the removal procedure.
Related Ford F-150 Parts
Browse by Year
2023 Flywheel 2022 Flywheel 2021 Flywheel 2020 Flywheel 2019 Flywheel 2018 Flywheel 2017 Flywheel 2016 Flywheel 2015 Flywheel 2014 Flywheel 2013 Flywheel 2012 Flywheel 2011 Flywheel 2010 Flywheel 2009 Flywheel 2008 Flywheel 2007 Flywheel 2006 Flywheel 2005 Flywheel 2004 Flywheel 2003 Flywheel 2002 Flywheel 2001 Flywheel 2000 Flywheel 1999 Flywheel 1998 Flywheel 1997 Flywheel 1996 Flywheel 1995 Flywheel 1994 Flywheel 1993 Flywheel 1992 Flywheel 1991 Flywheel 1990 Flywheel 1989 Flywheel 1988 Flywheel 1987 Flywheel 1986 Flywheel 1985 Flywheel 1984 Flywheel 1983 Flywheel 1982 Flywheel 1981 Flywheel 1980 Flywheel
