

My Garage
My Account
Cart
Genuine 1994 Ford Ranger Crankshaft Seal
Crankshaft Seals- Select Vehicle by Model
- Select Vehicle by VIN
Select Vehicle by Model
orMake
Model
Year
Select Vehicle by VIN
For the most accurate results, select vehicle by your VIN (Vehicle Identification Number).
3 Crankshaft Seals found
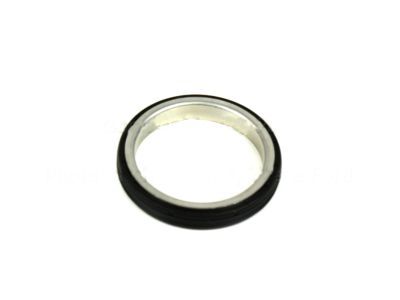
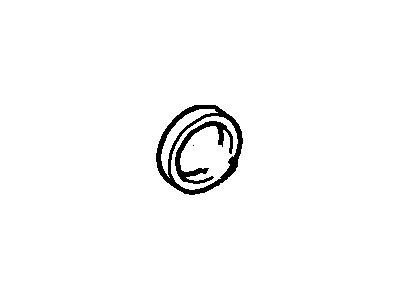 Product Specifications
- Other Name: Seal Assembly - Crankshaft Oil
- Replaces: D7RZ-6701-A, F77Z-6701-BA, F77Z-6701-AA
- Base No.: 6701
- Item Weight: 0.40 Pounds
- Item Dimensions: 9.2 x 7.1 x 1.0 inches
- Condition: New
- Fitment Type: Direct Replacement
- SKU: F5TZ-6701-A
- Warranty: This genuine part is guaranteed by Ford's factory warranty.


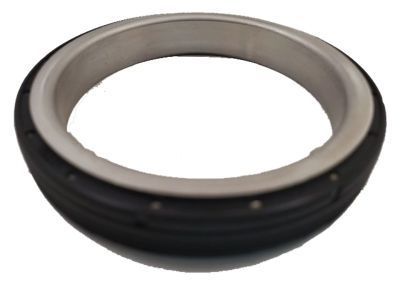
1994 Ford Ranger Oil Pan Rear Seal
Part Number: F37Z-6701-A$24.45 MSRP: $34.83You Save: $10.38 (30%)Ships in 1-3 Business DaysProduct Specifications- Other Name: Seal Assembly - Crankshaft Oil
- Replaces: E8DZ-6701-A
- Base No.: 6701
- Item Weight: 0.50 Pounds
- Condition: New
- Fitment Type: Direct Replacement
- SKU: F37Z-6701-A
- Warranty: This genuine part is guaranteed by Ford's factory warranty.
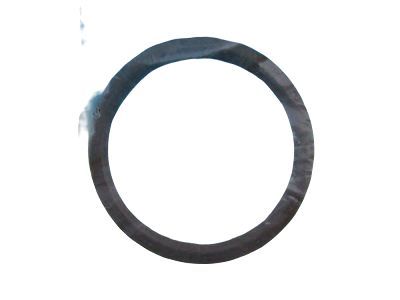
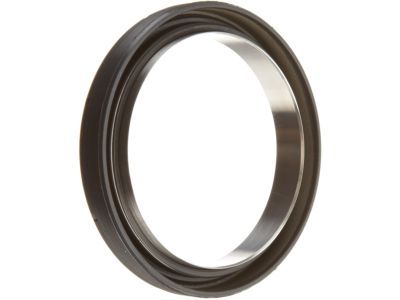
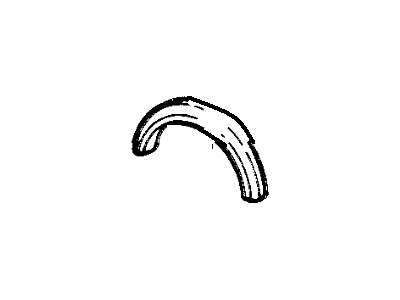 Product Specifications
- Other Name: Seal Assy - Crankshaft Oil; Rear Main Seal
- Base No.: 6701
- Item Weight: 0.40 Pounds
- Item Dimensions: 6.3 x 4.2 x 2.1 inches
- Condition: New
- Fitment Type: Direct Replacement
- SKU: E5ZZ-6701-A
- Warranty: This genuine part is guaranteed by Ford's factory warranty.
1994 Ford Ranger Crankshaft Seal
At FordPartsGiant.com, you will find an extensive inventory of genuine 1994 Ford Ranger Crankshaft Seal offered at competitive prices online. These manufacturer-backed OEM 1994 Ford Ranger Crankshaft Seal ensure your satisfaction with their quality and come with a hassle-free return policy and expedited delivery service, guaranteeing a delightful shopping experience.
1994 Ford Ranger Crankshaft Seal Parts Questions & Experts Answers
- Q:How to replace the Crankshaft Seal in the DOHC four cylinder engine on 1994 Ford Ranger?Posted by Butti D.A:To replace the front oil seal, there is various procedure, but the first step is to remove the crankshaft pulley. Using a screwdriver or hook tool, coax the seal out of the Engine Front Cover Bore and out of the Crankshaft sealing surface but, be careful not to mar the crankshaft sealing surface. Adding another approach, drill small holes on each side of the seal and then place the self-tapping screws that pull the seal out without having to pry. Scrub the sealing faces of the engine cover and the crankshaft and then apply clean engine oil on the same faces. Start installing the new seal by placing the seal on the front of the engine then after the seal has been seated partially, it can be anally driven in the center of the engine front cover using a seal driver or a suitable socket, until the seal is flush with the engine cover. It is necessary to apply clean engine oil on the lip of the seal. To get to the rear oil seal it is necessary to first remove the transmission and clutch assembly if the bike is equipped with one, then the flywheel and oil pan. See that the oil seal and carrier are unbolted, the next step being to clean the mating surfaces on the block of the cylinder and the crankshaft whereby surfaces that have razor sharp burrs, which are often the root cause of seal damage ought to be polished. It is enough to just oil the internal flange of the new sealer lightly and to fit it with the help of a thin strip of the plastic as a liner. Ensure that the new oil seal and carrier is carefully placed on the crankshaft, tightening the carrier bolts while the carrier is in place, only with fingers. Pull out the plastic liner so that it will make correct contact with the crankshaft, fasten the oil seal carrier to the specified torque. Last of all, look for indications of oil spillage if the engine is functional.Answered by Ford Parts Specialist Jack / Jun 03, 2022
Related 1994 Ford Ranger Parts
 1994 Ford Ranger Cylinder Head Bolts
 1994 Ford Ranger Crankshaft Pulley
 1994 Ford Ranger Crankshaft Gear
 1994 Ford Ranger Crankshaft Position Sensor
 1994 Ford Ranger Crankshaft
 1994 Ford Ranger Cylinder Head
 1994 Ford Ranger Crankcase Breather Hose
 1994 Ford Ranger Crankshaft Thrust Washer Set