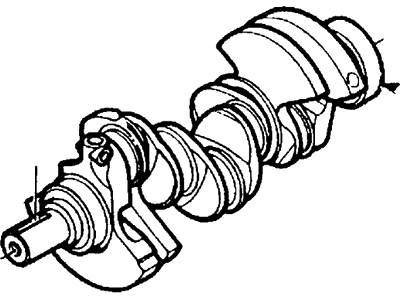
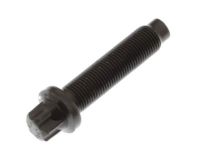
The connecting rod bolts/nuts on V6 engines (push rod and SOHC) are "torque-to-yield" design and are NOT reusable; once removed, they must be replaced with new bolts/nuts. Crankshaft installation is the first step in engine reassembly, assuming the engine block and crankshaft have been cleaned, inspected, and repaired or reconditioned. Position the engine with the bottom facing up, remove the main bearing cap bolts, and lift out the caps, laying them out in the proper order. If the original bearing inserts are still in place, remove them and wipe the bearing surfaces with a clean, lint-free cloth. Clean the back sides of the new main bearing inserts and lay one in each main bearing saddle in the block, ensuring the oil holes in the block line up with those in the bearing insert. The flanged thrust bearing must be installed in the third cap and saddle on all engines. Clean the faces of the bearings in the block and the crankshaft main bearing journals, check or clean the oil holes in the crankshaft, and lay the crankshaft in position in the main bearings. Before permanent installation, check the main bearing oil clearance using Plastigage, ensuring the caps are installed in their respective positions with arrows pointing toward the front of the engine. Tighten the main bearing cap bolts in three steps, starting with the center main and working outward, without rotating the crankshaft. Remove the bolts and lift off the main bearing caps, keeping them in order, and compare the width of the crushed Plastigage to the scale on the envelope to obtain the main bearing oil clearance. If the clearance is not as specified, ensure no dirt or oil was present during measurement before considering different bearing inserts. Carefully scrape all traces of Plastigage material off the main bearing journals and bearing faces. For final crankshaft installation, lift the crankshaft out, clean the bearing faces in the block, and apply a thin layer of moly-based engine assembly lubricant to each bearing surface, including the thrust faces. Lay the crankshaft back in place, clean the faces of the bearings in the caps, and apply lubricant before installing the caps with arrows pointing toward the front. Apply a small amount of sealant on either side of the rear main recess in the block before installing the rear main cap, which should be done within 4 minutes of applying the sealant. Tighten all main cap bolts except the thrust bearing cap bolts, then tighten the thrust bearing cap bolts finger tight. Pry the crankshaft forward while holding pressure on it and pry the thrust bearing cap backward to align the thrust bearing surfaces. Re-tighten all main bearing cap bolts to the torque, rotate the crankshaft by hand to check for binding, and finally check the crankshaft end play with a feeler gauge or dial indicator, ensuring the end play is correct if the thrust faces are not worn or damaged and new bearings have been installed. Install the rear main oil seal.