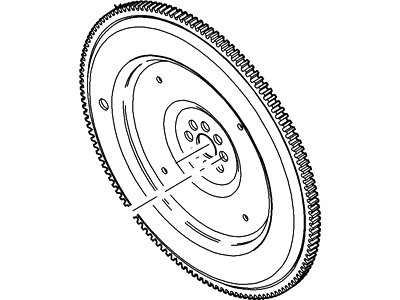
Raise the vehicle and support it securely on jackstands, then remove the transmission. If it's leaking, now would be a very good time to replace the front pump seal/O-ring for automatic transmissions. Remove the pressure plate and clutch disc for manual transmission equipped vehicles, and check or replace the clutch components and pilot bearing. Make alignment marks on the flywheel/driveplate and crankshaft to ensure correct alignment during reinstallation. Remove the bolts that secure the flywheel/driveplate to the crankshaft; if the crankshaft turns, wedge a screwdriver through the starter opening to jam the flywheel. Carefully remove the flywheel/driveplate from the crankshaft, supporting it while removing the last bolt due to its weight. Clean the flywheel to remove grease and oil, inspecting the surface for cracks, rivet grooves, burned areas, and score marks, with light scoring removable using emery cloth. Check for cracked and broken ring gear teeth, laying the flywheel on a flat surface to check for warpage with a straightedge. Clean and inspect the mating surfaces of the flywheel/driveplate and the crankshaft, replacing the crankshaft rear seal if it is leaking before reinstalling the flywheel/driveplate. Position the flywheel/driveplate against the crankshaft, aligning the marks made during removal, noting that some engines have an alignment dowel or staggered bolt holes for correct installation. Before installing the bolts, apply thread locking compound to the threads. Wedge a screwdriver through the starter motor opening to keep the flywheel/driveplate from turning as you tighten the bolts in a crisscross pattern to the specified torque. The remainder of installation follows the reverse of the removal procedure.