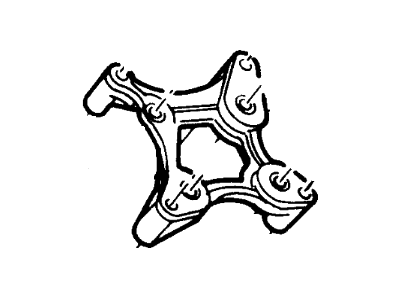
Engine mounts seldom require attention, but broken or deteriorated mounts should be replaced immediately to prevent damage or wear on the drive line components. To check the mounts, the engine must be raised slightly to remove the weight from them. Begin by raising the vehicle and securely supporting it on jack stands, then position a jack under the engine oil pan with a large wood block in between. Carefully raise the engine just enough to relieve the weight on the mounts, then inspect them for any cracks, hardened rubber, or separation from the metal plates, noting that the rubber may split down the center. Check for any relative movement between the mount plates and the engine or frame using a large screwdriver or pry bar; if movement is detected, lower the engine and tighten the mount fasteners. Applying rubber preservative can help slow deterioration. When replacing mounts, it is advisable to replace both even if only one is faulty due to the extensive disassembly involved. Begin by removing the air cleaner, air intake duct, engine cooling fan and shroud, alternator, and throttle body from the intake manifold. If replacing the right mount, the starter motor must also be removed. Detach the mount-to-cross member nuts and the nuts attaching the transmission mount to the transmission cross member. Even when replacing just one mount, both mount-to-cross member nuts must be removed to raise the engine. Attach an engine hoist and carefully raise the engine until it is supported, ensuring the weight is off the mounts, then remove the four mount-to-engine block bolts. Raise the engine sufficiently to pull out the mount(s), ensuring not to raise it so high that the intake manifold touches the cowl, as this could cause damage. Installation follows the reverse order of removal, with all bolts and nuts tightened to the specified torque.
Posted by FordPartsGiant Specialist 


