
My Garage
My Account
Cart
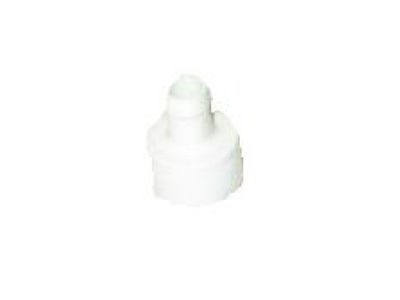
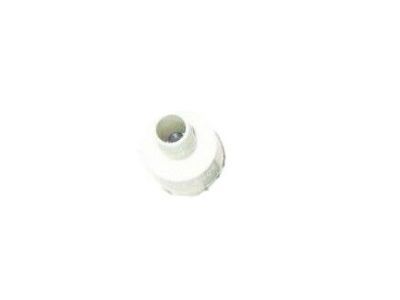
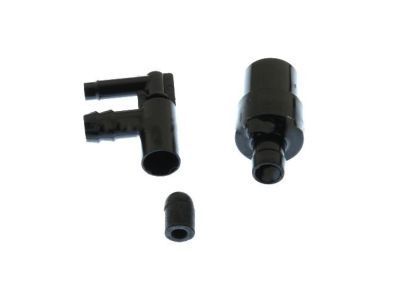
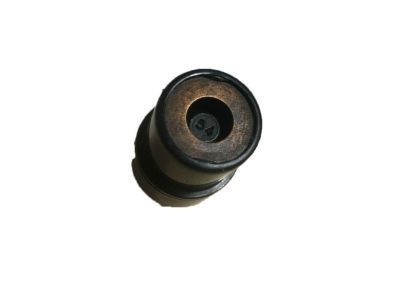
Genuine Mercury Capri PCV Valve
Position Crank Ventilation Valve- Select Vehicle by Model
- Select Vehicle by VIN
Select Vehicle by Model
orMake
Model
Year
Select Vehicle by VIN
For the most accurate results, select vehicle by your VIN (Vehicle Identification Number).
6 PCV Valves found
Mercury Capri PCV Valve
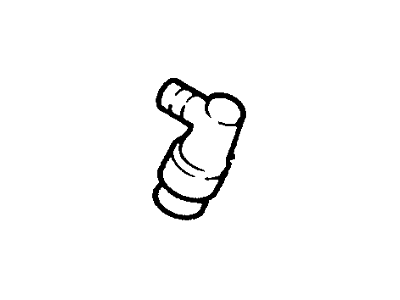
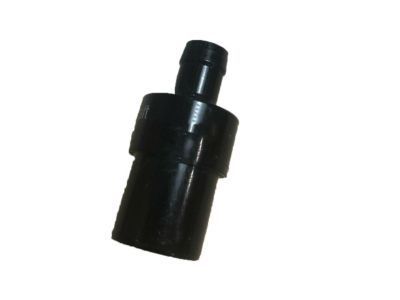
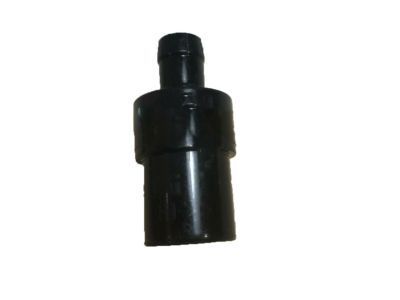
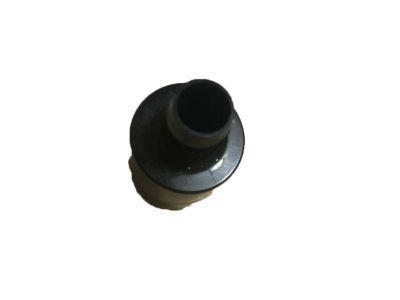
The PCV Valve in Mercury Capri cars is just as important for the car as it is to the driver because it manages the emission levels and engine performance. Saving the environment and avoiding the formation of oil sludge is the job done by the PCV Valve since it directs the gases from the crankcase back to the combustion chambers where they can safely be burnt. Working dependent on the intake manifold vacuum, the PCV Valve restricts the gas at idle but opens when there is a load to properly ventilate crankcase gases without adversely affecting the engine. Also, the PCV Valve can be a flame arrestor and also boost engine power by increasing the compression. cars require timely services and should be checked often to avoid top charges during repairs and to have the optimal performance of the car.
We provide a wide range of Mercury Capri PCV Valve at the best prices possible. If you need Mercury Capri PCV Valve, you can shop with confidence on our website. All our OEM parts come with a manufacturer's warranty and are delivered to your door step with a fast delivery service.
Mercury Capri PCV Valve Parts Questions & Experts Answers
- Q: How to check and replace the PCV Valve on Mercury Capri?A:To maintain the efficiency of the PCV system, clean the hoses and check the PCV valve at the intervals recommended in the maintenance schedule. Locate the PCV valve. On four-cylinder EFI engines, the air cleaner assembly must be removed to gain access to the PCV valve. To check the valve, first pull it out of the grommet in the rocker arm cover or manifold, or out of the lower hose. Shake the valve. It should rattle, indicating that it is not clogged with deposits. If the valve does not rattle, replace it with a new one. If it does rattle, reinstall it. Start the engine and allow it to idle, then disconnect the PCV hose. If vacuum is felt, the PCV/valve system is working properly. If no vacuum is felt, the oil filler cap, hoses or rocker arm cover gasket may be leaking or the PCV valve may be bad. Check for vacuum leaks at the valve, filler cap and all hoses. Pull straight up on the valve to remove it. Check the rubber grommet for cracks and distortion. If it's damaged, replace it. If the valve is clogged, the hose is also probably plugged. Remove the hose and clean it with solvent. After cleaning the hose, inspect it for damage, wear and deterioration. Make sure it fits snugly on the fittings. If necessary, install a new PCV valve. The elbow is not part of the PCV valve. A new valve will not include the elbow. The original must be transferred to the new valve. If a new elbow is purchased, it may be necessary to soak it in warm water for up to an hour to slip it onto the new valve. Do not attempt to force the elbow onto the valve or it will break. Install the clean PCV system hose. Make sure the PCV valve and hose are secure.
