
My Garage
My Account
Cart
Genuine Mercury Capri Engine Mount
Engine Motor Mount- Select Vehicle by Model
- Select Vehicle by VIN
Select Vehicle by Model
orMake
Model
Year
Select Vehicle by VIN
For the most accurate results, select vehicle by your VIN (Vehicle Identification Number).
5 Engine Mounts found
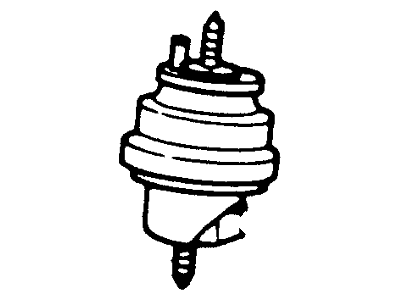
Mercury Capri Insulator Assembly Engine S
Part Number: E83Z6068BA$64.89 MSRP: $88.67You Save: $23.78 (27%)Ships in 1-2 Business Days
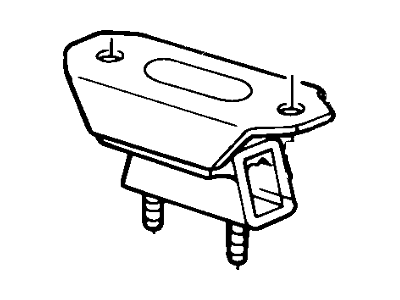
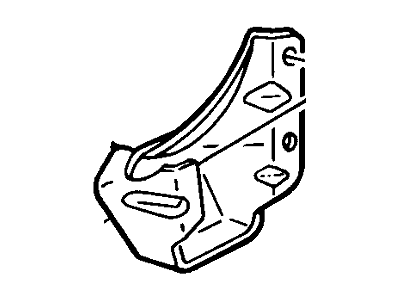
Mercury Capri Engine Mount
We provide a wide range of Mercury Capri Engine Mount at the best prices possible. If you need Mercury Capri Engine Mount, you can shop with confidence on our website. All our OEM parts come with a manufacturer's warranty and are delivered to your door step with a fast delivery service.
Mercury Capri Engine Mount Parts Questions & Experts Answers
- Q: Should engine mounts be replaced immediately if they are broken or deteriorated in four cylinder engine on Mercury Capri?A:Engine mounts are generally trouble-free, but any that are cracked or worn should be replaced to help avoid rash or the related part wear. To check the mounts, stand the engine up to take pressure off of it and the mounts for inspection. First, raise the car safely on jackstands and place a jack in such a manner under the engine Oil Pan and put a big wooden block in between the head of the jack and the oil pan then slowly lift the engine a little in order to take the pressure off the mounts. Check the mounts for any signs of cracking, rigidness of the rubber or where the rubber stops and the metal plates starts, as the rubber can split right down the middle. Some of the shake or bounce could be transferred between the mount plates and the engine or frame as the assembly is lowered; this should be assessed for any relative motion using a large screwdriver or pry bar; where motion is noted, the assembly should be dropped and the mount fasteners tightened in their usual manner. To prevent further aggravation of the situation, it is recommended to use rubber preservative at the mounts. As for replacement, remove the negative battery terminal, lift the car and set it on suitable jackstands if not already applied. Take off the fasteners to free the mount from the frame bracket and lift the engine up a little by the use of a jack or hoist, at this angle ensure that the fan does not bump into the radiator or shroud, take off the mount to block nuts or bolts. Toruing of the mount bolts as well as the application of thread locking compound is done during installation and it is done in a sequential manner that is in an opposing order to the removal process.


