
My Garage
My Account
Cart
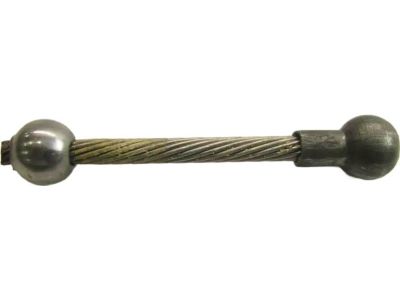
Genuine Mercury Capri Clutch Cable
Clutch Cable Wire- Select Vehicle by Model
- Select Vehicle by VIN
Select Vehicle by Model
orMake
Model
Year
Select Vehicle by VIN
For the most accurate results, select vehicle by your VIN (Vehicle Identification Number).
3 Clutch Cables found
Mercury Capri Clutch Cable
We provide a wide range of Mercury Capri Clutch Cable at the best prices possible. If you need Mercury Capri Clutch Cable, you can shop with confidence on our website. All our OEM parts come with a manufacturer's warranty and are delivered to your door step with a fast delivery service.
Mercury Capri Clutch Cable Parts Questions & Experts Answers
- Q: How to remove and install Clutch Cable on Mercury Capri?A:To manually adjust the cable on early models, first disconnect the negative battery cable from the battery. For all models except the 3.3L inline six-cylinder, loosen the cable locknut and adjusting nut, and for early models without the inline six-cylinder engine, remove the clutch locknut and adjusting nut to detach the cable from the release fork, then pull the clutch cable forward out of its bellhousing boss. For 3.3L models, pull the adjusting nut forward out of the rubber insulator before loosening the cable for removal from the bellhousing, ensuring not to turn the adjusting nut without pulling it clear of the rubber insulator. Next, remove the cable retaining clip at the bellhousing and the clip securing the cable to the top of the clutch pedal, then detach the cable from the pedal and take it out of the vehicle. Installation follows the reverse order of removal, with cable adjustment required. For self-adjusting cables on later models, lift the clutch pedal fully to disengage the pawl and quadrant, push the quadrant forward to unhook the cable, and allow it to swing back slowly under spring pressure. Open the hood to remove the retaining screw holding the cable to the dash panel and, if present, the screw securing the cable bracket to the front side-member. Raise the vehicle securely on jackstands, remove the dust cover from the bellhousing, and take off the retainer ring holding the cable to the bellhousing. Disengage the clutch cable from the release lever by sliding the ball on the end of the cable through the hole in the clutch release lever for all models except 1987 and later four-cylinder engines, where the clip and clevis pin must be removed. Installation is the reverse of removal, ensuring to lift the clutch pedal to disengage the pawl and quadrant while hooking the cable over the rear of the quadrant without using prying tools, and after installation, depress the clutch pedal several times to adjust the cable.


