
My Garage
My Account
Cart
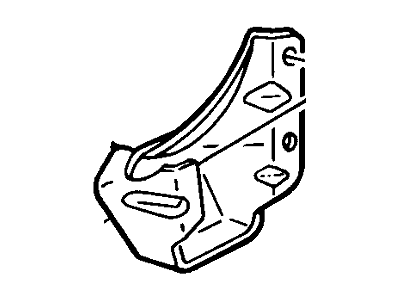
Genuine Lincoln Town Car Engine Mount
Engine Motor Mount- Select Vehicle by Model
- Select Vehicle by VIN
Select Vehicle by Model
orMake
Model
Year
Select Vehicle by VIN
For the most accurate results, select vehicle by your VIN (Vehicle Identification Number).
16 Engine Mounts found
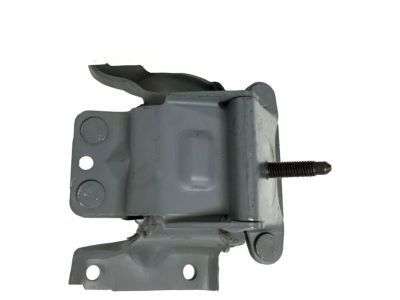
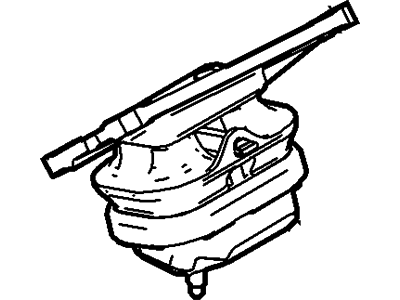
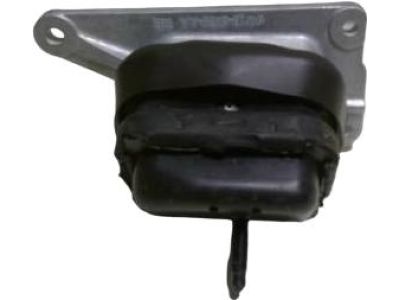
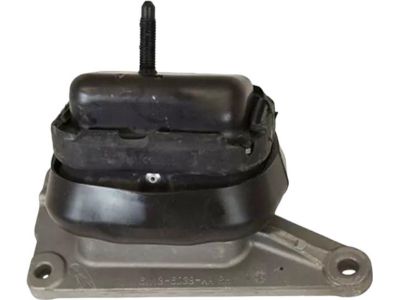
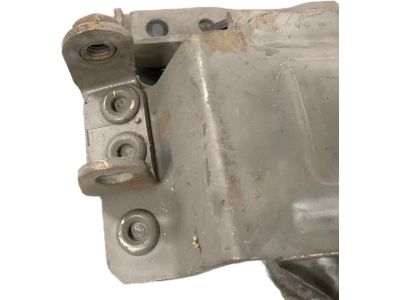
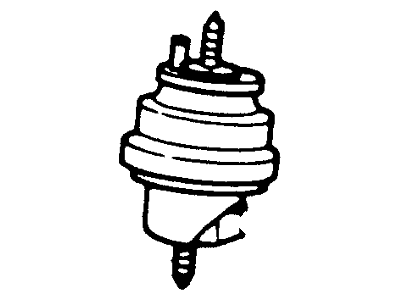
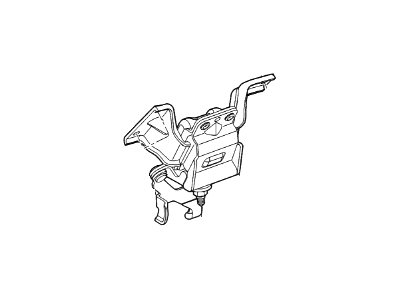
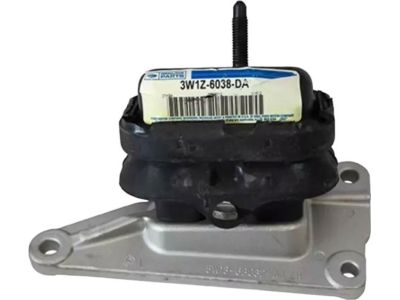
Lincoln Town Car Engine Support Insulator Assembly
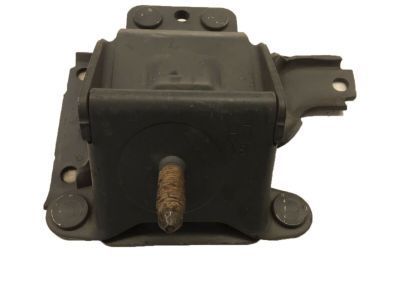
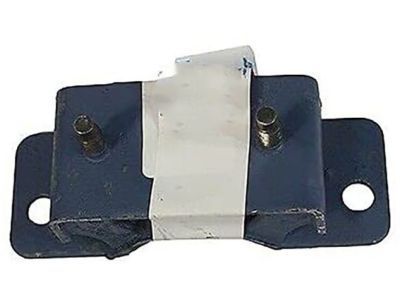
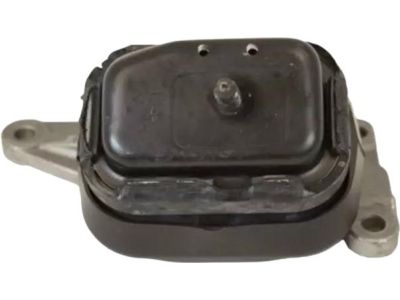
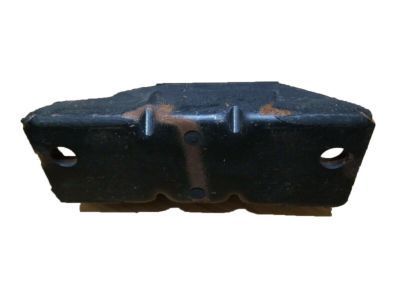
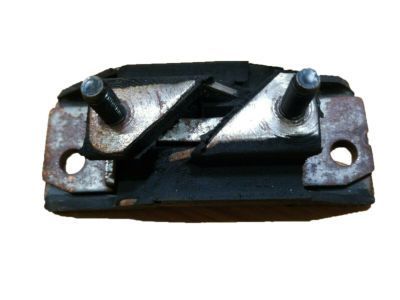
Part Number: 3W1Z-6038-BA$67.49 MSRP: $98.67You Save: $31.18 (32%)Lincoln Town Car Transmission Mount
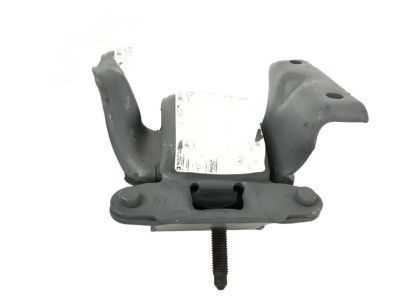
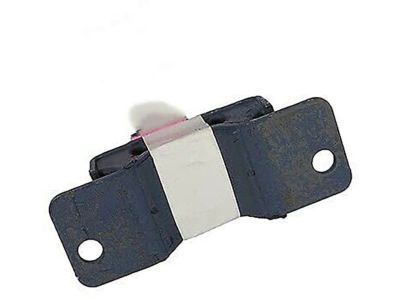
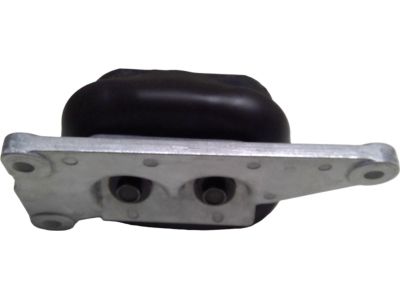
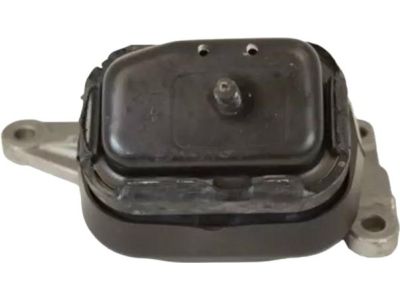
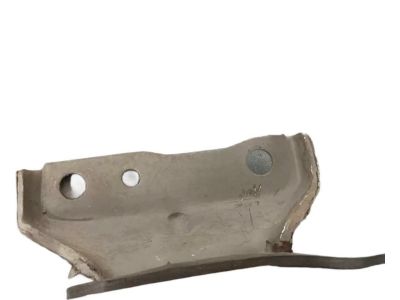
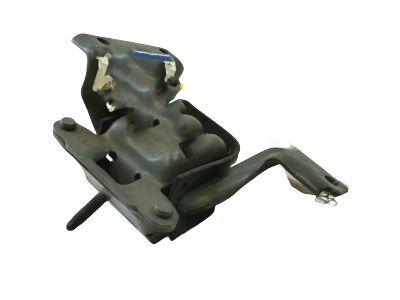
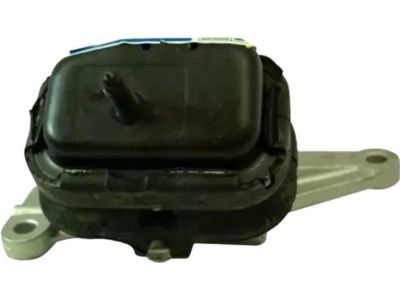
Part Number: 3W1Z-6068-BA$42.83 MSRP: $61.53You Save: $18.70 (31%)Lincoln Town Car Front Right Engine Motor Mount
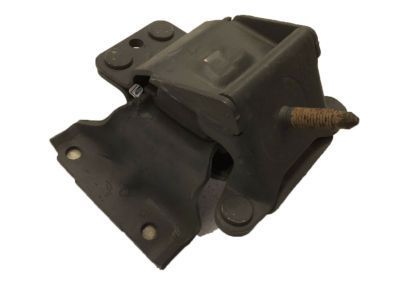
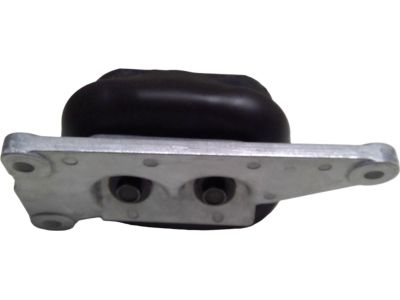
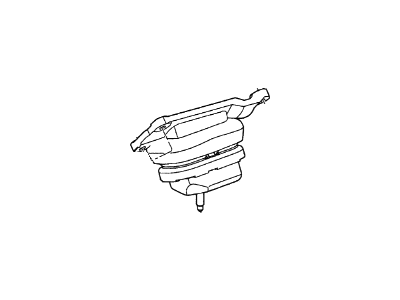
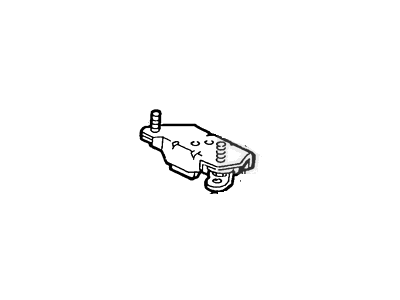
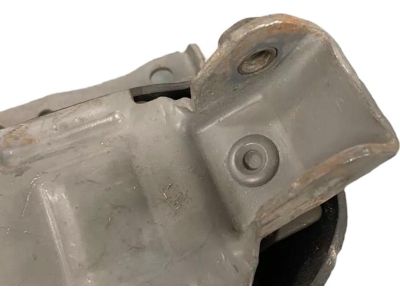
Part Number: 3W1Z-6038-CB$159.00 MSRP: $220.88You Save: $61.88 (29%)Ships in 1-2 Business DaysLincoln Town Car Engine Support Insulator Assembly
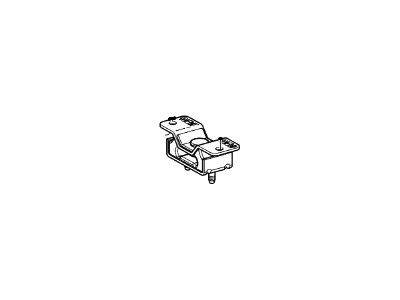
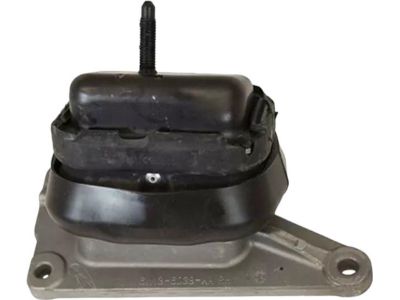
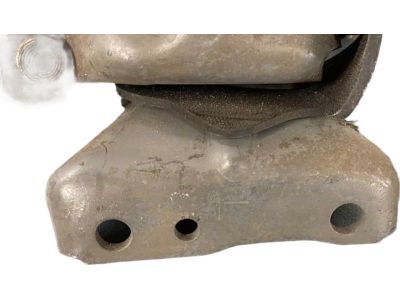
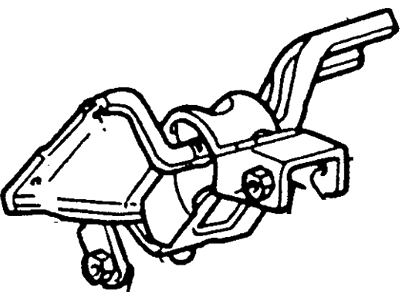
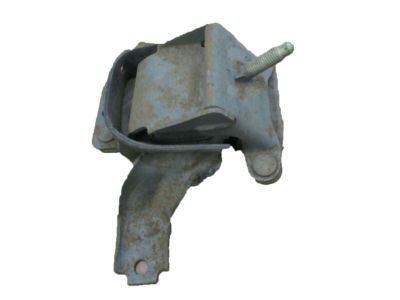
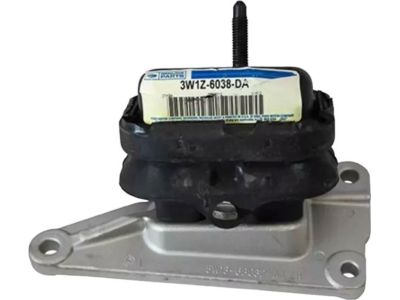
Part Number: F8VZ-6068-AA$126.62 MSRP: $175.90You Save: $49.28 (29%)Ships in 1-2 Business DaysLincoln Town Car Engine Support Insulator Assembly
Part Number: 1W7Z-6038-BA$54.55 MSRP: $75.78You Save: $21.23 (29%)Ships in 1-2 Business DaysLincoln Town Car Insulator Assembly Engine S
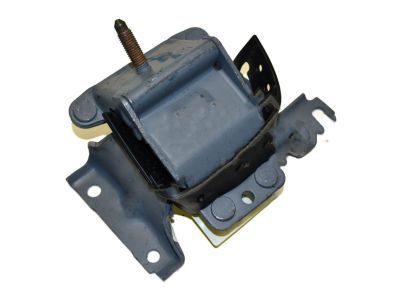
Part Number: E83Z6068BA$64.89 MSRP: $88.67You Save: $23.78 (27%)Ships in 1-2 Business Days
Lincoln Town Car Engine Mount
We provide a wide range of Lincoln Town Car Engine Mount at the best prices possible. If you need Lincoln Town Car Engine Mount, you can shop with confidence on our website. All our OEM parts come with a manufacturer's warranty and are delivered to your door step with a fast delivery service.
Lincoln Town Car Engine Mount Parts Questions & Experts Answers
- Q: How to check and replace engine mounts on Lincoln Town Car Overhead valve (OHV)engines?A:Engine mounts seldom require attention, but broken or deteriorated mounts should be replaced immediately or the added strain placed on the driveline components may cause damage or wear. During the check, the engine must be raised slightly to remove the weight from the mounts. Raise the vehicle and support it securely on jackstands, then position a jack under the engine Oil Pan. Place a large wood block between the jack head and the oil pan, then carefully raise the engine just enough to take the weight off the mounts. Check the mounts to see if the rubber is cracked, hardened or separated from the metal plates. Sometimes the rubber will split right down the center. Check for relative movement between the mount plates and the engine or frame. If movement is noted, lower the engine and tighten the mount fasteners. Rubber preservative should be applied to the mounts to slow deterioration. Disconnect the negative battery cable from the battery, then raise the vehicle and support it securely on jackstands. Remove the nut or through bolt to disconnect the mount from the frame. Disconnect the automatic transmission shift linkage. Raise the engine slightly with a jack or hoist, making sure the fan doesn't hit the radiator or shroud. Remove the mount-to-block bolts and detach the mount. Installation is the reverse of removal. Use thread locking compound on the mount bolts and be sure to tighten them securely.
- Q: How to check and replace engine mounts on Lincoln Town Car Overhead cam (OHC) engine?A:Engine mounts seldom require attention, but broken or deteriorated mounts should be replaced immediately or the added strain placed on the driveline components may cause damage or wear. During the check, the engine must be raised slightly to remove the weight from the mounts. Raise the vehicle and support it securely on jackstands, then position a jack under the engine Oil Pan. Place a large wood block between the jack head and the oil pan, then carefully raise the engine just enough to take the weight off the mounts. Check the mounts to see if the rubber is cracked, hardened or separated from the metal plates. Sometimes the rubber will split right down the center. Check for relative movement between the mount plates and the engine or frame. If movement is noted, lower the engine and tighten the mount fasteners. Rubber preservative should be applied to the mounts to slow deterioration. To replace, disconnect the cable from the negative battery terminal. Raise the vehicle and support it securely on jackstands. Place a large wood block between the jack head and the oil pan, then carefully raise the engine just enough to take the weight off the mounts and through bolts. Remove the through bolts that connect the upper and lower motor mount halves. Once the bolts have been removed from the mounts on both sides of the engine, raise the engine up until the fan blades just meet the fan shroud. Place a wood block between the frame and the Exhaust Manifold, on both sides of the engine. Remove the mount-to-block bolts and detach the mount. If the mounts are being replaced, the bolts attaching them to the frame can be reached with a socket and long extension through the access holes in the frame. Installation is the reverse of removal. Use thread locking compound on the mount bolts and tighten them to the torque.
Related Lincoln Town Car Parts
Browse by Year
2011 Engine Mount 2010 Engine Mount 2009 Engine Mount 2008 Engine Mount 2007 Engine Mount 2006 Engine Mount 2005 Engine Mount 2004 Engine Mount 2003 Engine Mount 2002 Engine Mount 2001 Engine Mount 2000 Engine Mount 1999 Engine Mount 1998 Engine Mount 1997 Engine Mount 1996 Engine Mount 1995 Engine Mount 1994 Engine Mount 1993 Engine Mount 1992 Engine Mount 1991 Engine Mount 1990 Engine Mount 1989 Engine Mount 1988 Engine Mount 1987 Engine Mount 1986 Engine Mount 1985 Engine Mount 1984 Engine Mount 1983 Engine Mount 1982 Engine Mount
