
My Garage
My Account
Cart
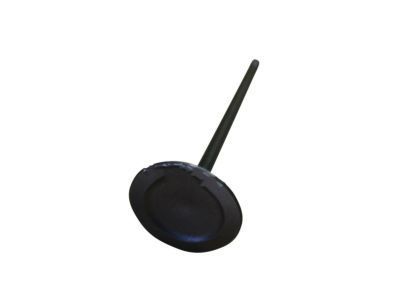
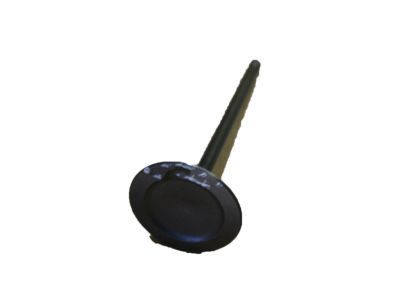
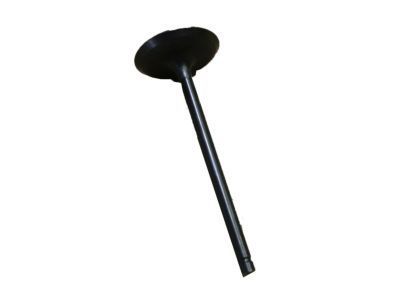
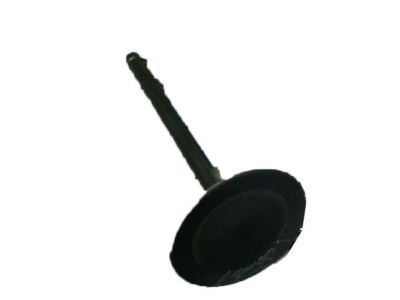
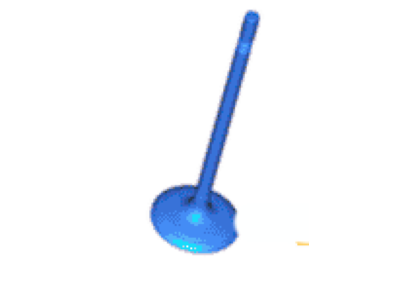
Genuine Lincoln MKX Intake Valve
Engine Intake Valve- Select Vehicle by Model
- Select Vehicle by VIN
Select Vehicle by Model
orMake
Model
Year
Select Vehicle by VIN
For the most accurate results, select vehicle by your VIN (Vehicle Identification Number).
3 Intake Valves found
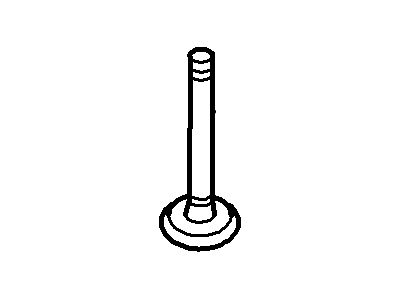
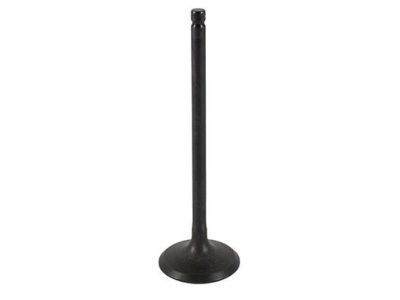
Lincoln MKX Inlet Valve
Part Number: 7T4Z-6507-B$16.30 MSRP: $23.83You Save: $7.53 (32%)Ships in 1-3 Business DaysLincoln MKX Inlet Valve
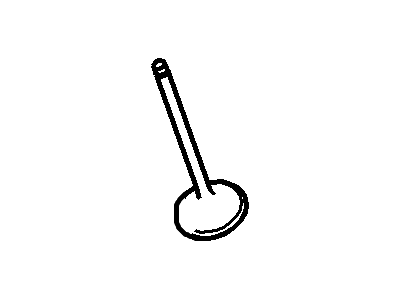
Part Number: 1S7Z-6507-B$15.56 MSRP: $22.17You Save: $6.61 (30%)Ships in 1-3 Business Days
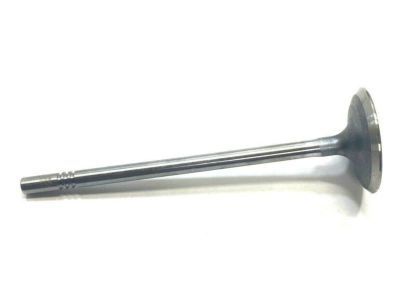
Lincoln MKX Intake Valve
The Intake Valve in Lincoln MKX helps to improve the performance of the car engines together with improving combustion by controlling the blend of air and fuel. These valves should open and close at the right intervals, otherwise, combustion is bound to be affected, and the power of the engine will be greatly reduced. For the years of modeling, Lincoln MKX has worked with a number of Intake Valve styles but does not differentiate and specify different types of Intake Valves used. The main message stays the same which is the need to take care of the mentioned valves should one avoid getting stranded with a faulty engine and exorbitant bills. Consequently, it becomes critical for the Lincoln MKX's Intake Valves to be inspected frequently and damaged ones replaced as often as possible so that the vehicles' performance can be maintained.
We provide a wide range of Lincoln MKX Intake Valve at the best prices possible. If you need Lincoln MKX Intake Valve, you can shop with confidence on our website. All our OEM parts come with a manufacturer's warranty and are delivered to your door step with a fast delivery service.
Lincoln MKX Intake Valve Parts Questions & Experts Answers
- Q: What are the steps involved in checking and adjusting valve clearances in four cylinder engine on Lincoln MKX?A:Disconnect the cable from the negative battery terminal. Remove the spark plugs, then take off the valve cover. Loosen the right front wheel lug nuts, raise the front of the vehicle, and support it securely on jackstands before removing the wheel and the fender splash shield. Using a wrench or socket on the crankshaft pulley bolt, rotate the crankshaft clockwise and check each lifter when its Camshaft lobe is straight up, ensuring that the measurement is between the base circle of the camshaft lobe and the top of the lifter. Use feeler gauges to measure the clearances, ensuring a slight drag is felt when sliding the gauge between the lifter and the camshaft if the clearance is correct. Check the clearance between each camshaft lobe and the lifter it operates, keeping careful notes of the measurements recorded for each lifter. If some measurements fall outside the recommended clearances, the camshafts must be removed along with the out-of-spec lifters. New lifters are available with various thicknesses to correct the valve clearances, marked with a thickness number that only includes the digits after the decimal point. To determine the desired thickness for new lifters, add the thickness of the original lifter to the measured clearance, then subtract the midrange figure for ideal clearance to find the proper lifter thickness to order, noting that not every thickness is available. For installation of the camshafts, once the camshafts and Timing Chain have been installed, recheck the valve clearances. The remainder of the installation follows the reverse order of removal, and after running the engine, check for oil leaks.
