
My Garage
My Account
Cart
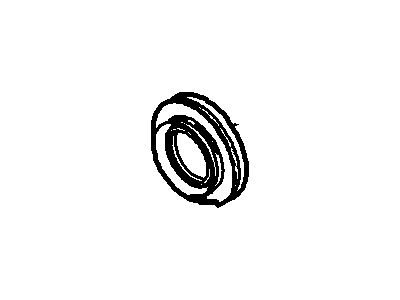
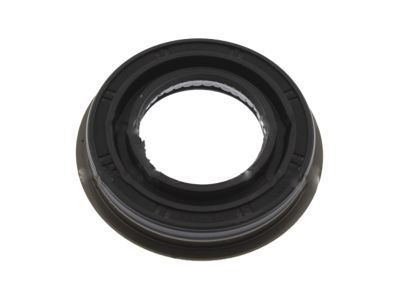
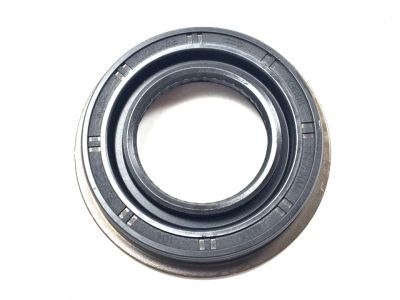
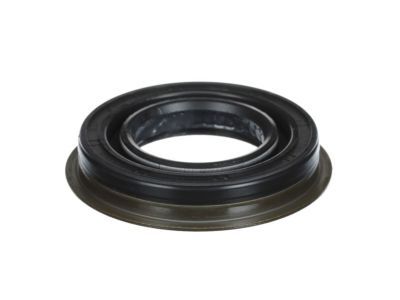
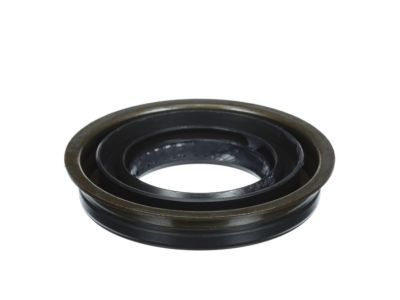
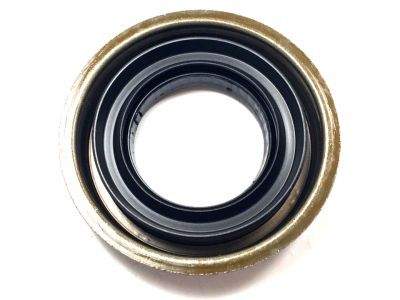
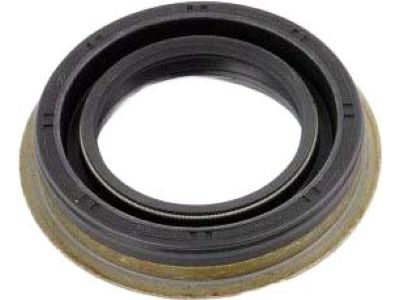
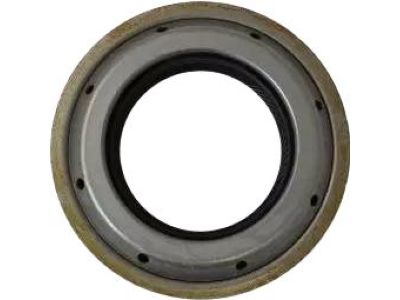
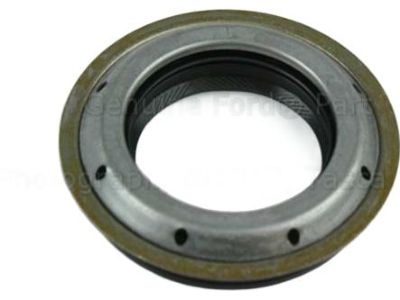
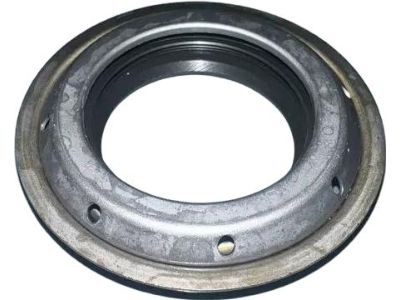
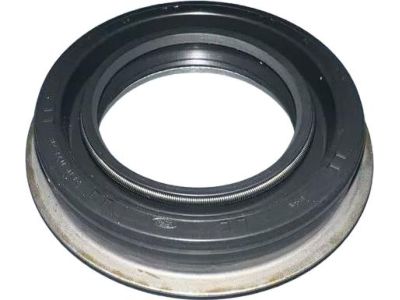
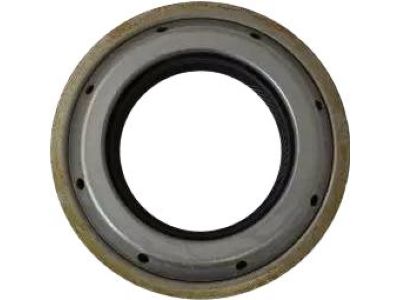
Genuine Ford Taurus Transfer Case Seal
Transfer Case Output Shaft Seal- Select Vehicle by Model
- Select Vehicle by VIN
Select Vehicle by Model
orMake
Model
Year
Select Vehicle by VIN
For the most accurate results, select vehicle by your VIN (Vehicle Identification Number).
10 Transfer Case Seals found
Ford Taurus Seal
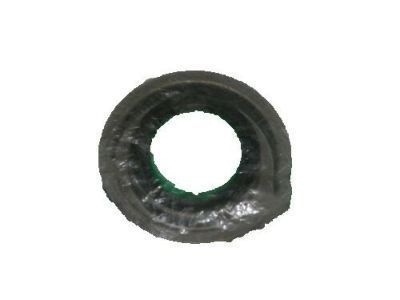
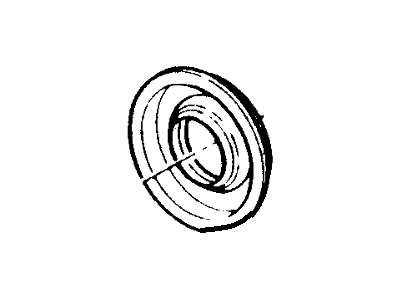
Part Number: BB5Z-1S177-A$15.39 MSRP: $24.55You Save: $9.16 (38%)Ships in 1 Business DayFord Taurus Seal
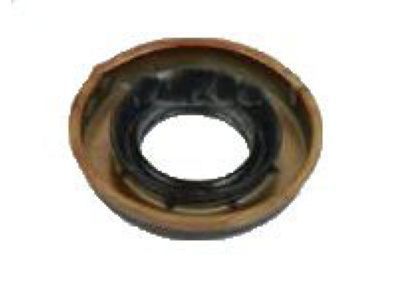
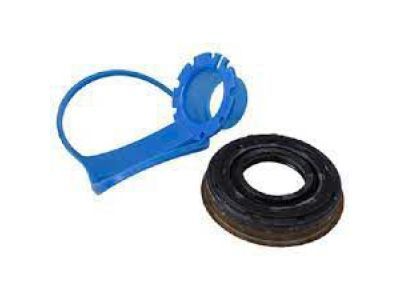
Part Number: 7T4Z-1177-B$21.65 MSRP: $30.83You Save: $9.18 (30%)Ships in 1 Business DayFord Taurus Seal
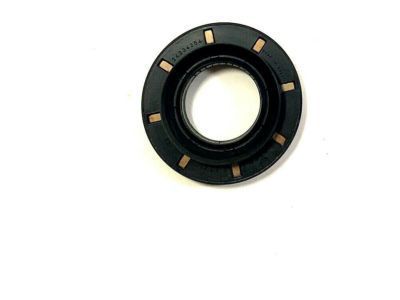
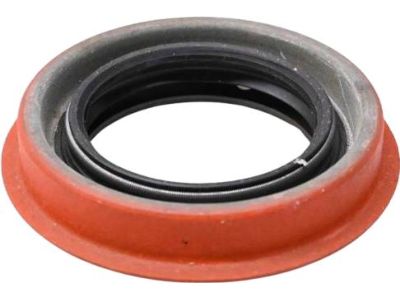
Part Number: 9L8Z-1177-A$18.72 MSRP: $26.67You Save: $7.95 (30%)Ships in 1 Business DayFord Taurus Seal
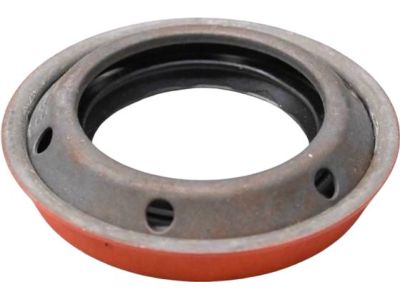
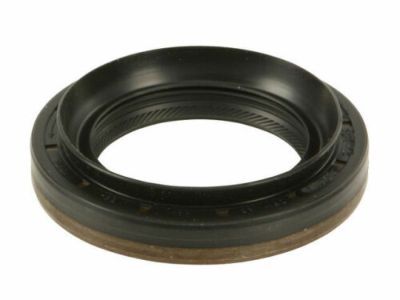
Part Number: 2F1Z-1177-AB$15.39 MSRP: $22.50You Save: $7.11 (32%)Ships in 1-3 Business DaysFord Taurus Seal
Part Number: E6DZ-1177-A$15.39 MSRP: $22.50You Save: $7.11 (32%)Ships in 1-3 Business DaysFord Taurus Seal
Part Number: 7T4Z-1177-D$21.65 MSRP: $30.83You Save: $9.18 (30%)Ships in 1 Business DayFord Taurus Seal
Part Number: DT4Z-7F337-A$4.45 MSRP: $5.85You Save: $1.40 (24%)Ships in 1-3 Business DaysFord Taurus Seal
Part Number: 7T4Z-1177-A$21.65 MSRP: $30.83You Save: $9.18 (30%)Ships in 1 Business Day
Ford Taurus Transfer Case Seal
We provide a wide range of Ford Taurus Transfer Case Seal at the best prices possible. If you need Ford Taurus Transfer Case Seal, you can shop with confidence on our website. All our OEM parts come with a manufacturer's warranty and are delivered to your door step with a fast delivery service.
Ford Taurus Transfer Case Seal Parts Questions & Experts Answers
- Q: How do you replace the oil seal and companion flange on Ford Taurus?A:Get the car up on four jackstands and run cables from the battery to the front end. The driveshaft has to be detached, its relative position in relation to the pinion, nut and flange has to be marked before both the nut and a companion flange can be removed using puller 2007 and older models. Remove the seal without harm to the seal bore, apply multi-purpose grease on the lips of the new seal and give it a gentle blow so that it sets squarely on the seat. Match the marks placed before disassembly and slot the corresponding flange and bolt it by making use nut on the pinion if necessary is tightening and finally tighten the nut of the output flange to the required torque. Align the mating marks on the flange and put the driveshaft in place and refill the transfer case fluid when needed. For the 2008 up models, remove the muffler to "Y" exhaust pipe and support the resonator, then locate the position of the output shaft and the flange of the driveshaft before finally removing it. Attach the torque wrench to the pinion and rotate it till you read the total torque on the gauge. Measure that by counting the number of threads which are visible between the end of the nut and the end of the pinion shaft. Loosen the flange mounting nut and hold the pinion flange with a two-pin spanner, then take off the companion flange using a puller if needed, so as to remove the lock nut. Disengage the seal and take off the seal deflector after which, you also remove the collapsible bearing spacer and put on a new collapsible spacer. Place the seal deflector; lubricate the new seal lips and gently push it into proper position with the fingers until it bottoms. Match the mating marks and fit the flange on the output shaft with a new nut, the torque it slowly till the initial number of threads are seen. A word of caution is that one must not torque the nut beyond the recorded RT by more than a total of 3 in lbs, as this will demand dismantling of the bushing adaptor to fit a new collapsible spacer. Last but not the least, the mating marks on the flange must be lined up to install the driveshaft and also check the levels of transfer case fluid in case required, and also make sure all the driveshaft flange and support bolts are switched to new ones.
Related Ford Taurus Parts
Browse by Year
2019 Transfer Case Seal 2018 Transfer Case Seal 2017 Transfer Case Seal 2016 Transfer Case Seal 2015 Transfer Case Seal 2014 Transfer Case Seal 2013 Transfer Case Seal 2012 Transfer Case Seal 2011 Transfer Case Seal 2010 Transfer Case Seal 2009 Transfer Case Seal 2008 Transfer Case Seal 2007 Transfer Case Seal 2006 Transfer Case Seal 2005 Transfer Case Seal 2004 Transfer Case Seal 2003 Transfer Case Seal 2002 Transfer Case Seal 2001 Transfer Case Seal 2000 Transfer Case Seal 1999 Transfer Case Seal 1998 Transfer Case Seal 1997 Transfer Case Seal 1996 Transfer Case Seal 1995 Transfer Case Seal 1994 Transfer Case Seal 1993 Transfer Case Seal 1992 Transfer Case Seal 1991 Transfer Case Seal 1990 Transfer Case Seal 1989 Transfer Case Seal 1988 Transfer Case Seal 1987 Transfer Case Seal 1986 Transfer Case Seal
