
My Garage
My Account
Cart
Genuine Ford Taurus Control Arm
Suspension Arm- Select Vehicle by Model
- Select Vehicle by VIN
Select Vehicle by Model
orMake
Model
Year
Select Vehicle by VIN
For the most accurate results, select vehicle by your VIN (Vehicle Identification Number).
38 Control Arms found
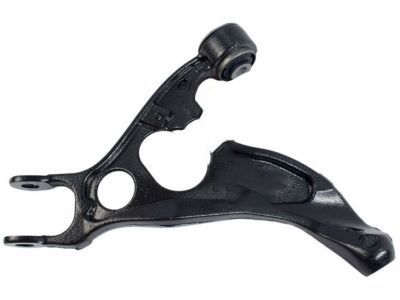
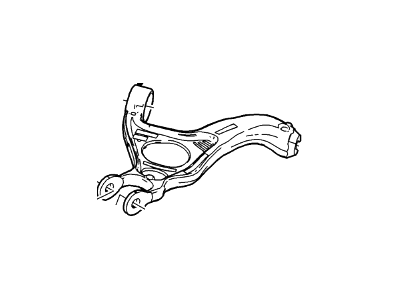
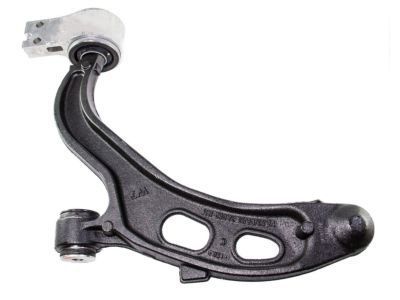
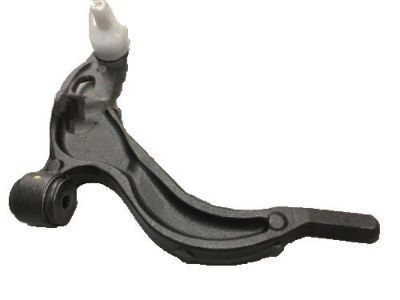
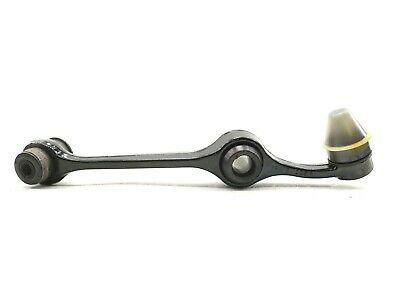
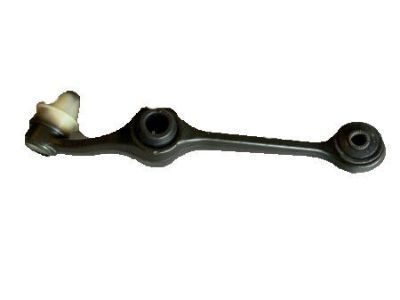
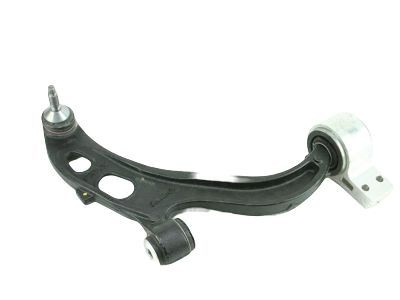
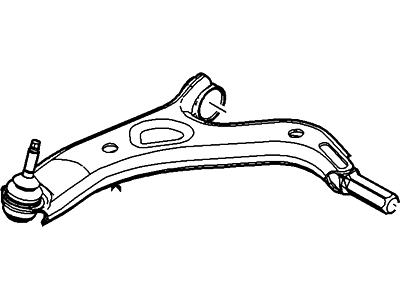
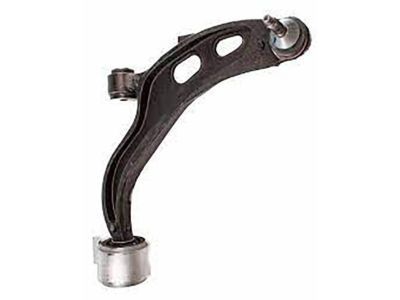
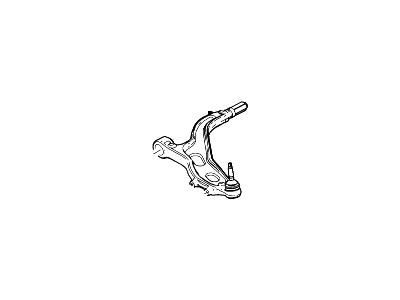
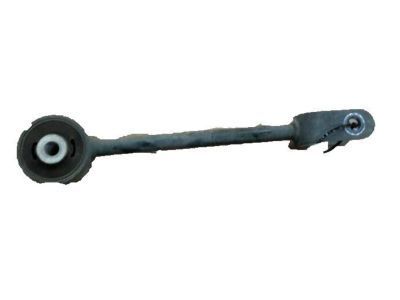
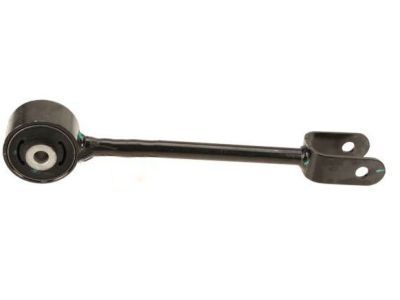
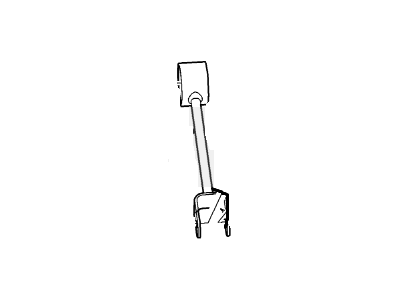
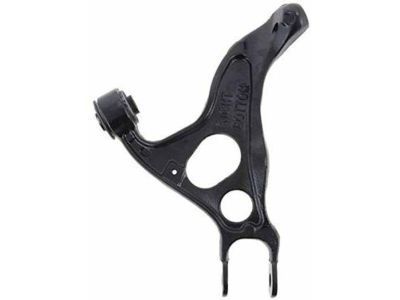
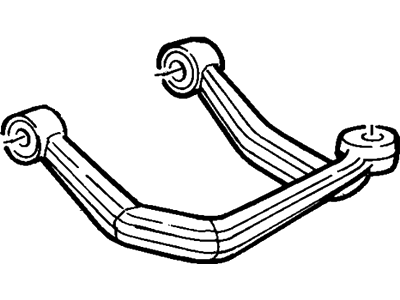
Ford Taurus Rear Suspension Arm Assembly
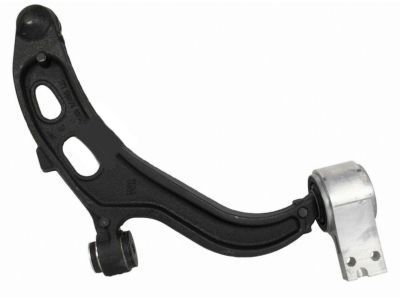
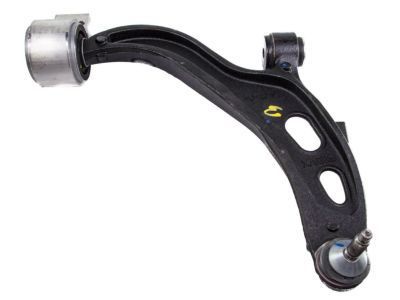
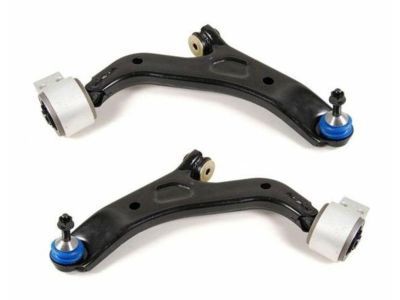
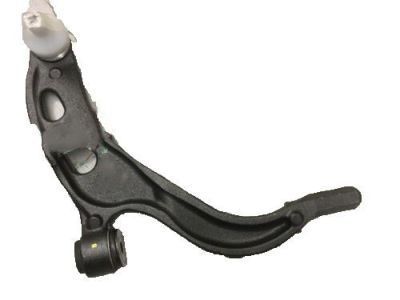
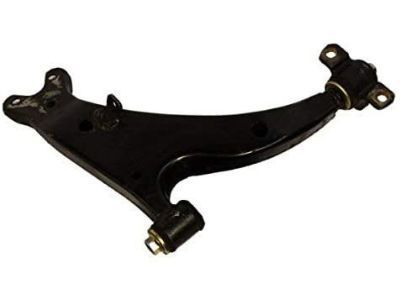
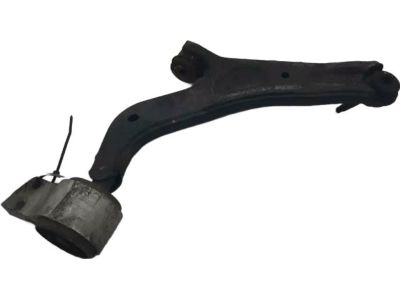
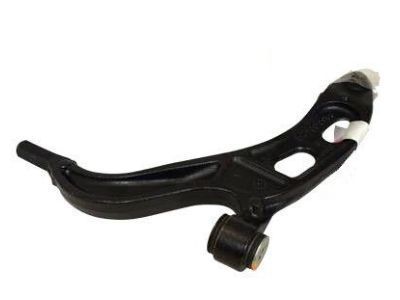
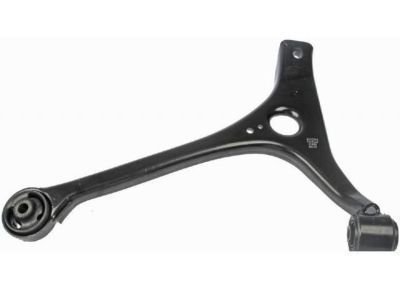
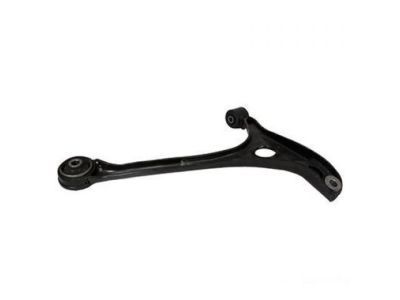
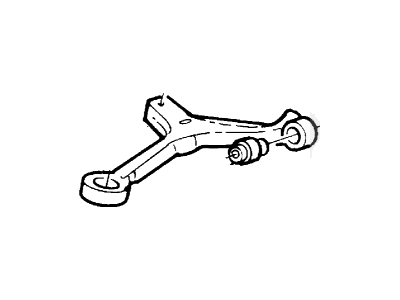
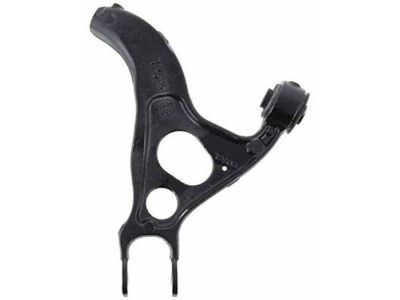
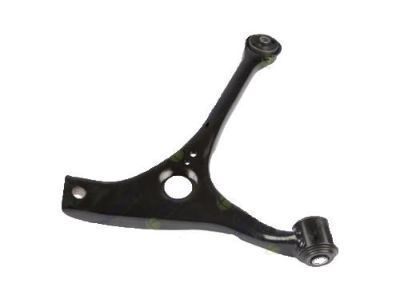
Part Number: CB5Z-5500-A$158.14 MSRP: $231.20You Save: $73.06 (32%)Ford Taurus Front Suspension Arm Assembly
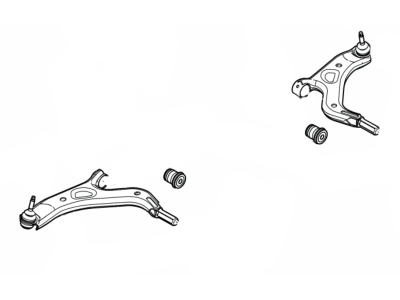
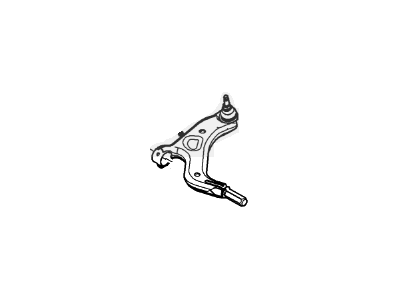
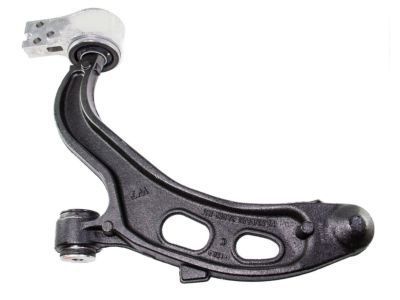
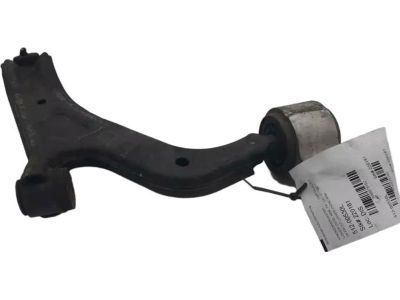
Part Number: DA5Z-3079-D$294.41 MSRP: $405.60You Save: $111.19 (28%)Ford Taurus Rear Suspension Arm Assembly
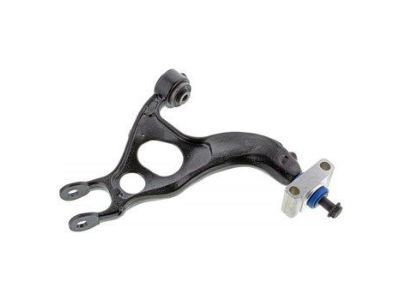
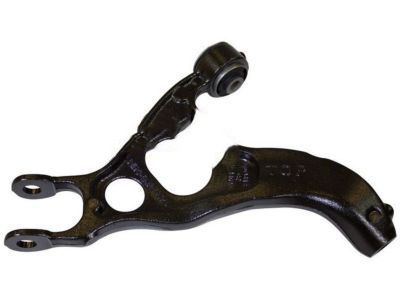
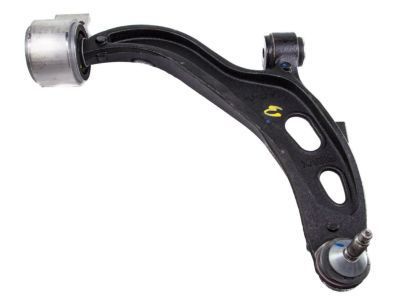
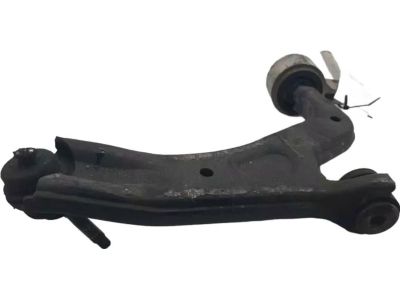
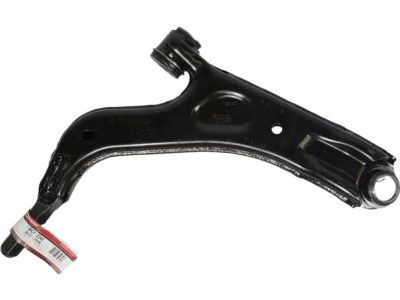
Part Number: 8A8Z-5500-C$156.98 MSRP: $229.50You Save: $72.52 (32%)Ships in 1-2 Business DaysFord Taurus Front Suspension Arm Assembly
Part Number: BA5Z-3078-A$246.02 MSRP: $420.00You Save: $173.98 (42%)Ford Taurus Rear Suspension Arm Assembly
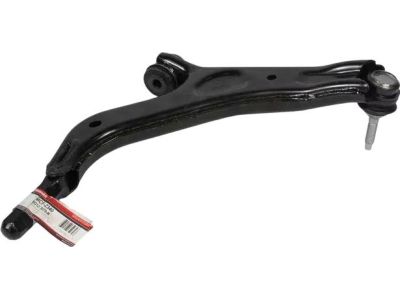
Part Number: CB5Z-5500-B$156.98 MSRP: $229.50You Save: $72.52 (32%)Ships in 1 Business DayFord Taurus Front Suspension Arm Assembly
Part Number: F4DZ-3078-A$50.83 MSRP: $69.45You Save: $18.62 (27%)Ford Taurus Front Suspension Arm Assembly
Part Number: FA5Z-3078-A$233.24 MSRP: $398.18You Save: $164.94 (42%)Ships in 1 Business DayFord Taurus Front Suspension Arm Assembly
Part Number: BA5Z-3079-A$246.02 MSRP: $420.00You Save: $173.98 (42%)Ships in 1-2 Business DaysFord Taurus Front Suspension Arm Assembly
Part Number: DA5Z-3078-A$233.24 MSRP: $398.18You Save: $164.94 (42%)Ships in 1 Business DayFord Taurus Front Suspension Arm Assembly
Part Number: DA5Z-3079-A$238.71 MSRP: $398.18You Save: $159.47 (41%)Ships in 1-2 Business DaysFord Taurus Front Suspension Arm Assembly
Part Number: 8G1Z-3079-A$325.06 MSRP: $542.22You Save: $217.16 (41%)Ships in 1-2 Business DaysFord Taurus Front Suspension Arm Assembly
Part Number: 9A5Z-3078-A$246.02 MSRP: $420.00You Save: $173.98 (42%)Ships in 1-2 Business DaysFord Taurus Front Suspension Arm Assembly
Part Number: 8G1Z-3079-L$325.06 MSRP: $542.22You Save: $217.16 (41%)Ships in 1-2 Business DaysFord Taurus Front Suspension Arm Assembly
Part Number: 9A5Z-3079-A$246.02 MSRP: $420.00You Save: $173.98 (42%)Ships in 1-2 Business DaysFord Taurus Rear Suspension Arm Assembly
Part Number: AA8Z-5500-A$45.03 MSRP: $71.82You Save: $26.79 (38%)Ships in 1-3 Business DaysFord Taurus Front Suspension Arm Assembly
Part Number: 3F1Z-3078-AA$149.16 MSRP: $207.21You Save: $58.05 (29%)Ships in 1-2 Business DaysFord Taurus Rear Suspension Arm Assembly
Part Number: AA5Z-5500-A$129.80 MSRP: $196.67You Save: $66.87 (34%)Ships in 1-3 Business DaysFord Taurus Rear Suspension Arm Assembly
Part Number: 8A8Z-5500-B$158.14 MSRP: $231.20You Save: $73.06 (32%)Ships in 1-2 Business DaysFord Taurus Front Suspension Arm Assembly
Part Number: 3F1Z-3079-AA$59.15 MSRP: $82.17You Save: $23.02 (29%)Ships in 1-2 Business DaysFord Taurus Rear Suspension Arm Assembly
Part Number: YF1Z-5500-RR$108.38 MSRP: $148.10You Save: $39.72 (27%)
| Page 1 of 2 |Next >
1-20 of 38 Results
Ford Taurus Control Arm
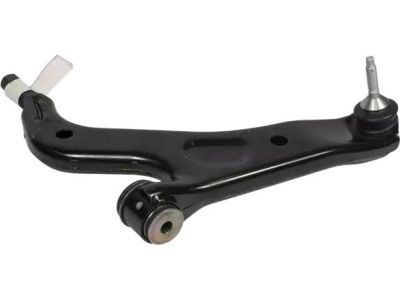
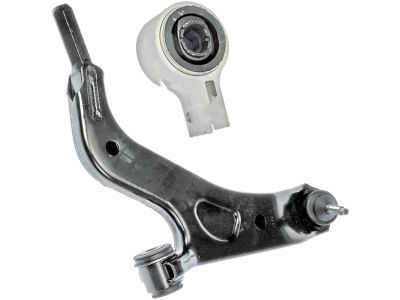
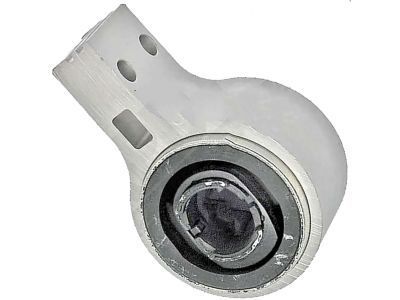
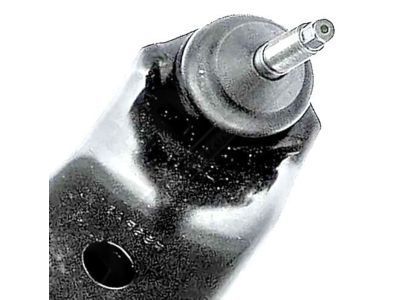
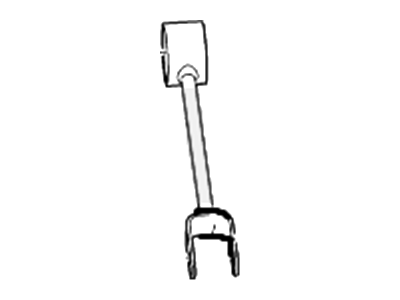
All major systems of automotives are held by the Control Arm in Ford Taurus models; it links the frame to the wheels while accommodating shocks and springs. These arms swiveled in relation to the condition of the surface as it assist the wheels to rotate in a fashion that makes them move up and down. These Control Arms come in different shapes and material the most common being; stamped steel, cast iron and aluminum to increase its strength and stamina. They have bushing at the points that connect to the frame and ball joint at those areas that connect to the knuckle or axle. Arms for controlling are crucial parts of automobiles since they enable appropriate position of wheels, sound handling, wear of tires, and overall optimum performance of automobiles.
We provide a wide range of Ford Taurus Control Arm at the best prices possible. If you need Ford Taurus Control Arm, you can shop with confidence on our website. All our OEM parts come with a manufacturer's warranty and are delivered to your door step with a fast delivery service.
Ford Taurus Control Arm Parts Questions & Experts Answers
- Q: How do you remove the control arm on Ford Taurus?A:To remove the control arm, start by loosening the wheel lug nuts on the side to be disassembled and raising the front of the vehicle. Support it securely on jackstands and remove the wheel. Then, remove the control arm balljoint nut, making sure to hold the stud with a wrench if it turns while loosening the nut. Push the lower control arm down until the balljoint releases from the knuckle. If the stud sticks, use a balljoint separator to force the components apart. Next, remove the control arm front pivot bolt and the rear bushing bracket bolts to detach the control arm from the subframe. Inspect the control arm for distortion and the bushings for wear, replacing any necessary parts. Do not attempt to straighten a bent control arm. For installation, reverse the removal steps. When installing the control arm, leave the control arm-to-subframe bolts finger tight until the balljoint has been connected to the Steering Knuckle. Tighten the balljoint nut to the specified torque. Raise the outer end of the control arm with a floor jack to simulate normal ride height, then tighten the control arm-to-subframe fasteners to the specified torque. Finally, it is recommended to have the front wheel alignment checked and adjusted if necessary after completing the job.
Related Ford Taurus Parts
Browse by Year
2019 Control Arm 2018 Control Arm 2017 Control Arm 2016 Control Arm 2015 Control Arm 2014 Control Arm 2013 Control Arm 2012 Control Arm 2011 Control Arm 2010 Control Arm 2009 Control Arm 2008 Control Arm 2007 Control Arm 2006 Control Arm 2005 Control Arm 2004 Control Arm 2003 Control Arm 2002 Control Arm 2001 Control Arm 2000 Control Arm 1999 Control Arm 1998 Control Arm 1997 Control Arm 1996 Control Arm 1995 Control Arm 1994 Control Arm 1993 Control Arm 1992 Control Arm 1991 Control Arm 1990 Control Arm 1989 Control Arm 1988 Control Arm 1987 Control Arm 1986 Control Arm
