
My Garage
My Account
Cart
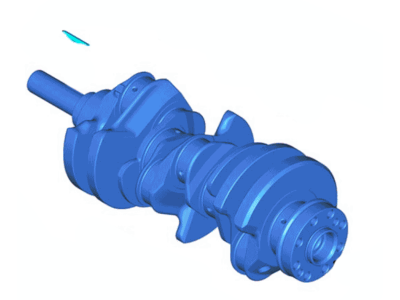
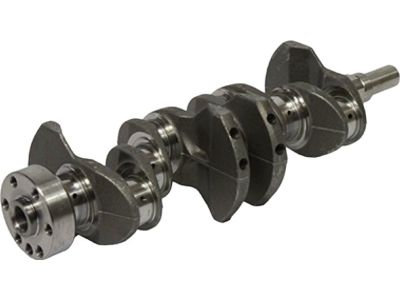
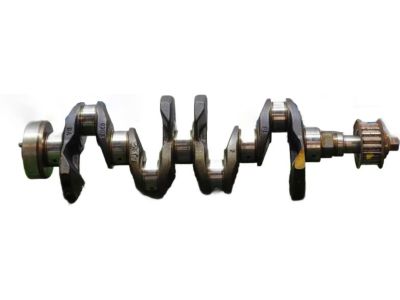
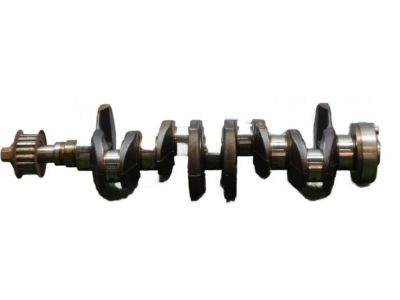
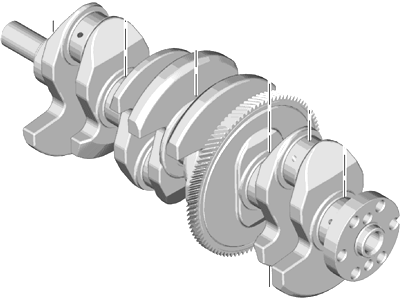
Genuine Ford Fusion Crankshaft
Crank Shaft- Select Vehicle by Model
- Select Vehicle by VIN
Select Vehicle by Model
orMake
Model
Year
Select Vehicle by VIN
For the most accurate results, select vehicle by your VIN (Vehicle Identification Number).
9 Crankshafts found
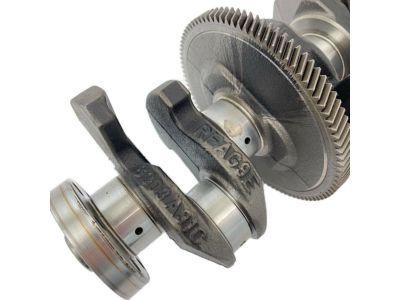
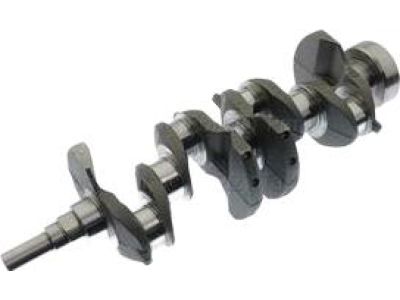
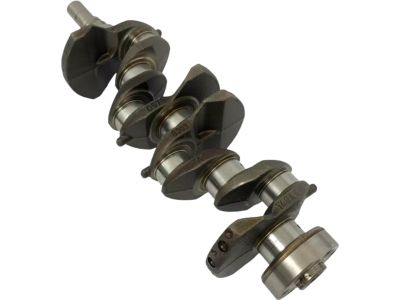
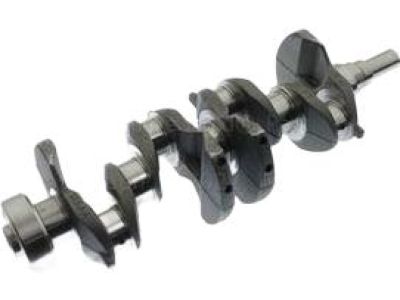
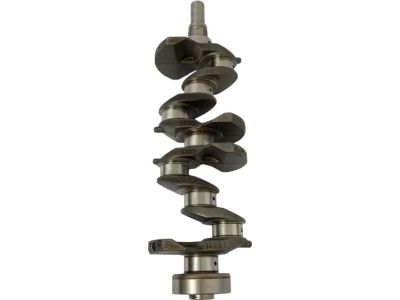
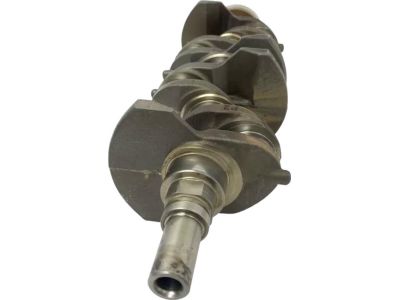
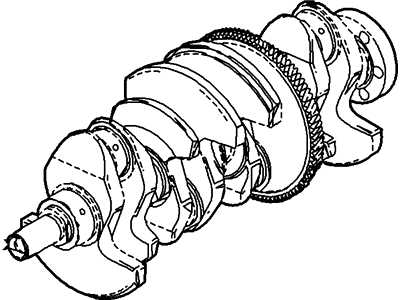
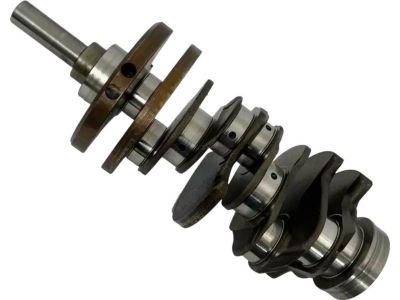
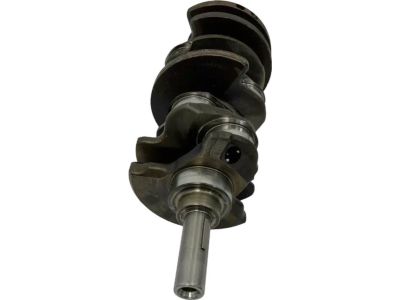
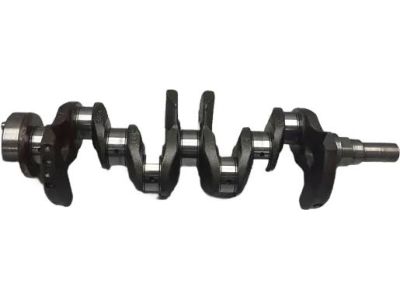
Ford Fusion Crankshaft Assembly
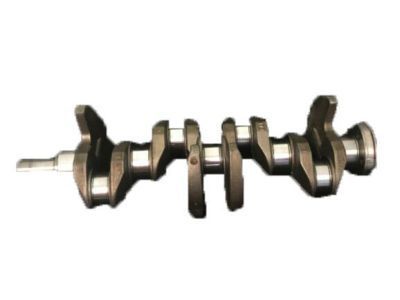
Part Number: CP9Z-6303-A$124.26 MSRP: $181.67You Save: $57.41 (32%)Ships in 1-3 Business DaysFord Fusion Crankshaft Assembly
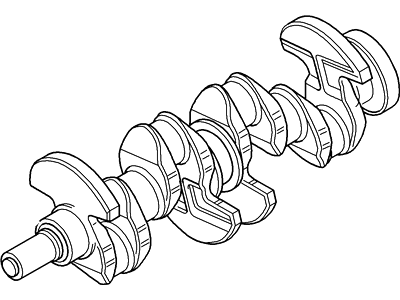
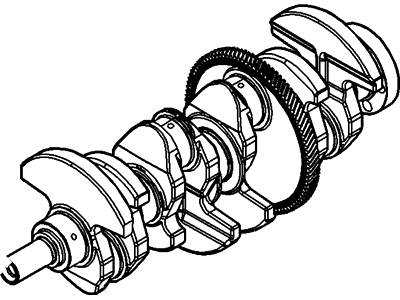
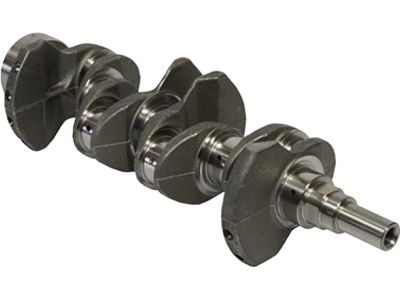
Part Number: AG9Z-6303-A$674.52 MSRP: $1026.67You Save: $352.15 (35%)Ships in 1-3 Business DaysFord Fusion Crankshaft Assembly
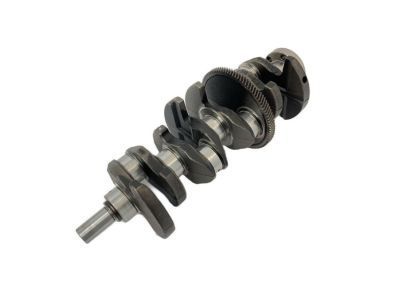
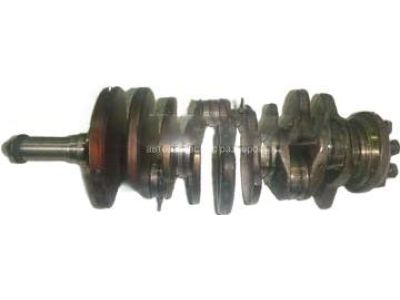
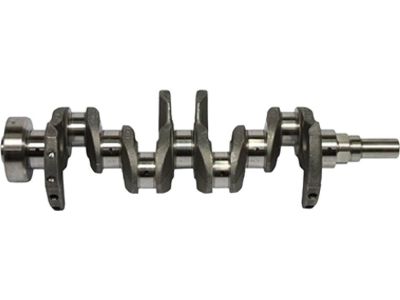
Part Number: F7DZ-6303-AA$267.81 MSRP: $395.00You Save: $127.19 (33%)Ships in 1-3 Business DaysFord Fusion Crankshaft Assembly
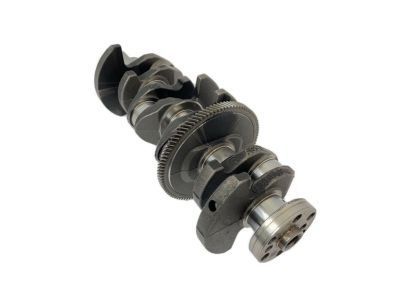
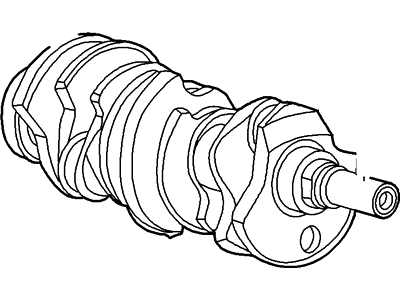
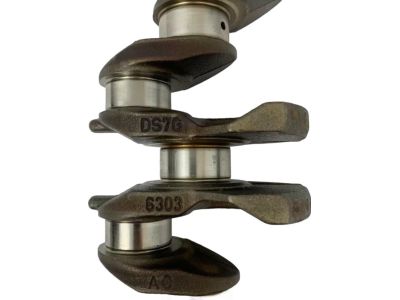
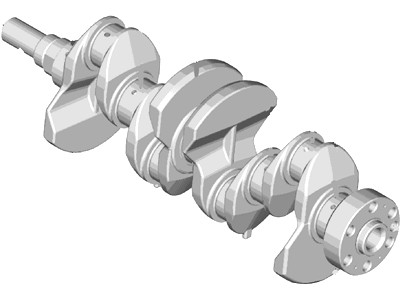
Part Number: DS7Z-6303-A$211.31 MSRP: $311.67You Save: $100.36 (33%)Ships in 1-3 Business DaysFord Fusion Crankshaft Assembly
Part Number: FB5Z-6303-A$219.22 MSRP: $323.33You Save: $104.11 (33%)
Ford Fusion Crankshaft
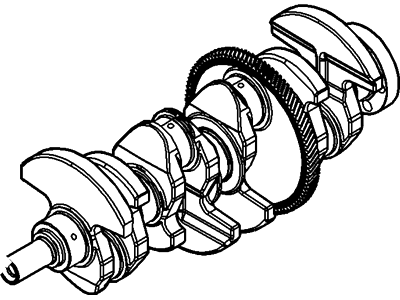
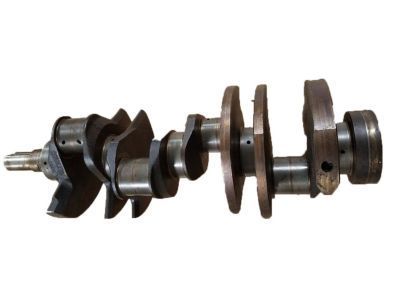
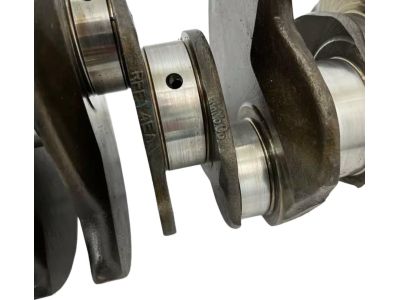
The Crankshaft in Ford Fusion cars is one of the many important components that convert the reciprocating motion of the piston to the rotational movement and finally transmits the force flow to the transmission and wheels. It functions inside the engine block with connecting rods connected to offset crank throws to facilitate efficient motion conversion. The Ford Fusion's Crankshaft are usually made from cast iron (in the case of lo-ou engines) and forged steel (in the case of high horsepower). This is because the output requirements for the engine differ. These finely-engineered Crankshaft are made to withstand the lifetime of the vehicle in case of necessary maintenance. However neglect can cause problems like dirt build up or low flow of oil which can cause potential damage like scored journals or engine knock. It is important to conduct rigorous checks and to stretch in time, the life of the Ford Fusion Crankshaft, and general engine operation will last for a long period.
We provide a wide range of Ford Fusion Crankshaft at the best prices possible. If you need Ford Fusion Crankshaft, you can shop with confidence on our website. All our OEM parts come with a manufacturer's warranty and are delivered to your door step with a fast delivery service.
Ford Fusion Crankshaft Parts Questions & Experts Answers
- Q: How is the crankshaft removed on Ford Fusion?A:You can only extract the crankshaft if several parts for instance the driveplate, crankshaft pulley, timing chains, oil pan, oil pump body, oil pump drive chain for the 2.7 L engines, crankshaft sensor ring, oil filter, engine block skirt stiffener for the 2.7L engines, main cap support brace for the 3.5L engines, and piston/ connecting rod assemblies have been removed from the Before pulling the crankshaft, there should be a standard value of end-float checked by a dial indicator or feeler, which should normally lie to a range of 0.003 to 0.010 inch (0.076 to 0.254mm). Screw off the main bearing cap bolts and depending on the type of the engine remove some of the required parts and then carefully lift the crankshaft, preferably with help. For installation, the engine block and crankshaft must be clean and checked, with the engine block inverted, other bearing inserts removed and the surfaces washed. New upper main bearing inserts must then be installed in the engine block-WT2/WT1 while making sure the oil holes of the bearing aligns with those on the full crank; Lay crankshaft on the engine block. Measure the oil clearance of the main bearing using Plastigage, and if there is a requirement for change, then the correct size of bearing inserts must be fitted. When you had wiped out any kind of Plastigage, put just enough lubricant to the bearing surfaces and replace the crankshaft, followed by the lower cylinder block or the main bearing caps then bolt it tightly in proper sequence. Last but not least illustrate the crankshaft endplay and assure that it rotates as smooth as possible without torque. For specific engine types the oil seat and the engine block stiffener should be installed with correct orientation and with required torque magnitude, it is important that it is done in the specified time so that there are no problem with the sealant.
