
My Garage
My Account
Cart
Genuine Ford Fusion Clutch Slave Cylinder
- Select Vehicle by Model
- Select Vehicle by VIN
Select Vehicle by Model
orMake
Model
Year
Select Vehicle by VIN
For the most accurate results, select vehicle by your VIN (Vehicle Identification Number).
3 Clutch Slave Cylinders found
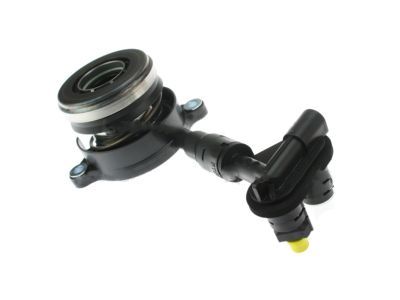
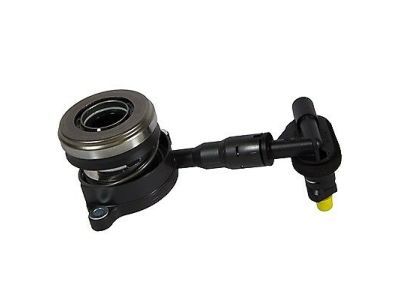
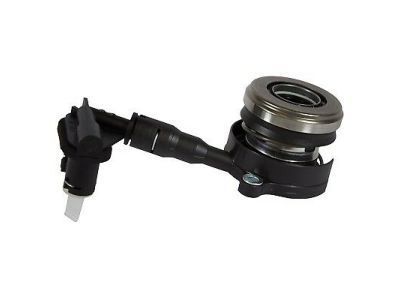
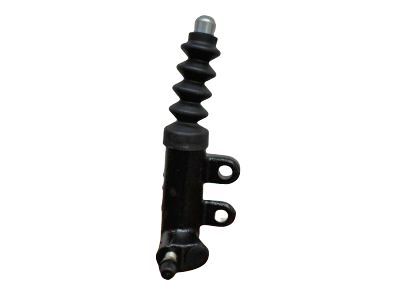
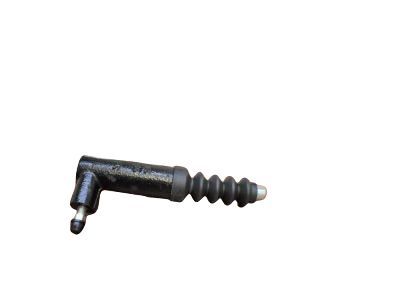
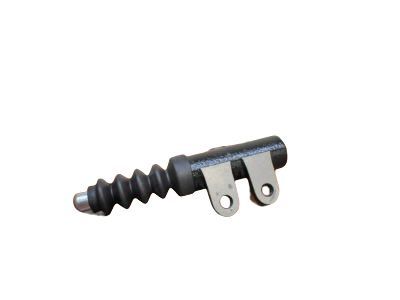
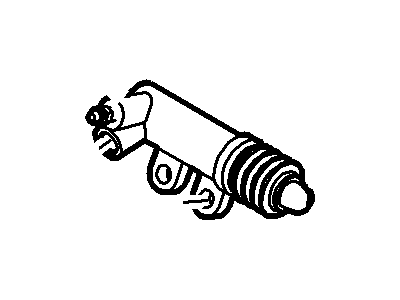
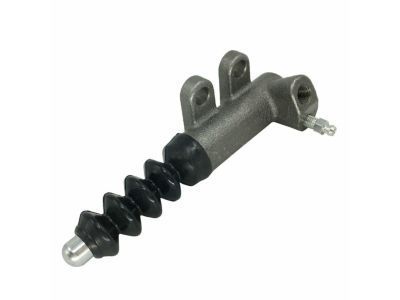
Ford Fusion Cylinder Assembly - Clutch Slave
Part Number: DG9Z-7A564-B$107.27 MSRP: $156.83You Save: $49.56 (32%)Ships in 1-3 Business Days
Ford Fusion Clutch Slave Cylinder
The Clutch Slave Cylinder is another important part of the car especially for a Ford Fusion manual model because it helps in disengaging the clutch when the pedal is depressed and it works hand in hand with the Clutch Master Cylinder. This hydraulic component translates the input force from the driver into hydraulic pressure which in turn pulls out a rod that shift a lever or fork for safe shifting. In the course of the years, the Ford Fusion has employed hydraulic clutch slave cylinders are critically important in establishing the right pedal feel and successful shifting of the gears on a transmission. Problems with clutch slave cylinder like leakages or low brake fluid causes an improper shifting of gears and transmission which may result to transmission failure hence the need to repair the part so as to ensure that the vehicle is safe on the road.
We provide a wide range of Ford Fusion Clutch Slave Cylinder at the best prices possible. If you need Ford Fusion Clutch Slave Cylinder, you can shop with confidence on our website. All our OEM parts come with a manufacturer's warranty and are delivered to your door step with a fast delivery service.
Ford Fusion Clutch Slave Cylinder Parts Questions & Experts Answers
- Q: How to remove and install the clutch release cylinder on Ford Fusion?A:To remove the Clutch Slave Cylinder for 2012 and earlier models, disconnect the hydraulic line at the Clutch Slave Cylinder using a flare-nut wrench, ensuring to have a small can and rags ready for any spilled fluid, and plug the line to prevent excessive fluid loss and contamination. Next, remove the mounting bolts and the Clutch Slave Cylinder. For 2013 and later models, first remove the locking clip from the end of the Clutch Slave Cylinder on the outside of the transaxle, then pull the hydraulic line out and plug the cylinder and line to prevent brake fluid spillage. After that, remove the transaxle, followed by the Clutch Slave Cylinder-to-transaxle mounting bolts to take out the Clutch Slave Cylinder from the front of the transaxle. For installation in 2012 and earlier models, connect the hydraulic line fitting to the Clutch Slave Cylinder using fingers only to start the threads, then tighten the mounting bolts to the specified torque and secure the hydraulic fitting with a flare-nut wrench. In 2013 and later models, slide the Clutch Slave Cylinder and Release Bearing over the input shaft of the transaxle, tighten the mounting bolts to the specified torque, install the transaxle, and insert the hydraulic line into the Clutch Slave Cylinder until the locking clip can be inserted flush with the housing. For all models, check the fluid level in the brake fluid reservoir, adding brake fluid that meets DOT 3 specifications until the level is correct, then bleed the system and recheck the brake fluid level.
