
My Garage
My Account
Cart
Genuine Ford Fusion Car Mirror
Interior Rear View Mirror- Select Vehicle by Model
- Select Vehicle by VIN
Select Vehicle by Model
orMake
Model
Year
Select Vehicle by VIN
For the most accurate results, select vehicle by your VIN (Vehicle Identification Number).
152 Car Mirrors found
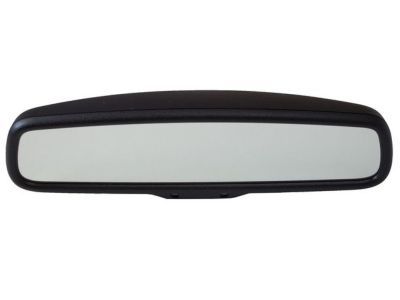
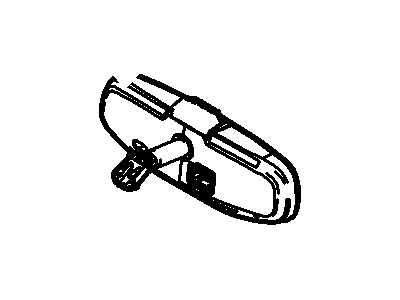
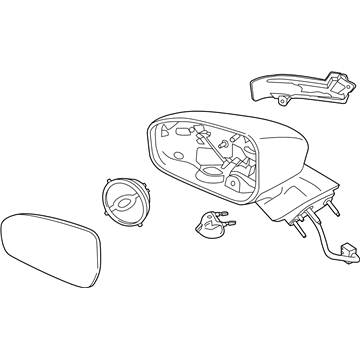
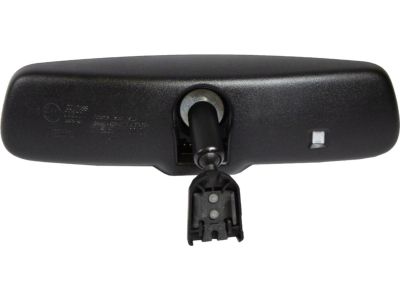
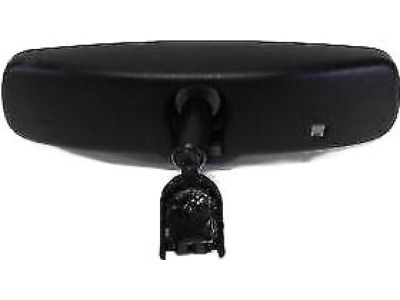
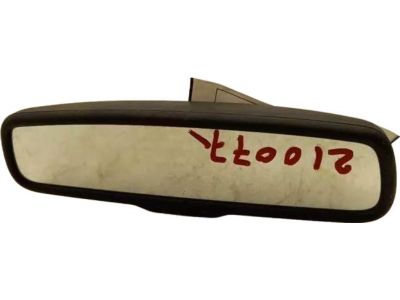
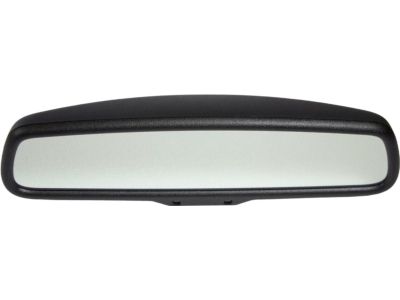
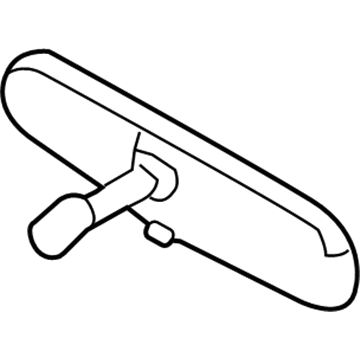
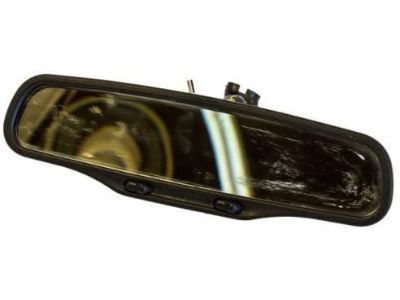
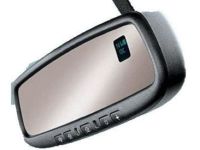
Ford Fusion Rear View Mirror Assembly Inner
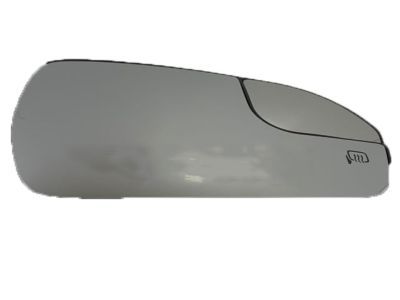
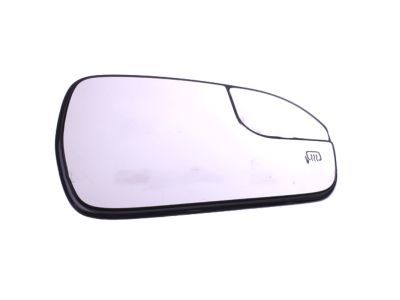
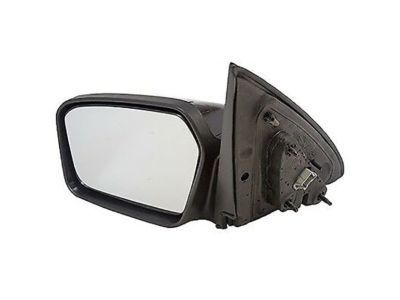
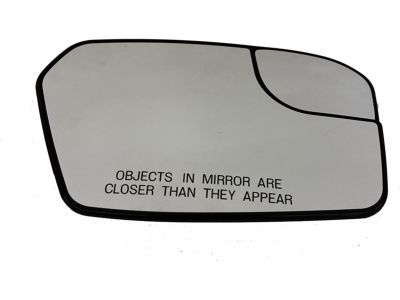
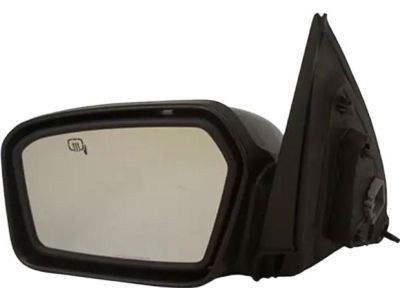
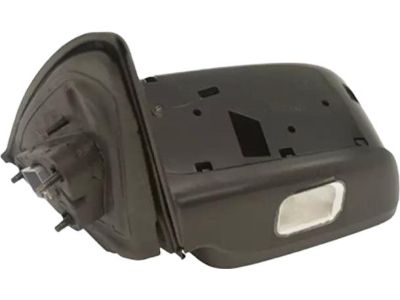
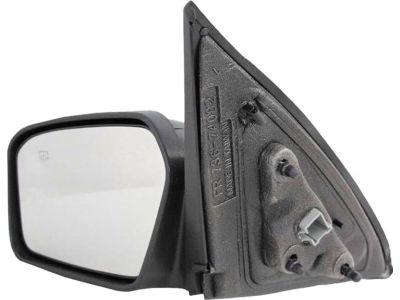
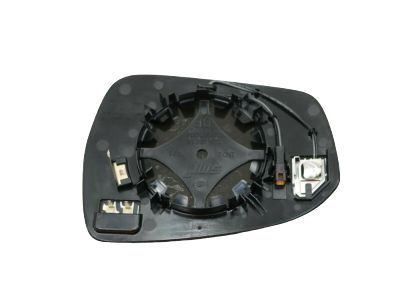
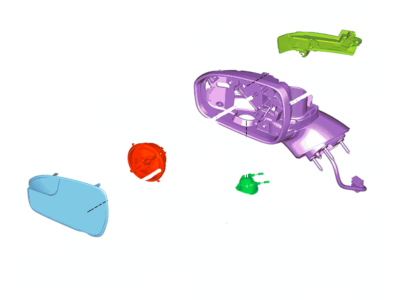
Part Number: 6U5Z-17700-AA$160.81 MSRP: $249.32You Save: $88.51 (36%)Ships in 1-2 Business DaysFord Fusion Rear View Outer Mirror Glass Assembly
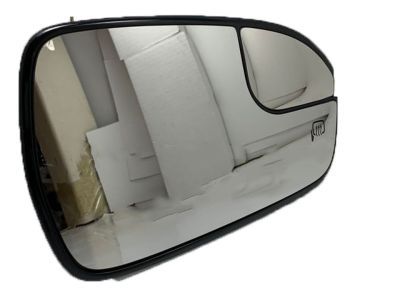
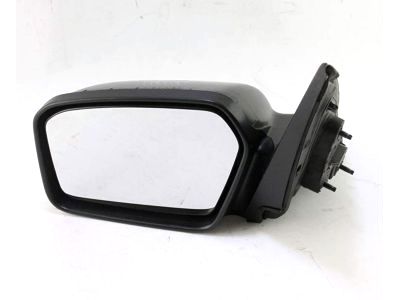
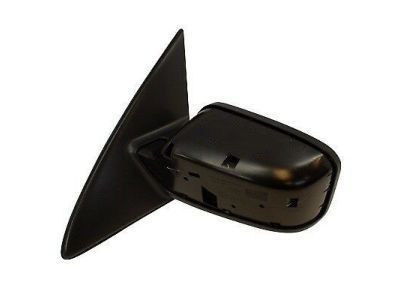
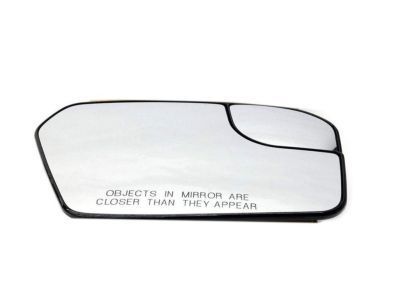
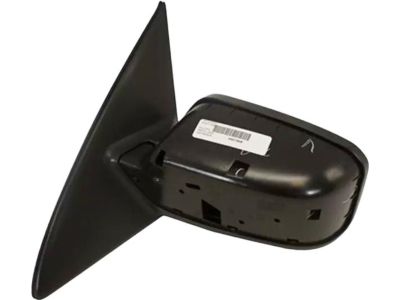
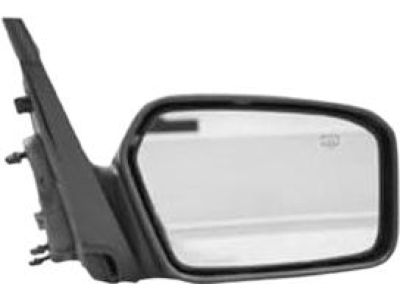
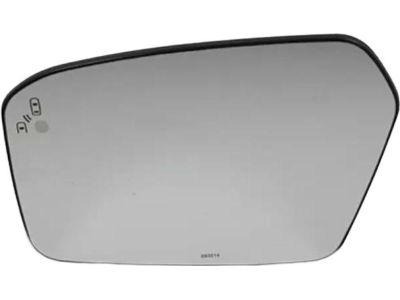
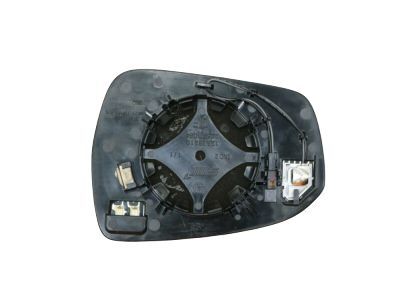
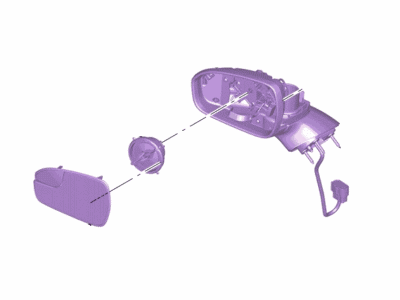
Part Number: DS7Z-17K707-B$98.15 MSRP: $148.72You Save: $50.57 (34%)Ships in 1-2 Business DaysFord Fusion Mirror Assembly Rear View Outer
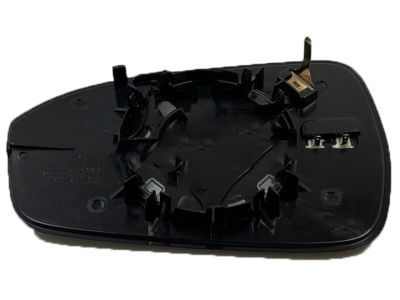
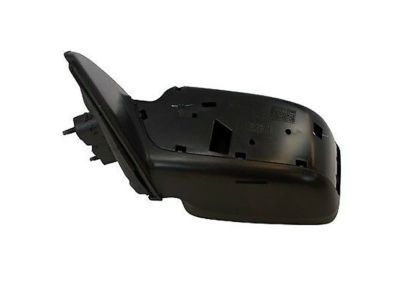
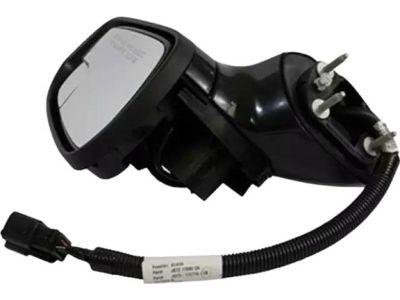
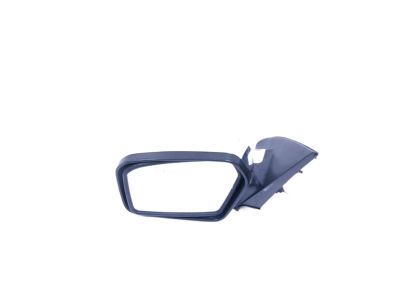
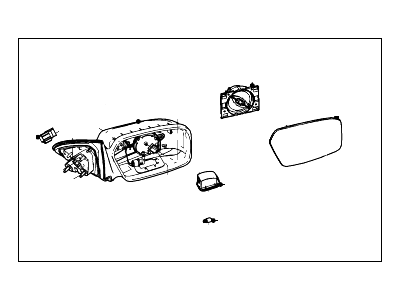
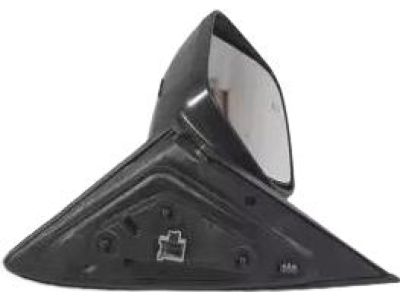
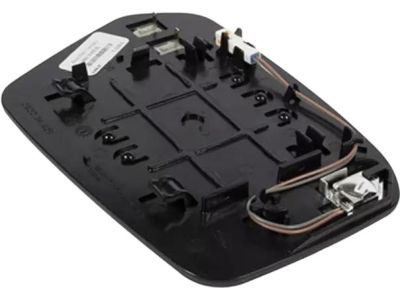
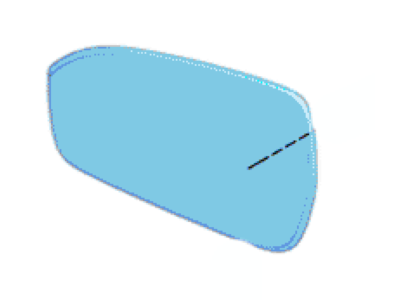
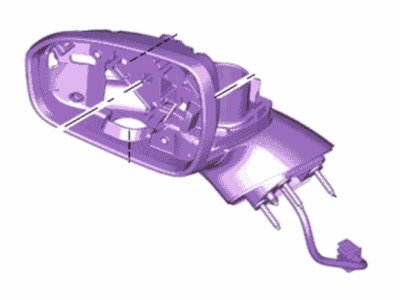
Part Number: 6E5Z-17683-A$59.76 MSRP: $87.37You Save: $27.61 (32%)Ships in 1-2 Business DaysFord Fusion Mirror Assembly Rear View Outer
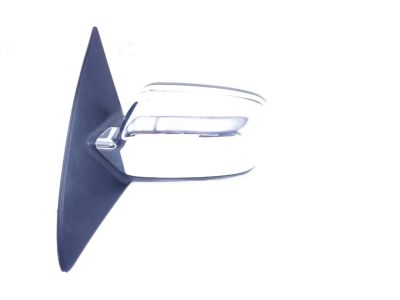
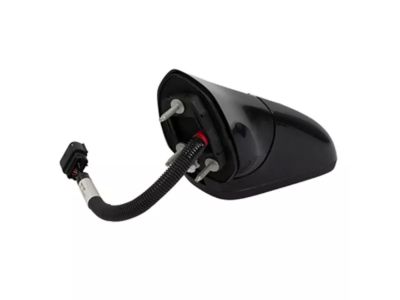
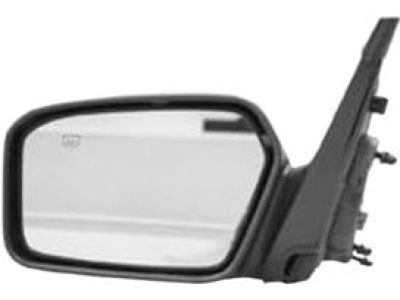
Part Number: JS7Z-17682-CA$387.69 MSRP: $606.72You Save: $219.03 (37%)Ships in 1-2 Business DaysFord Fusion Rear View Outer Mirror Glass Assembly
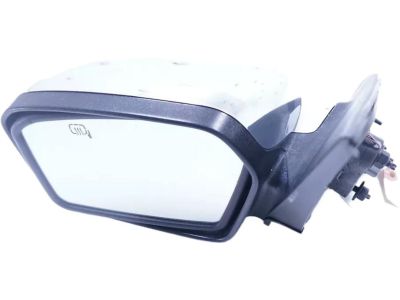
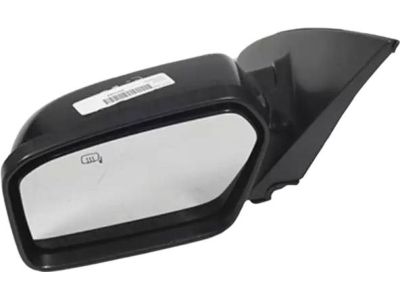
Part Number: BE5Z-17K707-A$63.90 MSRP: $96.82You Save: $32.92 (34%)Ships in 1-3 Business DaysFord Fusion Mirror Assembly Rear View Outer
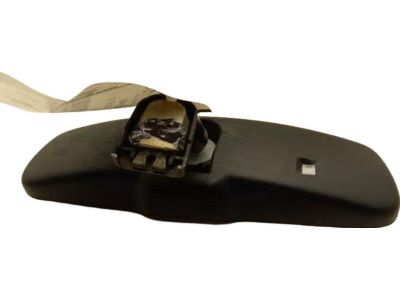
Part Number: KS7Z-17682-ZA$241.27 MSRP: $355.85You Save: $114.58 (33%)Ships in 1-2 Business DaysFord Fusion Rear View Mirror Assembly Inner
Part Number: 8U5Z-17700-Q$59.58 MSRP: $87.10You Save: $27.52 (32%)Ford Fusion Mirror Assembly Rear View Outer
Part Number: 6H6Z-17683-B$92.44 MSRP: $142.92You Save: $50.48 (36%)Ships in 1-2 Business DaysFord Fusion Mirror Assembly Rear View Outer
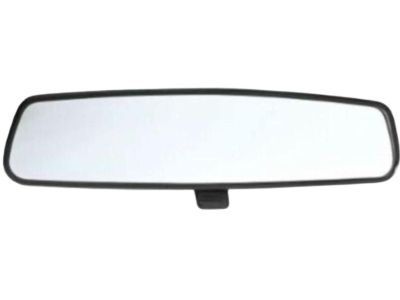
Part Number: JS7Z-17683-CA$361.53 MSRP: $569.52You Save: $207.99 (37%)Ships in 1-2 Business DaysFord Fusion Mirror Assy - Rear View - Inner
Part Number: 8U5Z-17700-D$59.58 MSRP: $87.10You Save: $27.52 (32%)Ford Fusion Mirror Assembly Rear View Outer
Part Number: 6E5Z-17683-C$59.59 MSRP: $87.12You Save: $27.53 (32%)Ships in 1-3 Business DaysFord Fusion Rear View Outer Mirror Glass Assembly
Part Number: 9E5Z-17K707-D$74.40 MSRP: $108.77You Save: $34.37 (32%)Ships in 1-3 Business DaysFord Fusion Mirror Assembly Rear View Outer
Part Number: DS7Z-17682-CA$387.69 MSRP: $606.72You Save: $219.03 (37%)Ships in 1-2 Business DaysFord Fusion Mirror Assembly Rear View Outer
Part Number: FS7Z-17682-CA$387.69 MSRP: $606.72You Save: $219.03 (37%)Ships in 1-2 Business DaysFord Fusion Rear View Outer Mirror Glass Assembly
Part Number: DS7Z-17K707-L$129.14 MSRP: $200.22You Save: $71.08 (36%)Ships in 1-3 Business DaysFord Fusion Mirror Assy - Rear View - Inner
Part Number: 8U5Z-17700-F$323.43 MSRP: $477.03You Save: $153.60 (33%)Ships in 1-3 Business DaysFord Fusion Mirror Assembly Rear View Outer
Part Number: FS7Z-17683-XA$377.66 MSRP: $594.93You Save: $217.27 (37%)Ships in 1-2 Business DaysFord Fusion Mirror Assembly Rear View Outer
Part Number: JS7Z-17682-BA$71.48 MSRP: $110.52You Save: $39.04 (36%)Ships in 1-2 Business DaysFord Fusion Mirror Assembly Rear View Outer
Part Number: DS7Z-17683-CA$361.53 MSRP: $569.52You Save: $207.99 (37%)Ships in 1-2 Business DaysFord Fusion Rear View Mirror Assembly Inner
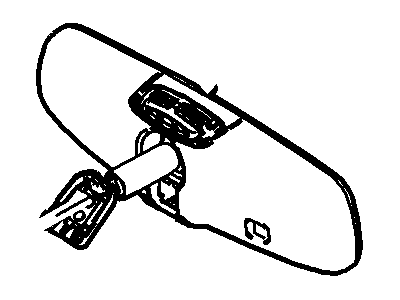
Part Number: 8U5Z-17700-R$323.43 MSRP: $477.03You Save: $153.60 (33%)
| Page 1 of 8 |Next >
1-20 of 152 Results
Ford Fusion Car Mirror
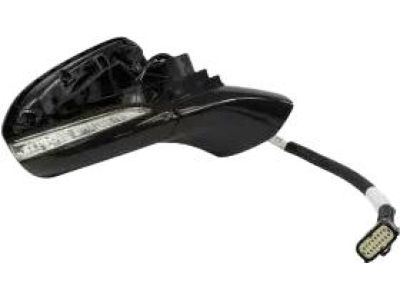
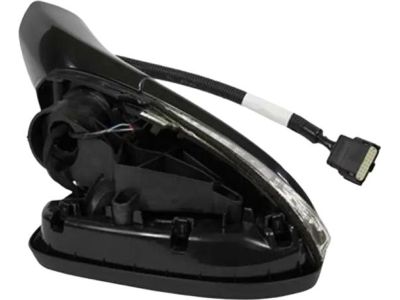
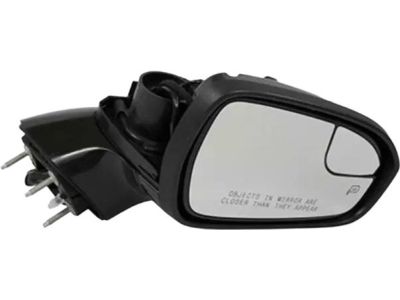
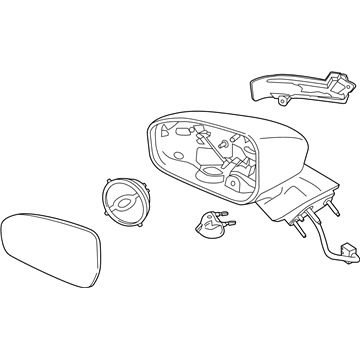
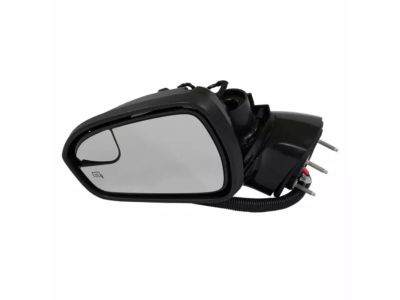
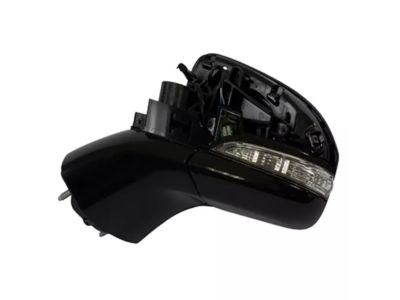
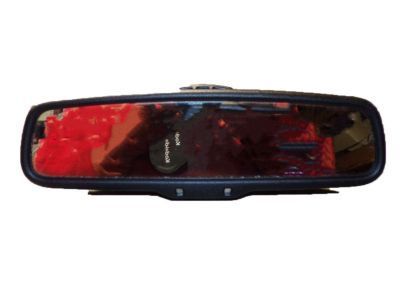
The Ford Fusion has standard side Car Mirrors that help the driver to have peripheral vision of the behind and beside regions vital for the vehicle operation safely. These Car Mirrors can be of various types and features, they can be adjusted manually or automatically remotely, have electric heating and even sometimes have signal lights inside. The side Car Mirrors of Ford fusion though, have undergone some changes over the years with features such as the folding feature to cover it when parking added. Various types of Car Mirrors have been offered for the Ford Fusion including for heated and memory recall and these have been available for various model year. Compared to traditional Car Mirrors, many of today's models come with such useful features as electrochromic dimming to minimize glare. The significance of using the Car Mirror that is damaged is underlined, in addition to this, it is stated that it is necessary to replace the damaged Car Mirrors as they are the required safety features, as well as is the legal requirement in many regions.
We provide a wide range of Ford Fusion Car Mirror at the best prices possible. If you need Ford Fusion Car Mirror, you can shop with confidence on our website. All our OEM parts come with a manufacturer's warranty and are delivered to your door step with a fast delivery service.
Ford Fusion Car Mirror Parts Questions & Experts Answers
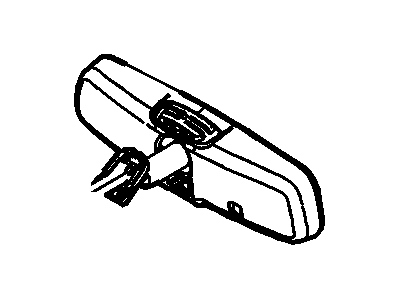
- Q: How do you remove and install the exterior and interior mirrors on Ford Fusion?A:To remove the exterior mirror on 2012, and before models, you will need to remove the door-slightly, then the front door mirror cover, if there is a speaker electrical connector it will be disconnected, then disconnect the electrical connector of the mirror. After that, the mirror mounting nuts should be unscrewed, and the mirror ought to be pulled out; the reverse is the process of installation. For years 2013 and onwards the process starts by removing the door trim panel followed by the removal of the bolts that fixes the door module in position and then it is removed. Here, strip the water shield from the mirror attachment nuts then the lower water shield and door speaker. Third, the front window regulator track bolt at the 1 o'clock position then put the window regulator track aside. To remove-raise the speaker grille and lower water shield to get access to the mirror electrical connections, then, unscrew the nuts twisting the exterior mirror electrical connection and then unscrew the nuts that secure the exterior mirror; to install-reverse the procedure. The interior mirror types available are six. For Type 1, remove the electrical connection and then use special services tool 501-190 to loosen the mirror mounting clip, place the tool were the clip normally grips and with a gentle hit on the tool it pops of the mirror, to replace the mirror slide it into place and ensure the clip locks into place. For Type 2, then, remove the electrical connection, then using the tool 501-D118A to release the mounting clip on this mount, slightly pull the lower edge of the mount away from the windshield then pull the mirror off, to install it just reverse the process. To perform Type 3, first, the upper and lower rain sensor cover needs to be unbolted, and the electrical connectors have to be disconnected; the mirror has to be angled in a manner that brings the index tab above the mounting base retainer, the mirror rotated 45-degrees in a counter clockwise direction and removed; to replace it, all these steps must be followed in reverse. For Type 4, you need to unscrew the rain sensor panel, disconnect this panel electrically, unscrew the mirror and rotate it clockwise, and then remove the mirror, important here is that a new mirror will require to be programmed using a scan tool. For Type 5, you have to unscrew the screw by using a small flat bladed screwdriver to unlock the tab, and slide of the mirror from the base and put it back in place in the same way. For the Type 6, the electrical connector should be disconnected and then the set screw located at the bottom of the mirror needs to be loosened to release the Mirror from the mount and to be slid upwards, while to assemble it has to be slid downwards until the screw is tightened.
