
My Garage
My Account
Cart
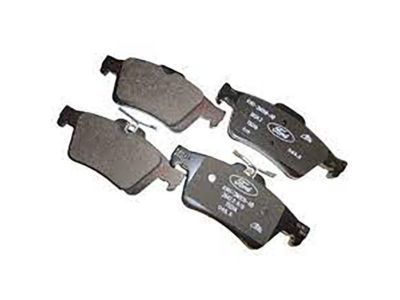
Genuine Ford Focus Brake Pads
Disc Brake Pad Set- Select Vehicle by Model
- Select Vehicle by VIN
Select Vehicle by Model
orMake
Model
Year
Select Vehicle by VIN
For the most accurate results, select vehicle by your VIN (Vehicle Identification Number).
32 Brake Pads found
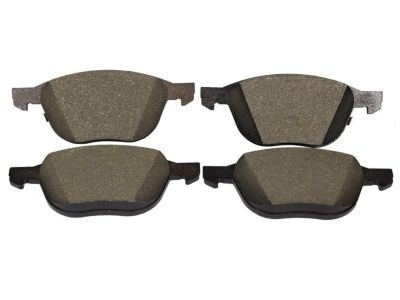
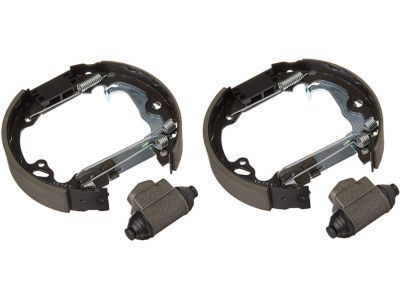
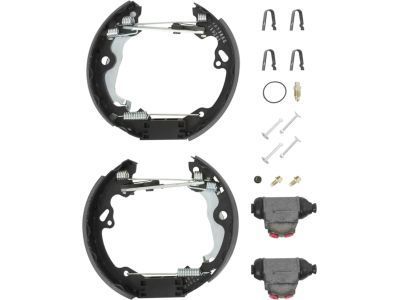
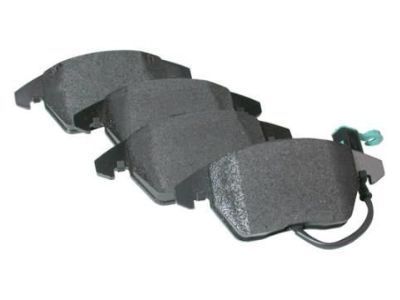
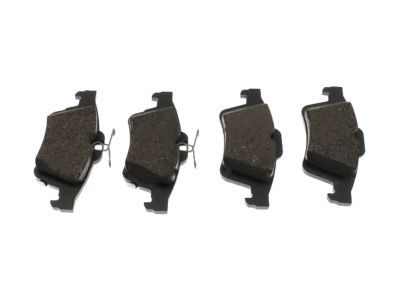
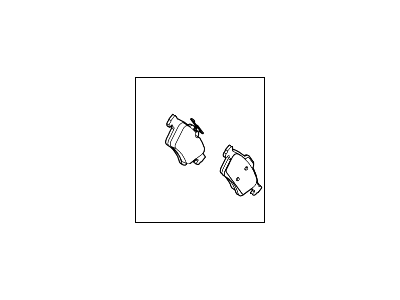
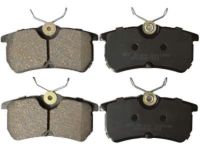
Ford Focus Kit - Brake Lining
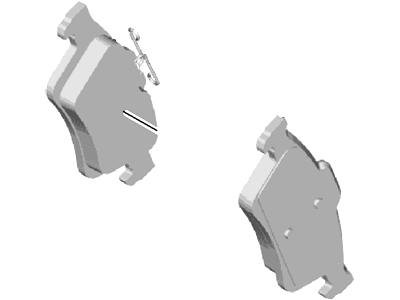
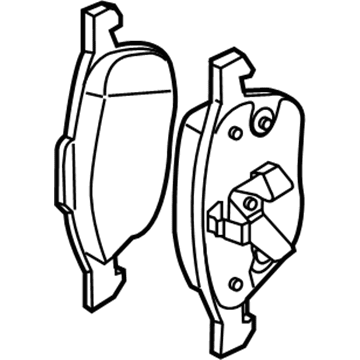
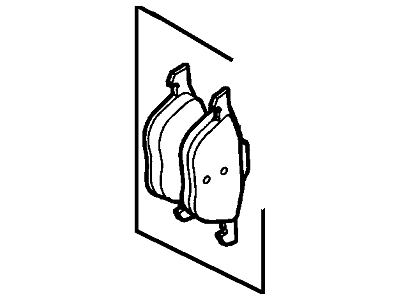
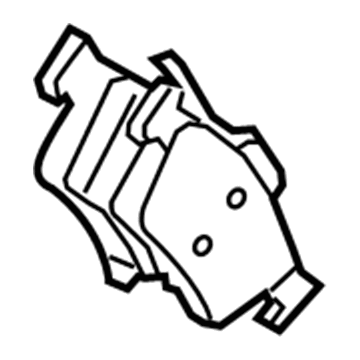
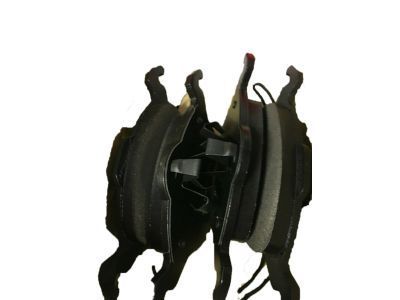
Part Number: BV6Z-2001-B$79.42 MSRP: $120.33You Save: $40.91 (34%)Ships in 1-2 Business DaysFord Focus Pad - Brake
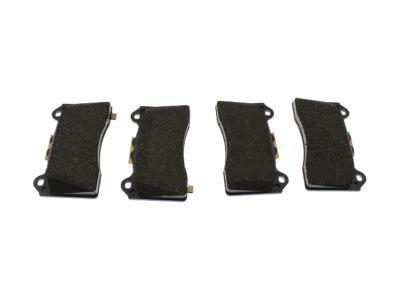
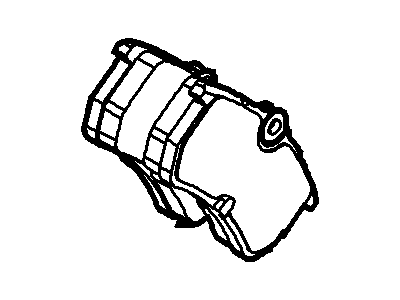
Part Number: BV6Z-2200-C$77.10 MSRP: $114.50You Save: $37.40 (33%)Ships in 1-2 Business DaysFord Focus Kit - Brake Lining
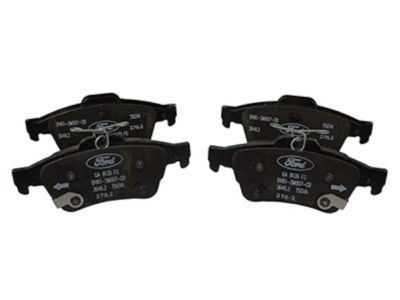
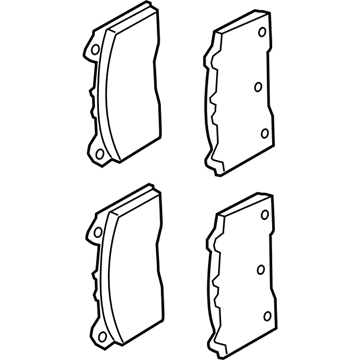
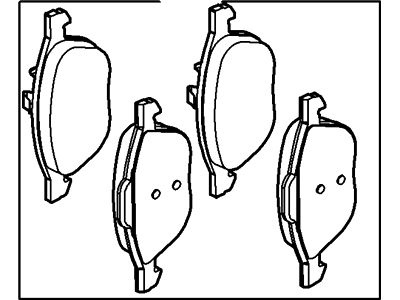
Part Number: BV6Z-2001-C$68.86 MSRP: $104.33You Save: $35.47 (34%)Ships in 1-2 Business DaysFord Focus Pad - Brake
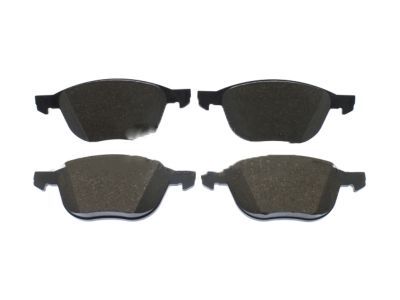
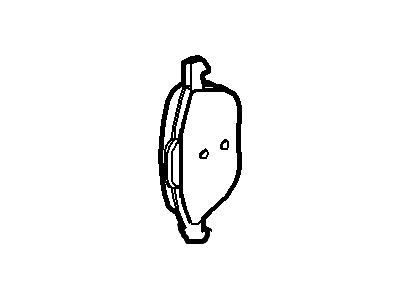
Part Number: CV6Z-2200-A$75.42 MSRP: $112.00You Save: $36.58 (33%)Ships in 1 Business DayFord Focus Kit - Brake Lining
Part Number: G1FZ-2001-A$75.68 MSRP: $114.67You Save: $38.99 (34%)Ships in 1-2 Business DaysFord Focus Kit - Brake Lining
Part Number: BV6Z-2001-D$73.92 MSRP: $112.00You Save: $38.08 (34%)Ships in 1-2 Business DaysFord Focus Kit - Brake Shoe And Lining
Part Number: 1M5Z-2200-AA$46.39 MSRP: $66.65You Save: $20.26 (31%)Ford Focus Kit - Brake Lining
Part Number: EJ7Z-2001-A$78.21 MSRP: $118.50You Save: $40.29 (34%)Ships in 1-3 Business DaysFord Focus Kit - Brake Lining
Part Number: G1FZ-2200-A$46.39 MSRP: $66.65You Save: $20.26 (31%)Ships in 1-2 Business DaysFord Focus Kit - Brake Shoe And Lining
Part Number: 5U2Z-2V200-EA$31.08 MSRP: $43.18You Save: $12.10 (29%)Ships in 1-2 Business DaysFord Focus Kit - Brake Lining
Part Number: EJ7Z-2001-B$78.21 MSRP: $118.50You Save: $40.29 (34%)Ships in 1-3 Business DaysFord Focus Kit - Brake Lining
Part Number: AV6Z-2200-A$75.42 MSRP: $112.00You Save: $36.58 (33%)Ships in 1 Business DayFord Focus Kit - Brake Lining
Part Number: AV6Z-2200-B$75.42 MSRP: $112.00You Save: $36.58 (33%)Ships in 1 Business Day
| Page 1 of 2 |Next >
1-20 of 32 Results
Ford Focus Brake Pads
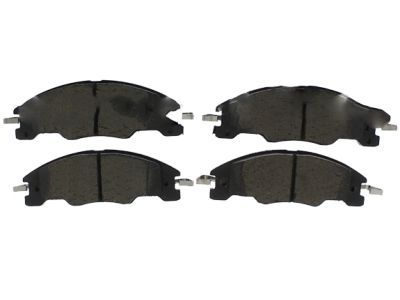
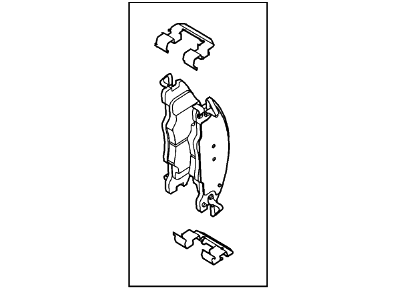
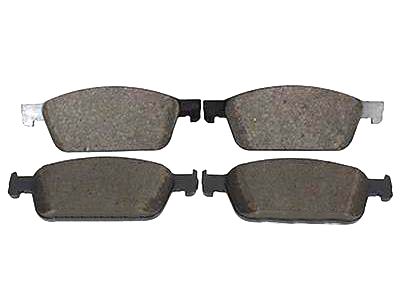
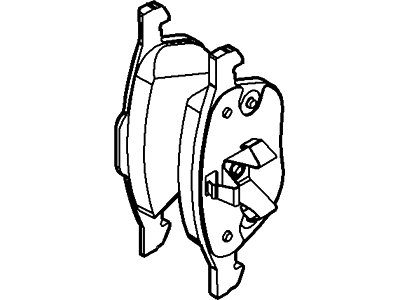
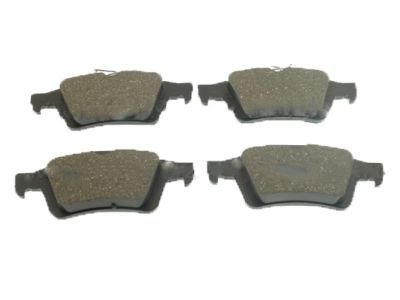
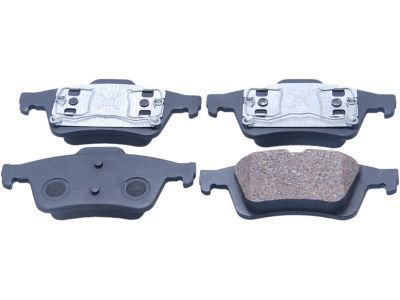
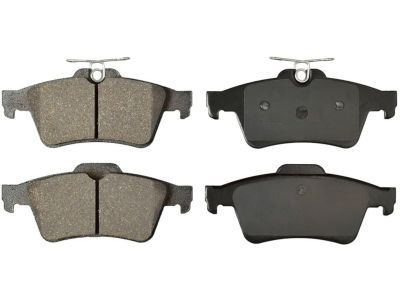
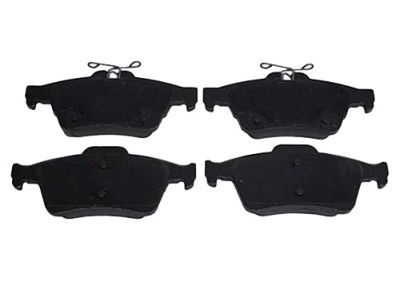
Brake pads are key components of the braking systems of Ford Focus vehicles - consists of metal components that rub against rotors thereby converting kinetic energy to thermal energy and thus slowing the vehicle. They are characteristically metallic coated and synthetic raw material to be able to work at high temperatures such as up to 400 degrees when in use. Different kinds of brake pads have already been utilized on the Ford Focus models such as non-metallic, semi-metallic, metallic, and ceramic brake pads. All three types incorporate different features with regards to the contact's friction, wear abilities and relative noise. Brake Pad maintenance is very important, the pad has to be changed approximately every 50,000 mile and the wear indicator does its job of letting the driver know when it should be changed. Also it is advisable to make sure that new hardware is installed properly in order to get better efficiency and durability of Ford Focus brake pads.
We provide a wide range of Ford Focus Brake Pads at the best prices possible. If you need Ford Focus Brake Pads, you can shop with confidence on our website. All our OEM parts come with a manufacturer's warranty and are delivered to your door step with a fast delivery service.
Ford Focus Brake Pads Parts Questions & Experts Answers
- Q: How do you replace the front brake pads on Ford Focus?A:To begin, apply the parking brake and loosen the front wheel nuts before jacking up the front of the vehicle and supporting it on axle stands. Remove the front wheels and work on one brake assembly at a time, using the assembled brake for reference if needed. Use a flat-bladed screwdriver to pry the outer brake pad retaining clip from the caliper, holding the clip with pliers to prevent injury, and release the caliper's brake hose from the bracket at the strut. Pry the plastic covers from the ends of the two guide pins, then use a 7 mm Allen wrench to unscrew the guide bolts securing the caliper to the carrier bracket. Lift the caliper from the disc and support it with wire or rope to avoid straining the Hydraulic Hose. For 2007 and earlier models, pull the inner pad from the piston in the caliper and remove the outer pad by sliding it out with its securing clip, noting their installed positions. For 2008 and later models, the inner and outer pads are removed from the caliper mounting bracket. Clean all dust and dirt from the caliper, pads, and disc with aerosol brake cleaner, and scrape any corrosion from the edge of the disc without damaging the friction surface. Inspect the front Brake Disc for scoring and cracks. Push the piston back into the caliper bore using a C-clamp to create space for the new brake pads, ensuring there is enough room in the brake fluid reservoir for the displaced fluid, and siphon off any excess if necessary. Clean any spilled brake fluid from paintwork immediately. Install the new pads by reversing the removal procedure and tighten the guide bolts to the specified torque. After installation, firmly depress the Brake Pedal several times to position the pads correctly, check the brake fluid level in the reservoir, and top off if needed. Finally, conduct a short road test to ensure the brakes function correctly and allow the new linings to seat properly, avoiding heavy braking for the first hundred miles.
Related Ford Focus Parts
Browse by Year
2018 Brake Pads 2017 Brake Pads 2016 Brake Pads 2015 Brake Pads 2014 Brake Pads 2013 Brake Pads 2012 Brake Pads 2011 Brake Pads 2010 Brake Pads 2009 Brake Pads 2008 Brake Pads 2007 Brake Pads 2006 Brake Pads 2005 Brake Pads 2004 Brake Pads 2003 Brake Pads 2002 Brake Pads 2001 Brake Pads 2000 Brake Pads
