
My Garage
My Account
Cart
Genuine Ford Explorer Sport Trac Tie Rod End
Steering Rod End- Select Vehicle by Model
- Select Vehicle by VIN
Select Vehicle by Model
orMake
Model
Year
Select Vehicle by VIN
For the most accurate results, select vehicle by your VIN (Vehicle Identification Number).
4 Tie Rod Ends found
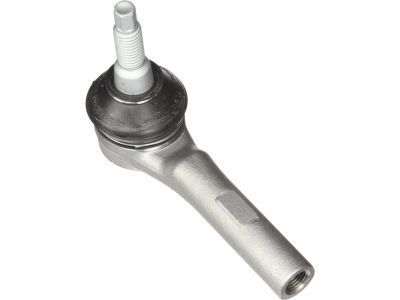
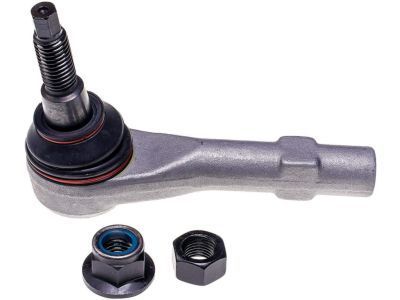
Ford Explorer Sport Trac Spindle Rod Connecting End
Part Number: AL2Z-3A130-A$64.02 MSRP: $105.82You Save: $41.80 (40%)Ships in 1-2 Business DaysFord Explorer Sport Trac Spindle Rod Connecting End
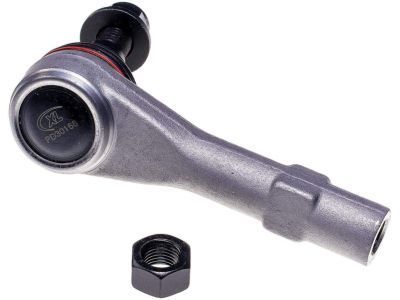
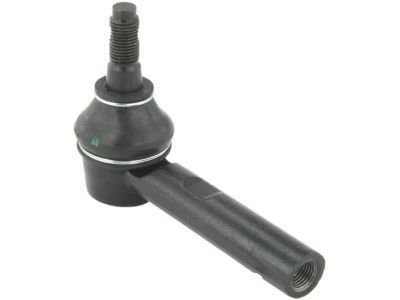
Part Number: 6L2Z-3A130-AA$64.02 MSRP: $105.82You Save: $41.80 (40%)Ships in 1-2 Business Days
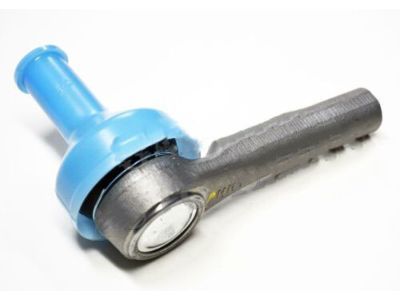
Ford Explorer Sport Trac Tie Rod End
The Tie Rod End is found on Ford Explorer Sport Trac vehicles and it has tremendous applications due to the fact that it connects the steering rack with the steering knuckles. This link is critical for the vehicle stability and also to be able to control for direction. The Tie Rod End consists of two components: there are two types of tie rod ends, which include the inner tie rod end and the outer tie rod end whose main function is to enable proper steering. Years ago, different styles of the Tie Rod End might have been installed on the Ford Explorer Sport Trac models as information concerning various changes is not elaborated. The primary role is the same for all these types and is aimed at providing adequate steering stability. In general, the Tie Rod End plays an important role in the Ford Explorer Sport Trac's manoeuvrability and stability on the road.
We provide a wide range of Ford Explorer Sport Trac Tie Rod End at the best prices possible. If you need Ford Explorer Sport Trac Tie Rod End, you can shop with confidence on our website. All our OEM parts come with a manufacturer's warranty and are delivered to your door step with a fast delivery service.
Ford Explorer Sport Trac Tie Rod End Parts Questions & Experts Answers
- Q: How to remove and install the tie-rod end on Ford Explorer Sport Trac?A:To remove the front wheel, first loosen the lug nuts on the side to be dismantled, then raise the vehicle and support it securely on jackstands. If the vehicle has Automatic Ride Control, ensure the air suspension switch is turned off before raising the vehicle to avoid damage. Next, remove the front wheel, then take out the cotter pin and loosen the nut on the tie-rod end stud, discarding the cotter pin afterward. Use a Pitman arm puller to disconnect the tie-rod from the steering Spindle, ensuring to back off the nut without removing it and using a small puller to force the ballstud out. For models from 1994 and earlier, loosen the clamp bolts on the tie-rod adjusting sleeve; for 1995 and later models, loosen the tie-rod end jam nut and back it off several turns. Mark the threads adjacent to the adjusting sleeve or tie-rod end, then unscrew the tie-rod end from the adjusting sleeve or connecting rod. For installation, insert the tie-rod end into the adjusting sleeve or connecting rod, threading it in until the marks align. Attach the tie-rod onto the steering spindle, ensuring the front wheels and steering wheel are straight and the tie-rod stud is seated properly to prevent rotation while tightening the nut. Install a new nut on the stud and tighten it to the specified torque, then add a new cotter pin and bend the ends over completely. Tighten the tie-rod adjusting sleeve clamp bolts or jam nut to the specified torque, ensuring the tie-rod is positioned as it was originally. Finally, install the wheel and lug nuts, lower the vehicle, and tighten the lug nuts to the specified torque, followed by having the front-end alignment checked by a dealer service department or an alignment shop.
