
My Garage
My Account
Cart
Genuine Ford Explorer Rocker Arm
Engine Rocker Arm- Select Vehicle by Model
- Select Vehicle by VIN
Select Vehicle by Model
orMake
Model
Year
Select Vehicle by VIN
For the most accurate results, select vehicle by your VIN (Vehicle Identification Number).
8 Rocker Arms found
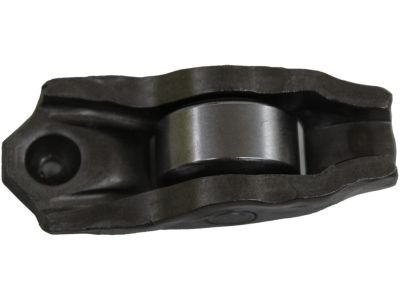
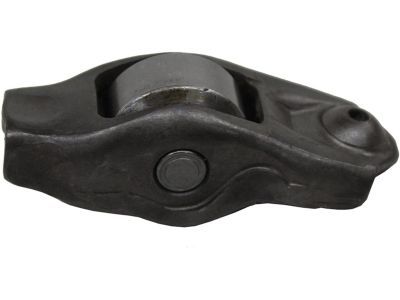
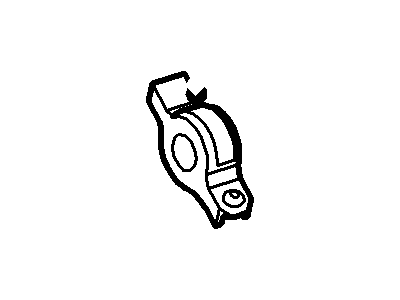
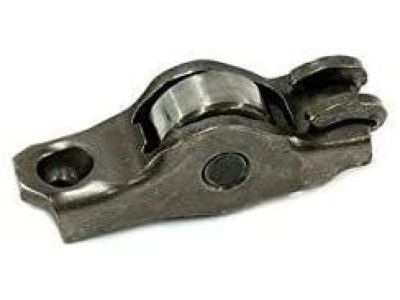
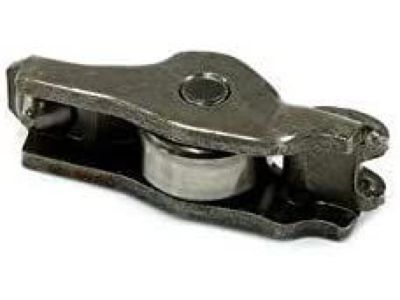
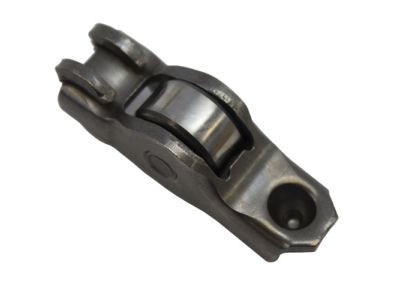
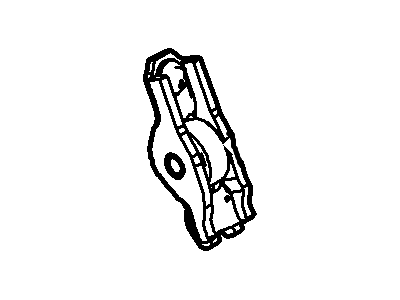
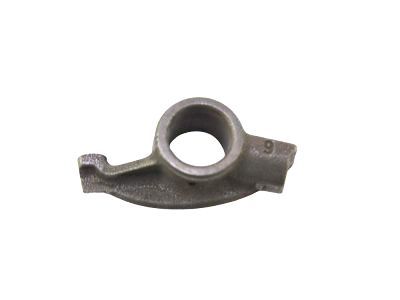
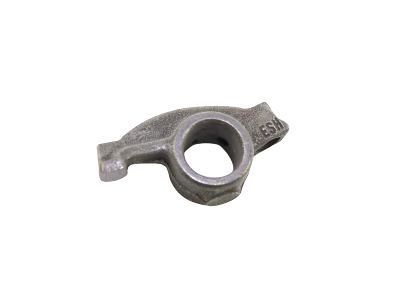
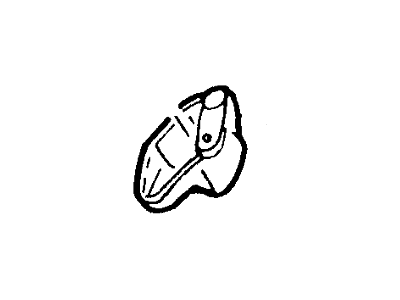
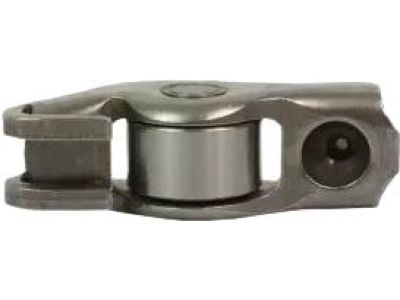
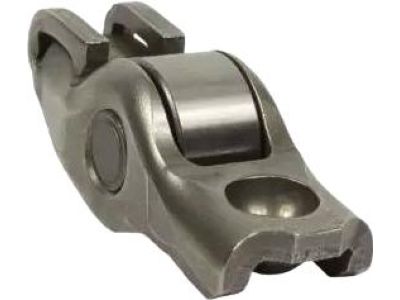
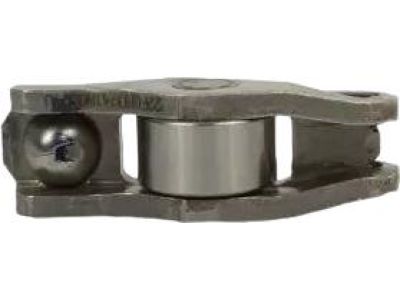
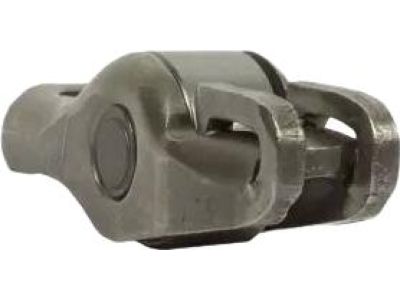
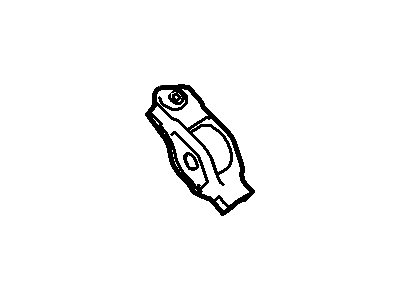
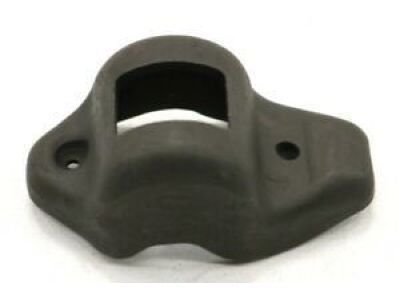
Ford Explorer Valve Rocker Arm Assembly
Part Number: F8AZ-6564-AA$22.21 MSRP: $32.47You Save: $10.26 (32%)Ships in 1 Business DayFord Explorer Valve Rocker Arm Assembly
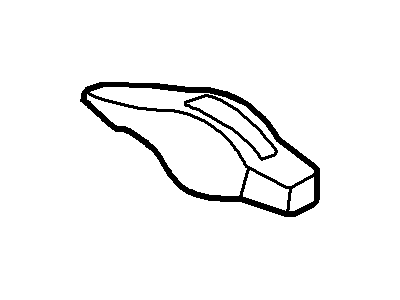
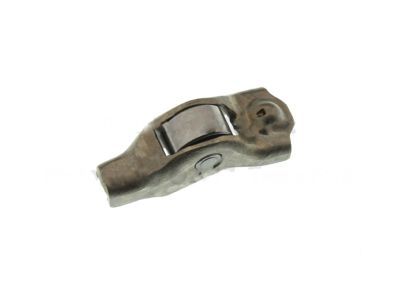
Part Number: YL2Z-6564-AA$20.82 MSRP: $30.43You Save: $9.61 (32%)Ford Explorer Valve Rocker Arm Assembly
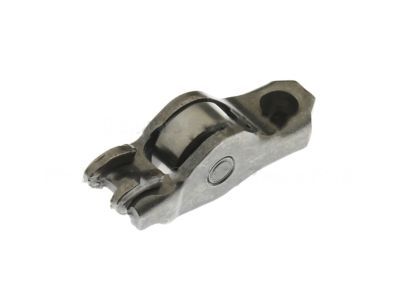
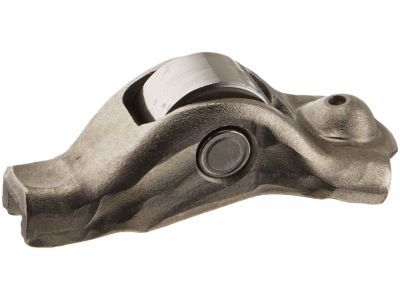
Part Number: 4G7Z-6564-AA$30.10 MSRP: $44.00You Save: $13.90 (32%)Ships in 1-2 Business DaysFord Explorer Valve Rocker Arm Assembly
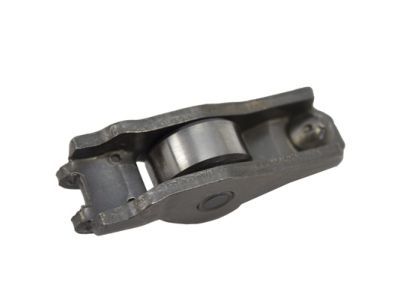
Part Number: FOTZ-6564-A$42.01 MSRP: $61.42You Save: $19.41 (32%)Ships in 1-2 Business DaysFord Explorer Valve Rocker Arm Assembly
Part Number: FT4Z-6564-C$21.19 MSRP: $30.98You Save: $9.79 (32%)Ships in 1-3 Business DaysFord Explorer Valve Rocker Arm Assembly
Part Number: 3L3Z-6564-BA$23.37 MSRP: $34.17You Save: $10.80 (32%)Ships in 1 Business DayFord Explorer Valve Rocker Arm Assembly
Part Number: EOAZ-6564-B$16.30 MSRP: $23.83You Save: $7.53 (32%)Ships in 1-3 Business DaysFord Explorer Valve Rocker Arm Assembly
Part Number: F77Z-6564-AB$20.82 MSRP: $30.43You Save: $9.61 (32%)
Ford Explorer Rocker Arm
The Rocker Arm in Ford Explorer automobiles is an engine valvetrain component with a critical operation since it is responsible for moving the valve lift from the pushrod. Usually made from stamped steel or aluminum these parts translate pushrod lateral movement into the correct amount of downward force to open the valves. In high rotating speeds further aluminum is used due to lightweight whereas cast iron or forged carbon steel is used in diesel engines for higher strength. Both the standard and roller types of Rocker Arms have been used in Ford Explorer models with the automobile manufacturers offering a wide range of the Rocker Arm styles. Roller rockers that use needle bearings thus increases the power advantage when used in both the overhead valve and the overhead camshaft engines. The rocker ratio which is 1.5:1 to 1.8:1 in today's engines acts to amplify the lift of the camshaft leading to improved performance. Higher-performance fulcrum bearings are also employed where levels of stress and the required engine speed are high, for example in the Ford Explorer.
We provide a wide range of Ford Explorer Rocker Arm at the best prices possible. If you need Ford Explorer Rocker Arm, you can shop with confidence on our website. All our OEM parts come with a manufacturer's warranty and are delivered to your door step with a fast delivery service.
Ford Explorer Rocker Arm Parts Questions & Experts Answers
- Q: How to remove, inspect, and install the rocker arm and Pushrod in 4.0L pushrod V6 engine on Ford Explorer?A:Before removing the valve cover(s), loosen the Rocker arm shaft support bolts, in a turn of turn basis beginning with the middle bolt in order not to stripped the head by the pull of valve spring when loosening the bolt by hand. Remove the rocker arm shaft assembly from the cylinder head and, then, visually differentiate each shaft assembly so that it could be fitted back into the same place. Then, take out the push rods and put them on a holder making sure you have arranged them in a manner that will allow for easy reinstallation. Remove the pins from the rocker arm assembly and lay the pieces on the workbench that they will not be mixed up. Check each rocker arm to see that it is not worn, cracked, or damaged especially at the ends where it bears on the push rods and valve stems: oil passages should be open. Measure the wear on the rocker arm bore combined with the rocker shaft worn position and replace the defective part. The push rods should be examined for cracks and signs of wear; the entire length of these should be rolled between two flat surfaces in order to identify bending. If this is so, the plugs which can be seen, protruding from the ends of the rocker shafts have to be removed and new ones inserted after the old ones have been knocked out. Rocker assembly can now be assembled and areas that have friction with engine assembly lube and new cotter pins are fastened at the ends of the rocker shaft with the oil hole facing downwards. Before final installation of the push rods, be sure to apply engine assembly lube on both ends of the rods, if the rods are original ones, you must place them back to their original positions. Grease the rocker arm pads and replace the rocker arm along with its positions on the notches on the shafts and the ball ends in the push rods . Torque the rocker shaft support bolts in a turning sequence from the center bolt to the outside in a two turn increments to the required torque and in the same manner that was followed to remove them.
Related Ford Explorer Parts
Browse by Year
2023 Rocker Arm 2022 Rocker Arm 2021 Rocker Arm 2020 Rocker Arm 2010 Rocker Arm 2009 Rocker Arm 2008 Rocker Arm 2007 Rocker Arm 2006 Rocker Arm 2005 Rocker Arm 2004 Rocker Arm 2003 Rocker Arm 2002 Rocker Arm 2001 Rocker Arm 2000 Rocker Arm 1999 Rocker Arm 1998 Rocker Arm 1997 Rocker Arm 1996 Rocker Arm 1995 Rocker Arm 1994 Rocker Arm 1993 Rocker Arm 1992 Rocker Arm 1991 Rocker Arm
