

My Garage
My Account
Cart
Genuine 2009 Ford F-150 Cylinder Head
Head- Select Vehicle by Model
- Select Vehicle by VIN
Select Vehicle by Model
orMake
Model
Year
Select Vehicle by VIN
For the most accurate results, select vehicle by your VIN (Vehicle Identification Number).
9 Cylinder Heads found
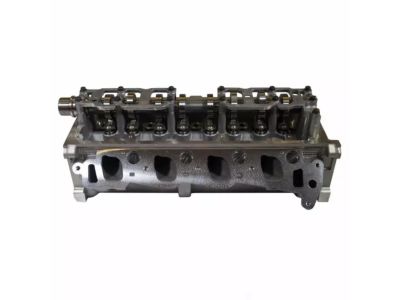
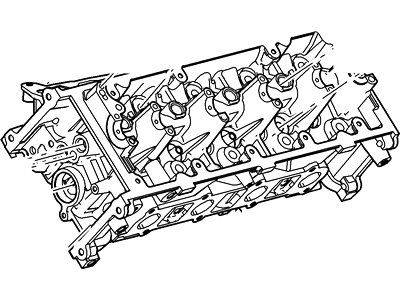
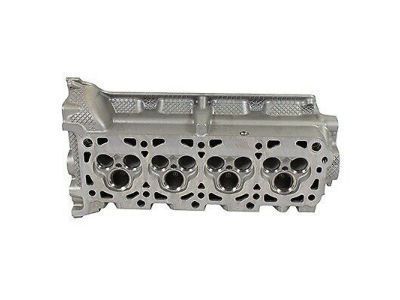
2009 Ford F-150 Cylinder Head
Part Number: 6W7Z-6049-A$693.32 MSRP: $955.38You Save: $262.06 (28%)Ships in 1-2 Business DaysProduct Specifications- Other Name: Cylinder Head Assembly; Cylinder Head
- Manufacturer Note: Includes Valves And Camshaft
- Position: Passenger Side
- Replaces: 4L3Z-6049-AA, 1W7Z-6049-AARH
- Base No.: 6049
- Item Weight: 53.80 Pounds
- Item Dimensions: 25.3 x 13.7 x 11.6 inches
- Condition: New
- Fitment Type: Direct Replacement
- SKU: 6W7Z-6049-A
- Warranty: This genuine part is guaranteed by Ford's factory warranty.
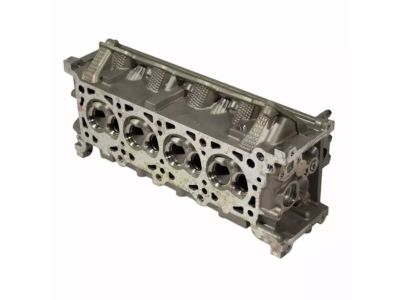
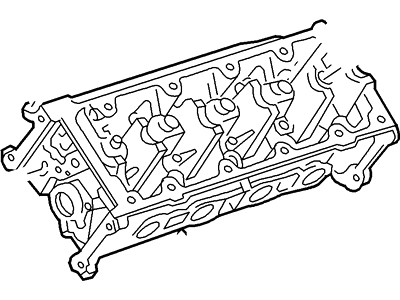
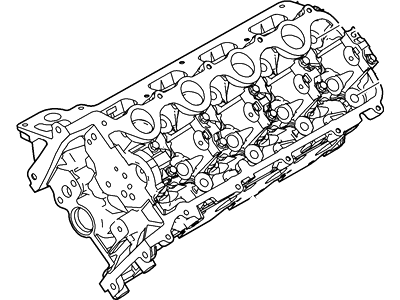
2009 Ford F-150 Cylinder Head Assembly
Part Number: 1L2Z-6049-LA$510.35 MSRP: $696.92You Save: $186.57 (27%)Ships in 1-3 Business DaysProduct Specifications- Other Name: Head Assembly - Cylinder - Less Valves
- Position: Passenger Side/Driver Side
- Replaced by: 6W7Z-6049-AA
- Item Weight: 69.90 Pounds
- Item Dimensions: 7.4 x 7.4 x 30.5 inches
- Condition: New
- Fitment Type: Direct Replacement
- SKU: 1L2Z-6049-LA
- Warranty: This genuine part is guaranteed by Ford's factory warranty.
2009 Ford F-150 Cylinder Head Assembly
Part Number: 9L3Z-6049-H$897.19 MSRP: $1238.46You Save: $341.27 (28%)Ships in 1-3 Business DaysProduct Specifications- Position: Driver Side
- Replaced by: 9L3Z-6049-K
- Item Weight: 54.10 Pounds
- Item Dimensions: 26.6 x 14.5 x 12.8 inches
- Condition: New
- Fitment Type: Direct Replacement
- SKU: 9L3Z-6049-H
- Warranty: This genuine part is guaranteed by Ford's factory warranty.
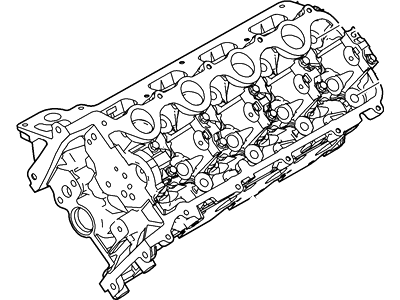
2009 Ford F-150 Cylinder Head
Part Number: 9L3Z-6049-E$2890.50 MSRP: $4247.69You Save: $1357.19 (32%)Ships in 1-3 Business DaysProduct Specifications- Other Name: Cylinder Head Assembly; Cylinder Head
- Manufacturer Note: Less Valves
- Position: Driver Side
- Base No.: 6049
- Item Weight: 36.70 Pounds
- Item Dimensions: 12.5 x 3.3 x 1.4 inches
- Condition: New
- Fitment Type: Direct Replacement
- SKU: 9L3Z-6049-E
- Warranty: This genuine part is guaranteed by Ford's factory warranty.
2009 Ford F-150 Cylinder Head
Part Number: 9L3Z-6049-C$2239.84 MSRP: $4247.69You Save: $2007.85 (48%)Ships in 1-2 Business DaysProduct Specifications- Other Name: Cylinder Head Assembly; Cylinder Head
- Manufacturer Note: Less Valves
- Position: Passenger Side
- Base No.: 6049
- Item Weight: 38.50 Pounds
- Item Dimensions: 7.4 x 7.1 x 29.6 inches
- Condition: New
- Fitment Type: Direct Replacement
- SKU: 9L3Z-6049-C
- Warranty: This genuine part is guaranteed by Ford's factory warranty.

2009 Ford F-150 Cylinder Head Assembly
Part Number: 9L2Z-6049-BB$992.48 MSRP: $1370.77You Save: $378.29 (28%)Ships in 1-3 Business DaysProduct Specifications- Manufacturer Note: Includes Valves, Rockers, Tappets And Camshaft
- Position: Passenger Side
- Replaced by: 9L2Z-6049-C
- Item Weight: 52.80 Pounds
- Item Dimensions: 25.3 x 14.4 x 12.9 inches
- Condition: New
- Fitment Type: Direct Replacement
- SKU: 9L2Z-6049-BB
- Warranty: This genuine part is guaranteed by Ford's factory warranty.
2009 Ford F-150 Cylinder Head Assembly
Part Number: 9L2Z-6049-CC$974.75 MSRP: $1346.15You Save: $371.40 (28%)Ships in 1-3 Business DaysProduct Specifications- Manufacturer Note: Includes Valves, Rockers, Tappets And Camshaft
- Position: Driver Side
- Replaced by: 9L2Z-6049-CD
- Item Weight: 35.50 Pounds
- Item Dimensions: 26.3 x 13.9 x 13.3 inches
- Condition: New
- Fitment Type: Direct Replacement
- SKU: 9L2Z-6049-CC
- Warranty: This genuine part is guaranteed by Ford's factory warranty.

 Product Specifications
- Other Name: Cylinder Head Assy
- Position: Passenger Side
- Replaced by: 9L3Z-6049-J
- Item Weight: 49.90 Pounds
- Item Dimensions: 24.5 x 14.3 x 13.4 inches
- Condition: New
- Fitment Type: Direct Replacement
- SKU: 9L3Z-6049-G
- Warranty: This genuine part is guaranteed by Ford's factory warranty.
- Product Specifications
- Other Name: Cylinder Head Assy; Cylinder Head
- Manufacturer Note: Includes Valves And Camshaft
- Position: Driver Side
- Replaces: 1W7Z-6049-AALH, 4L3Z-6049-BA
- Base No.: 6049
- Item Weight: 48.60 Pounds
- Item Dimensions: 7.2 x 9.1 x 24.1 inches
- Condition: New
- Fitment Type: Direct Replacement
- SKU: 6W7Z-6049-B
- Warranty: This genuine part is guaranteed by Ford's factory warranty.
2009 Ford F-150 Cylinder Head
At FordPartsGiant.com, you will find an extensive inventory of genuine 2009 Ford F-150 Cylinder Head offered at competitive prices online. These manufacturer-backed OEM 2009 Ford F-150 Cylinder Head ensure your satisfaction with their quality and come with a hassle-free return policy and expedited delivery service, guaranteeing a delightful shopping experience.
2009 Ford F-150 Cylinder Head Parts Questions & Experts Answers
- Q:How to remove the cylinder heads in 4.2L V6 engine on 2009 Ford F-150?Posted by Chengcheng Z.A:Before starting the removal process, turn off the fuel pump and detachment of the negative terminal from the battery. Secondly, take off along with their associated bolts and nuts the tops of the valves, then the push rods and the rocker arms. Move on to remove the upper as well as the lower intake manifold then, remove the bolts holding the exhaust manifold(s). Taken out the drivebelt and the drivebelt tensioner. On the left cylinder head, don't disconnect the refrigerant lines; extract the air conditioning compressor together with the compressor/power steering pump bracket but do not disconnect the hoses. Lose any electrical connectors from the cylinder head tagging them for realignment. For the right cylinder head, it may be required to remove idler pulley and the alternator also, and unbolt the alternator bracket too. Again, there should be some electric connections which should be disconnected and marked. On both cylinder heads, use an Allen wrench to turn the cylinder head bolts counterclockwise in a star pattern, so as to unscrew the heads by approximately a quarter turn each, switching to a clockwise direction to fully remove the bolts. When using the head bolts, ensure that used ones are chucked and new ones are fitted for the job. The cylinder head(s) must now be removed from the engine carefully so as not to cause any damage a wood block and hammer can be used here. Place the closure ends or 'heads' on wooden scrapers to help preserve the gasket sealing surfaces. Cylinder head disassembly and inspection can only be done by a professional auto machine shop. The mating surfaces of the cylinder heads and the engine block must be free of compounds as they should be scraped clean using a gasket scraper together with solvent. Search for such flaws on the outer surfaces and, if the pits are minor, file them off; for deeper pits, get machining services. One can use a tap to clean the threads of the cylinder head bolt holes. Align the new gasket(s) over the dowel pin(s) in the engine block and make sure that it is properly located and then gently put the cylinder head(s) in position on the block such that it does not shift the gasket. Before installation of the new cylinder head bolts lightly oil the threads, tighten them to fingertight and then torque the bolts as specified to the sequence. Do not remove all the bolts at once so as to have a proper fit and seal of the gasket. The remaining installation steps will be the reverse of removal, which means that you will need to dwell on the setup of the files and folders and other aspects of the installation. Last use the dip stick to check the engine, change the engine, oil and filter, refill the coolant and start the engine to check if there is any leakage.Answered by Ford Parts Specialist Ley / Jan 21, 2024
Related 2009 Ford F-150 Parts
 2009 Ford F-150 Rocker Arm
 2009 Ford F-150 Cylinder Head Bolts
 2009 Ford F-150 Spool Valve
 2009 Ford F-150 Intake Valve
 2009 Ford F-150 Camshaft
 2009 Ford F-150 Cylinder Head Gasket
 2009 Ford F-150 Exhaust Valve
 2009 Ford F-150 Timing Cover
 2009 Ford F-150 Cylinder Head Temperature Sensor
 2009 Ford F-150 Crankshaft Seal