

My Garage
My Account
Cart
Genuine 2003 Ford Ranger Intake Manifold
Engine Intake Manifold- Select Vehicle by Model
- Select Vehicle by VIN
Select Vehicle by Model
orMake
Model
Year
Select Vehicle by VIN
For the most accurate results, select vehicle by your VIN (Vehicle Identification Number).
4 Intake Manifolds found
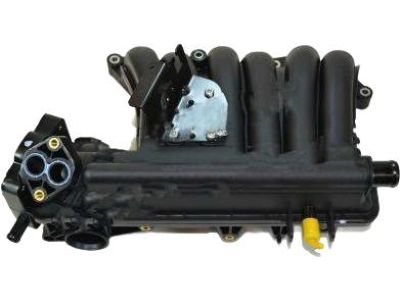
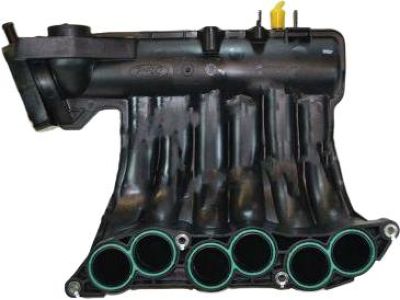
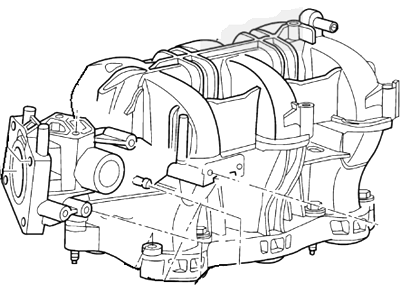 Product Specifications
- Other Name: Manifold Assy - Inlet
- Manufacturer Note: Upper. Includes 9728 bracket and gaskets 9F670/9E936/9H486, FROM 1/2/2002
- Replaced by: 4L5Z-9424-EA
- Item Weight: 6.70 Pounds
- Item Dimensions: 19.1 x 13.4 x 8.9 inches
- Condition: New
- Fitment Type: Direct Replacement
- SKU: 2L5Z-9424-DA
- Warranty: This genuine part is guaranteed by Ford's factory warranty.
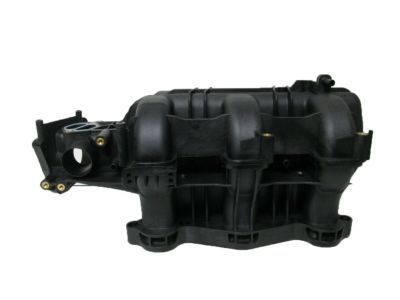
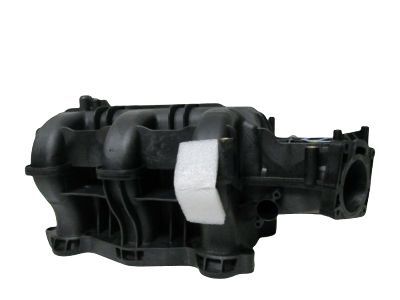
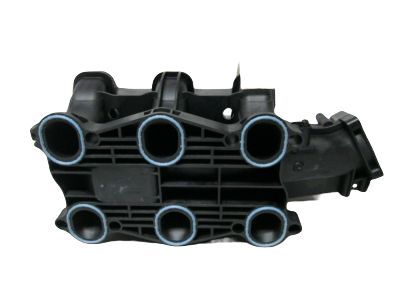
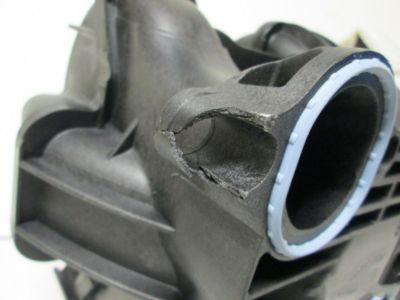
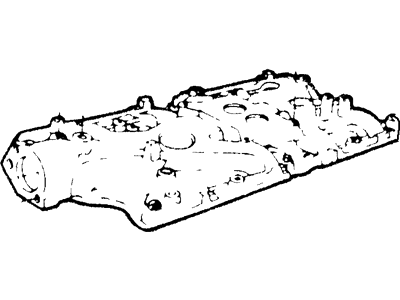
2003 Ford Ranger Inlet Manifold Assembly
Part Number: 1L5Z-9424-DA$371.30 MSRP: $555.00You Save: $183.70 (34%)Product Specifications- Other Name: Manifold Assy - Inlet
- Position: Upper
- Replaced by: 4L5Z-9424-A
- Item Weight: 10.80 Pounds
- Item Dimensions: 24.5 x 12.0 x 11.5 inches
- Condition: New
- Fitment Type: Direct Replacement
- SKU: 1L5Z-9424-DA
- Warranty: This genuine part is guaranteed by Ford's factory warranty.
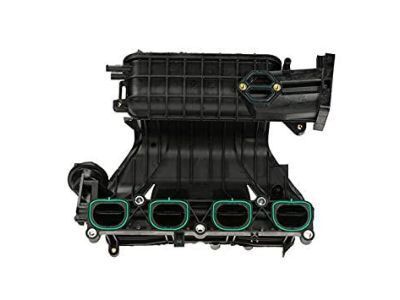 Product Specifications
- Other Name: Manifold Assy - Inlet
- Manufacturer Note: IMRC actuator only available in 9424 assembly., FROM 10/15/2002
- Replaced by: 1L5Z-9424-A
- Item Weight: 9.70 Pounds
- Item Dimensions: 19.6 x 16.8 x 13.7 inches
- Condition: New
- Fitment Type: Direct Replacement
- SKU: 1L5Z-9424-AN
- Warranty: This genuine part is guaranteed by Ford's factory warranty.
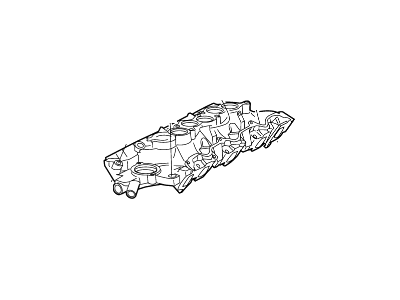 Product Specifications
- Other Name: Manifold Assy - Inlet
- Manufacturer Note: Lower. Used with composite material upper 9424, FROM 4/2/2002
- Replaced by: 2L5Z-9424-EARM
- Item Weight: 13.70 Pounds
- Item Dimensions: 17.6 x 16.3 x 13.4 inches
- Condition: New
- Fitment Type: Direct Replacement
- SKU: 2L5Z-9424-EA
- Warranty: This genuine part is guaranteed by Ford's factory warranty.
2003 Ford Ranger Intake Manifold
At FordPartsGiant.com, you will find an extensive inventory of genuine 2003 Ford Ranger Intake Manifold offered at competitive prices online. These manufacturer-backed OEM 2003 Ford Ranger Intake Manifold ensure your satisfaction with their quality and come with a hassle-free return policy and expedited delivery service, guaranteeing a delightful shopping experience.
2003 Ford Ranger Intake Manifold Parts Questions & Experts Answers
- Q:How to remove and install the intake manifold in 4.0L SOHC V6 engine on 2003 Ford Ranger?Posted by Blessing O.A:To remove the intake manifold, first disconnect the cable from the negative battery terminal. Next, remove the intake air duct from the air filter housing and disconnect the accelerator and cruise control cables from the throttle valve, positioning the cables aside after removing the harness clips. For 2006 and later models, also remove the main electrical connector from the engine side of the PCM and the main harness support bolt. Disconnect the vacuum hoses from the upper intake manifold, marking each hose with tape for correct reassembly. Disconnect the IAC valve, TPS, and any other electrical connectors that may interfere with manifold removal, as well as the EGR valve vacuum hose and the EVAP canister purge solenoid vacuum hose. For 2010 and earlier models, remove the ignition wires from the coil pack and spark plugs, then remove the intake manifold mounting bolts and lift the manifold from the engine compartment. For 2011 models, remove the EGR vacuum regulator solenoid, disconnect the power brake booster vacuum hose at the intake manifold if necessary, disconnect the spark plug wires, and remove the ignition coil. Disconnect the knock sensor electrical connector, remove the intake manifold mounting bolts, and lift the manifold to access and remove the PCV fitting bolts. To install, clean away all traces of old gasket material and remove oil and dirt with a cloth and solvent. Install new O-ring gaskets around each of the six intake runners, ensuring no sealant is required. Install the manifold to the cylinder heads, aligning the bolt holes, and tighten the bolts finger-tight without moving the manifold back and forth to prevent O-ring seal misalignment. Tighten the bolts to the specified torque, starting with the center bolts and working towards the ends. The remainder of the installation follows the reverse order of removal, after which run the engine and check for oil, coolant, and vacuum leaks.Answered by Ford Parts Specialist George / Feb 20, 2026
Related 2003 Ford Ranger Parts
 2003 Ford Ranger Air Filter
 2003 Ford Ranger Intake Manifold Gasket
 2003 Ford Ranger Intake Valve
 2003 Ford Ranger Mass Air Flow Sensor
 2003 Ford Ranger Exhaust Manifold
 2003 Ford Ranger Air Intake Hose
 2003 Ford Ranger Cabin Air Filter
 2003 Ford Ranger Air Intake Coupler
 2003 Ford Ranger Intake Air Temperature Sensor
 2003 Ford Ranger Air Filter Housing