

My Garage
My Account
Cart
Genuine 1989 Ford Bronco II Transfer Case Seal
Transfer Case Output Shaft Seal- Select Vehicle by Model
- Select Vehicle by VIN
Select Vehicle by Model
orMake
Model
Year
Select Vehicle by VIN
For the most accurate results, select vehicle by your VIN (Vehicle Identification Number).
3 Transfer Case Seals found
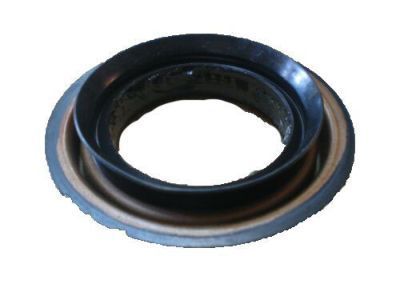
1989 Ford Bronco II Seal
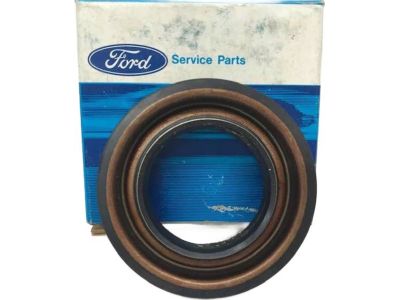
Part Number: E7TZ-7B215-B$18.24 MSRP: $26.67You Save: $8.43 (32%)Ships in 1 Business DayProduct Specifications- Replaced by: 6L3Z-7B215-A
- Item Weight: 0.40 Pounds
- Condition: New
- Fitment Type: Direct Replacement
- SKU: E7TZ-7B215-B
- Warranty: This genuine part is guaranteed by Ford's factory warranty.
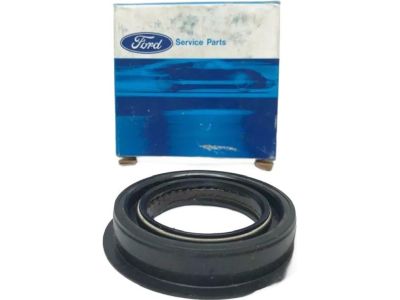
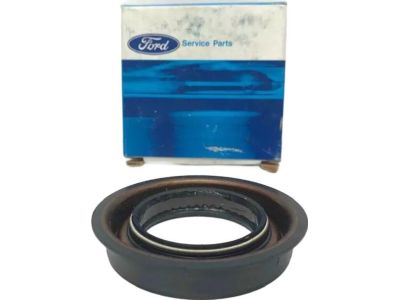
1989 Ford Bronco II Seal
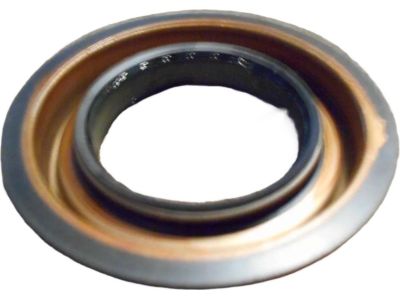
Part Number: E3TZ-7B215-G$5.68 MSRP: $13.34You Save: $7.66 (58%)Ships in 1-3 Business DaysProduct Specifications- Manufacturer Note: OIL SEAL REAR OUTPUT
- Replaced by: F3TZ-7B215-A
- Item Weight: 0.40 Pounds
- Item Dimensions: 7.3 x 8.2 x 4.3 inches
- Condition: New
- Fitment Type: Direct Replacement
- SKU: E3TZ-7B215-G
- Warranty: This genuine part is guaranteed by Ford's factory warranty.
1989 Ford Bronco II Seal
Part Number: E8TZ-7B215-A$27.36 MSRP: $40.00You Save: $12.64 (32%)Ships in 1 Business DayProduct Specifications- Replaced by: 2L1Z-7B215-A
- Item Weight: 0.60 Pounds
- Condition: New
- Fitment Type: Direct Replacement
- SKU: E8TZ-7B215-A
- Warranty: This genuine part is guaranteed by Ford's factory warranty.
1989 Ford Bronco II Transfer Case Seal
At FordPartsGiant.com, you will find an extensive inventory of genuine 1989 Ford Bronco II Transfer Case Seal offered at competitive prices online. These manufacturer-backed OEM 1989 Ford Bronco II Transfer Case Seal ensure your satisfaction with their quality and come with a hassle-free return policy and expedited delivery service, guaranteeing a delightful shopping experience.
1989 Ford Bronco II Transfer Case Seal Parts Questions & Experts Answers
- Q:How to remove and install the rear Transfer Case Seal on 1989 Ford Bronco II?Posted by Olandus D.A:To replace the rear output shaft seal follow the below steps; Lift the car off the ground and ensure it is securely parked. Remove the rear driveshaft and matchmark it to the transfer case yoke; then unbolt and pull it out and wire it to one side. Turn the vehicle on its side, then employing a 30mm thin-wall socket, turn the rear output shaft yoke retaining nut counter clockwise but with some care since some liquid may drain out at this stage. Then, you have to take out the output shaft yoke washer, rubber seal, and yoke off from the output shaft. The rear output shaft seal can be withdrawn with fingers directly applying pressure on the end of the curved outer rim; it can also be extracted using a specially designed impact slide hammer tool and seal extractor; however, the surrounding members should be avoided as much as possible to prevent damage. For installation, the output housing bore must be clean, and for the new seal, apply premium long-life grease to the lip. Locate the new seal in the output housing and with an appropriate driver, insert it fully into the housing. Replace the rear sub-assembly output shaft yoke, rubber gasket and washer before reinstating the output shaft yoke nut and tightening to the recommended torque limit. Last but not the least, secure the rear driveshaft by fixing it to the transfer case, drop the car again and impose further pressure by taking the car for a drive in order to check on fluid leaks.Answered by Ford Parts Specialist Ley / Apr 27, 2023
