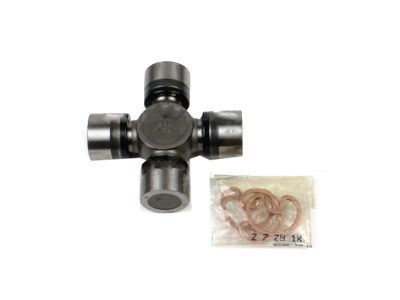
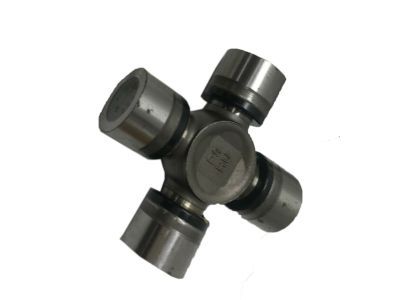
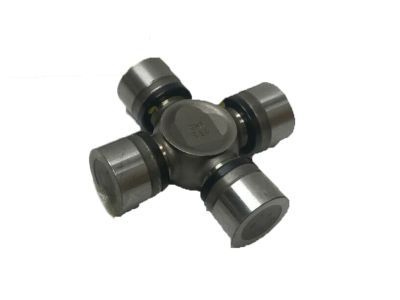
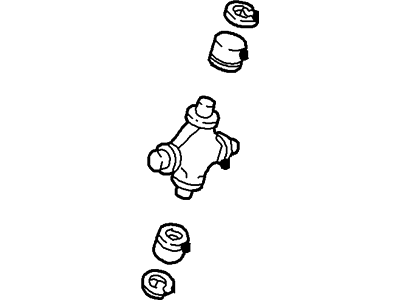
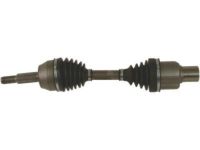
A press or large vise will be required for this procedure. It may be a good idea to take the driveshaft to a driveline repair shop or machine shop where the universal joints can be replaced for you, normally at a reasonable charge. Remove the driveshaft. Place the driveshaft in a sturdy vise and remove the snap-rings from the spider. Remove the universal joint snap-rings with small pliers. Supporting the driveshaft, place it in position on either an arbor press or on a workbench equipped with a vise. Place a piece of pipe or a large socket with the same inside diameter over one of the bearing cups. Position a socket which is of slightly smaller diameter than the cup on the opposite bearing cup. The universal joint bearing cups can be pressed out with a vise and sockets and use the vise or press to force the cup out, stopping just before it comes completely out of the yoke. Use the vise or large pliers to work the cup the rest of the way out. The bearing cup can be extracted with locking pliers. Transfer the sockets to the other side and press the opposite bearing cup out in the same manner. After the bearings have been removed, lift the spider from the yoke and thoroughly clean all dirt and debris from the yokes on both ends of the driveshaft. Pack the new universal joint bearings with grease. Ordinarily, specific instructions for lubrication will be included with the universal joint servicing kit and should be followed carefully. Position the spider in the yoke and partially install one bearing cup in the yoke. Start the spider into the bearing cup and then partially install the other cup. Align the spider and press the bearing cups into position, being careful not to damage the dust seals. Install the snap-rings. If difficulty is encountered in seating the snap-rings, strike the driveshaft yoke sharply with a hammer. This will spring the yoke ears slightly and allow the snap-rings to seat in the groove. This should also be done if the joint feels tight after assembly. Install the driveshaft.