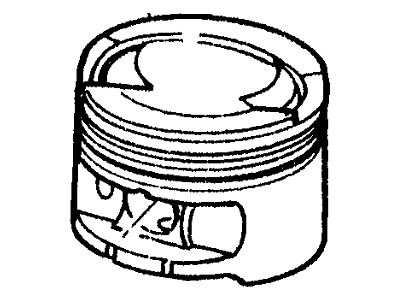
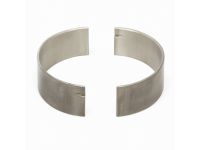
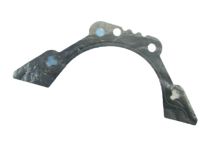
Although this task is doable with the engine in place, it entails a lot of pre-assembly disassembly and is tough because of space constraints; it is preferable to pull the engine out. The exercise can be commenced by the first removing the cylinder head and the oil pan. For all Ke, remove the oil pump pick-up tube/filter and return pipe from its location at the lower crankcase by loosening some bolts When replacing the lower crankcase for Zetec-E, it is advisable to return the rubber gasket for later use. The connecting rods and caps are different; they are formed as a single piece and later cut to give two units that cannot be interchanged easily. As discussed make sure that the connecting rod caps have marks visible from outside in order to match connecting rods; if none make your own marks so that you can be sure to connect it properly. The head of each piston had an arrow cast into it in order to face the timing belt end of the engine. Examine the cylinder for any ring travel restricted and any crest formed at the top of ring travel because these must be scraped to smooth the surface using a ridge reamer to avoid breakages of piston/ring. Tighten the connecting rod cap nut gradually while loosening the connecting rod bearing cap bolts till they can be removed by hand; then remove the Number 1 cap with the bearing without dropping it. Take out the upper bearing shell and shove the connecting rod/piston assembly out from the top of the engine, it may be necessary to use a wooden hammer handle to help out. Continue doing this for other cylinders. Once done, put back the connecting rod bearing caps and bearings to their corresponding rods with the bolts loosely tightened to avoid any damage to the bearing surface of the rods. New bearings should be fitted when reassembling and the pistons should never be separated from the connecting rods with normal hand tools as this requires special equipment.