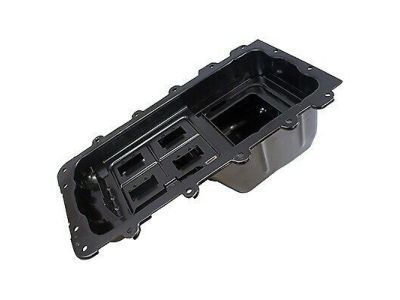
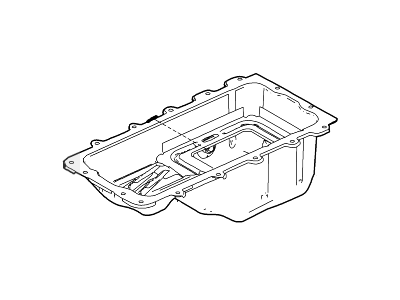
To remove the oil pan on 2WD models, the engine must be removed. First, if the vehicle has air suspension, turn the switch OFF before raising it. Disconnect the negative battery terminal, remove the oil dipstick, drain the engine oil, and remove the oil filter. Raise the vehicle securely on jackstands, then remove the engine mount through-bolts. Raise the engine about two inches using an overhead support fixture or crane, avoiding using a jack under the oil pan to prevent damage. Disconnect the electrical connector from the low oil level sensor if equipped. For 4WD models, the front differential must be removed. Remove the oil pan-to-transmission bolts and the oil pan-to-engine bolts, noting to place a block of wood between the engine and mount. Carefully remove the oil pan, breaking the seal with a thin putty knife if necessary, and clean it out with solvent. For installation, remove all traces of old gasket material and sealant from the pan and engine block, clean the mating surfaces, and use gasket adhesive to hold the rear rubber seals in place. Create alignment dowels from long bolts, apply RTV sealant, and position the pan against the engine block, installing the bolts finger tight before tightening them to the specified torque. Replace the alignment studs with pan bolts, then install and tighten the pan-to-transmission bolts. Finally, refill the engine with oil, install a new oil filter, start the engine, and check for oil leaks at the oil pan, driving the vehicle to check again.