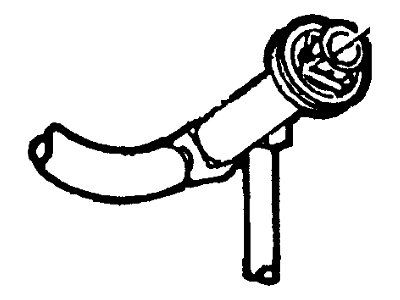
To remove the clutch master cylinder, first disconnect the negative cable from the battery. Next, disconnect the hydraulic line from the clutch release cylinder. Inside the vehicle, remove the spring clip or retainer bushing and disconnect the pushrod from the top of the clutch pedal, noting that on later models, the driver's side lower kick panel may need to be removed for access. Remove the clutch/starter interlock switch or Clutch Pedal Position sensor from the pushrod, depending on the model. In the engine compartment, remove the bolts securing the master cylinder reservoir to the firewall, taking care not to spill any fluid; for 2000 and later models, the master cylinder is retained without mounting bolts. For 2011 models, remove the inner fender splash shield and disconnect the hydraulic line-to-frame bracket. From the engine side of the firewall, twist the clutch master cylinder about 45 degrees counterclockwise to remove it, then remove the master cylinder mounting bolts, again being cautious about fluid spillage. Take out the master cylinder and reservoir from the engine compartment, ensuring that on 2011 models, they are removed as a unit. For installation, position the master cylinder through the firewall, ensuring the pushrod is correctly aligned with the clutch pedal's pivot pin, then attach the master cylinder to the firewall and install the mounting bolts, tightening them to specifications. Attach the master cylinder reservoir to the firewall and secure it with bolts. Connect the hydraulic line to the slave cylinder, then inside the vehicle, connect the pushrod to the clutch pedal and install the clip or retainer bushing, using a new clip for 2011 models. Reinstall the clutch/starter interlock switch, reconnect the negative cable to the battery, fill the clutch master cylinder reservoir with brake fluid conforming to DOT 3 specifications, and bleed the clutch system.