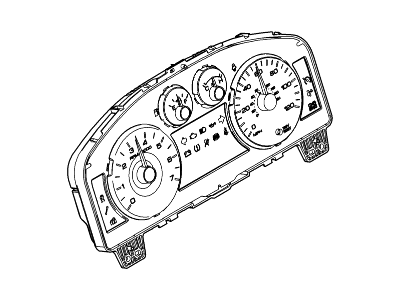
During the removal of the instrument panel, make careful notes of how each piece comes off, where it fits in relation to other pieces, and what holds it in place. Noting how each part is installed before removal will make reassembly much easier. Begin by removing the steering wheel, all dashboard trim panels and the glove box, air conditioning and heater control assembly, instrument cluster and radio, carpeting and carpet pad from the front of the vehicle, door weatherstripping from both sides, right lower instrument panel insulator (for 2010 and later models), front seats (removing both front seats is not absolutely necessary but allows more room to work and prevents potential damage), and the center console. Carefully remove the left and right A-pillar trim panels by prying them off. Grasp each front door opening weather strip/sill panel/kick panels and pull them off. Disconnect the two electrical connectors in the left kick panel area and the bulkhead electrical connector and antenna cable in the right kick panel area. For 2010 and later models, disconnect the satellite antenna if equipped. Disconnect the small gray and black electrical connectors from the Smart Junction Box located under the left end of the dash. In the glove box area, disconnect all air conditioning system electrical connectors. Disconnect all electrical connectors and wiring harness clips located on the floor between the two front seats, as well as any other connectors that connect wiring between the vehicle and the instrument panel. For 2010 and later models, remove the two nuts that secure the steering column pinch bolt cover and set the cover aside. Mark the relationship of the upper steering column shaft to the lower shaft, remove the steering column pinch-bolt, and separate the upper column shaft from the lower shaft. Discard the old pinch bolt and install a new one during reassembly. Remove the two hood release handle screws and set the handle aside. Disconnect the in-vehicle temperature sensor aspirator hose from the heater core and evaporator core housing by separating the aspirator hose retaining clips and pulling the hose away. Remove the two bolts in the instrument cluster opening, followed by the two or three bolts from the instrument panel center brace depending on the model year. Remove the bolts from the left and right lower corners of the instrument panel, as well as the three instrument panel end bolts, ensuring an assistant supports the instrument panel to avoid damage. With assistance, remove the instrument panel from the vehicle. Installation is the reverse of removal, but ensure to remove the trim panel clips from the A-pillars before installing the A-pillar trim panels, adjusting the gap between each clip mounting screw and the clip for a tight fit in the mounting bracket.
Posted by FordPartsGiant Specialist 


