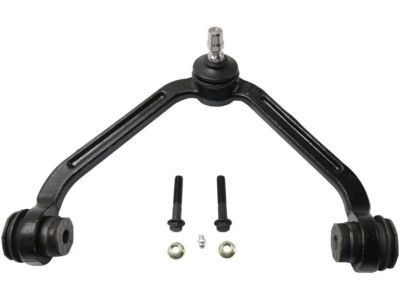
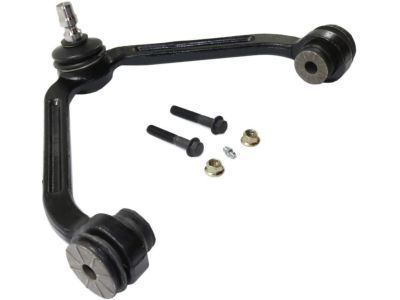
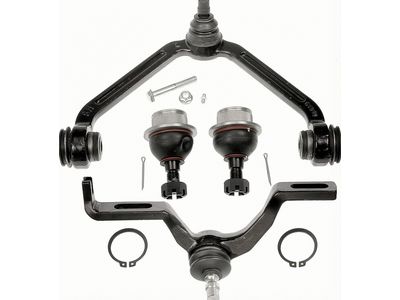
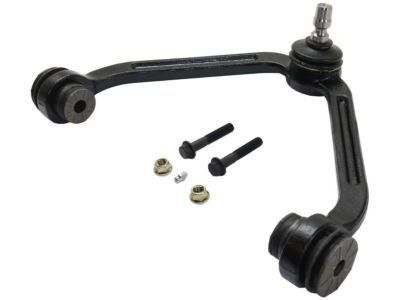
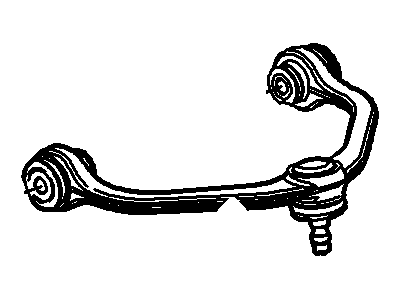
The upper control arm and balljoint must be replaced as a single unit. To begin removal, loosen the wheel lug nuts, raise the vehicle, support it securely on jackstands, and remove the wheel. For early 2WD models, remove the Brake Rotors and dust shield. Place a floor jack under the lower control arm and raise it slightly, keeping the jack in position throughout the process. On 2WD models, mark the position of the cams on the upper control arm cam bolts. Before separating the upper control arm from the steering spindle/knuckle, support the spindle/knuckle to prevent tilting and protect the drive-axle assembly. Remove the pinch bolt nut and pinch bolt securing the upper balljoint stud to the spindle/steering knuckle, then use a puller to separate the upper control arm from the spindle/steering knuckle. Next, remove the upper control arm cam bolts and detach the arm from the frame. Inspect the control arm bushings for cracks and tears; if damaged or worn, take the control arm to an automotive machine shop for new bushings, as this requires specialized tools. If the balljoint is worn out, the control arm must be replaced. For installation, follow the reverse of removal, ensuring to align the marks made on the upper control arm adjustment cams on 2WD models before tightening the pivot nuts and bolts, which should not be tightened until the vehicle is on the ground. For 4WD models, replace all four alignment plates with new alignment cams and tighten the pivot nuts and bolts to the specified torque. After lowering a 2WD model to the ground, tighten the pivot nuts and bolts, starting with the forward bolt and nut, followed by the rear bolt and nut.