
My Garage
My Account
Cart
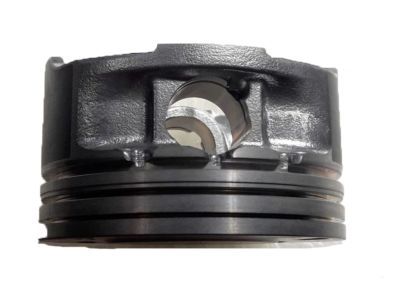
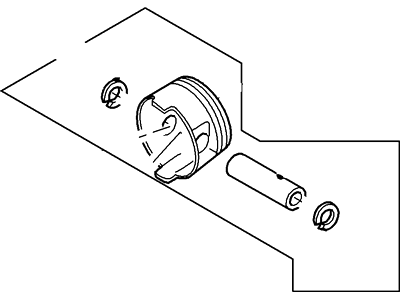
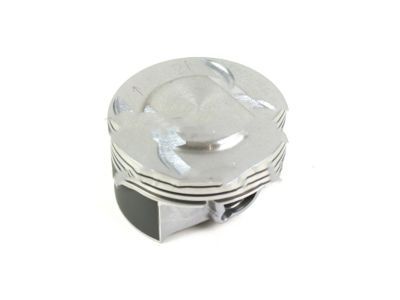
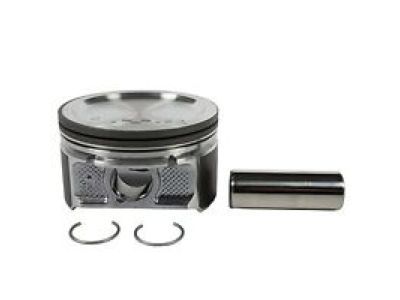
Genuine Mercury Mariner Piston
Engine Pistons- Select Vehicle by Model
- Select Vehicle by VIN
Select Vehicle by Model
orMake
Model
Year
Select Vehicle by VIN
For the most accurate results, select vehicle by your VIN (Vehicle Identification Number).
18 Pistons found
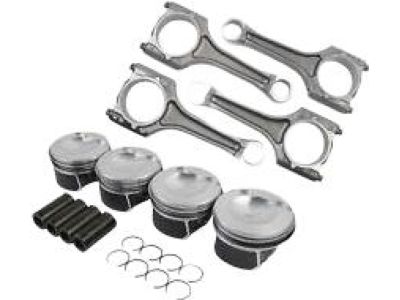
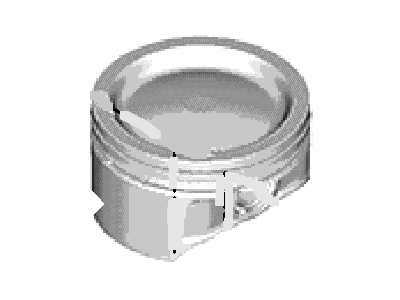
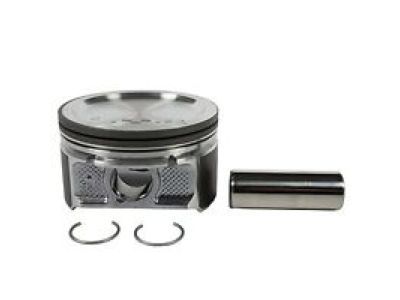
Mercury Mariner Piston And Pin Assembly
Part Number: 9E5Z-6108-B$51.60 MSRP: $71.68You Save: $20.08 (29%)Ships in 1-2 Business DaysMercury Mariner Piston And Pin Assembly
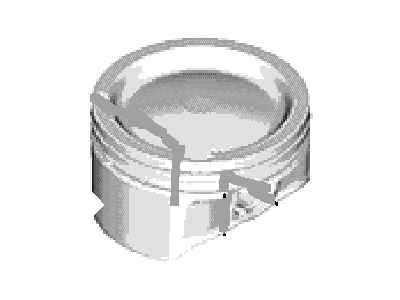
Part Number: 3W4Z-6108-A$44.52 MSRP: $65.08You Save: $20.56 (32%)Ships in 1-3 Business DaysMercury Mariner Piston
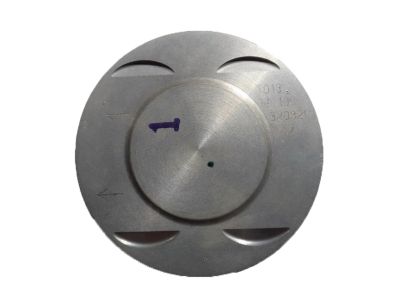
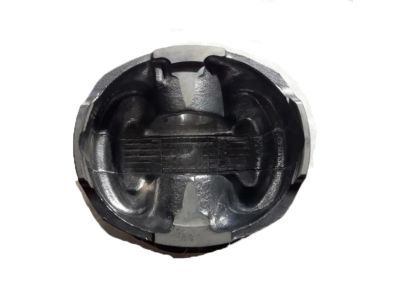
Part Number: 9L8Z-6108-A$29.04 MSRP: $40.34You Save: $11.30 (29%)Ships in 1-2 Business DaysMercury Mariner Piston
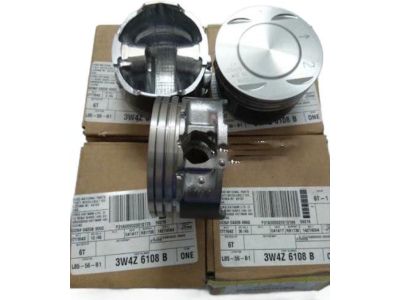
Part Number: 8E5Z-6108-AC$72.05 MSRP: $105.33You Save: $33.28 (32%)Ships in 1-3 Business DaysMercury Mariner Piston And Pin Assembly
Part Number: 3W4Z-6108-B$44.52 MSRP: $65.08You Save: $20.56 (32%)Ships in 1-3 Business DaysMercury Mariner Piston And Connecting Rod Assembly
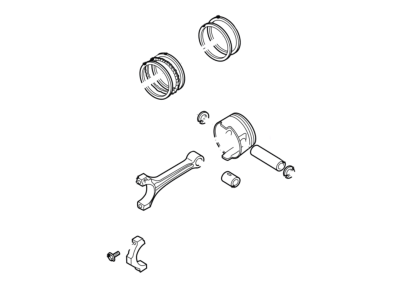
Part Number: XW4Z-6100-A$44.52 MSRP: $65.08You Save: $20.56 (32%)Ships in 1-3 Business DaysMercury Mariner Piston
Part Number: 2S7Z-7D402-BA$30.16 MSRP: $41.89You Save: $11.73 (28%)Ships in 1-2 Business DaysMercury Mariner Piston
Part Number: 8E5Z-6108-BA$79.88 MSRP: $116.78You Save: $36.90 (32%)Ships in 1-3 Business DaysMercury Mariner Piston And Connecting Rod Assembly
Part Number: XW4Z-6100-B$44.52 MSRP: $65.08You Save: $20.56 (32%)Ships in 1-3 Business Days
Mercury Mariner Piston
We provide a wide range of Mercury Mariner Piston at the best prices possible. If you need Mercury Mariner Piston, you can shop with confidence on our website. All our OEM parts come with a manufacturer's warranty and are delivered to your door step with a fast delivery service.
Mercury Mariner Piston Parts Questions & Experts Answers
- Q: How to remove and install piston/connecting rod assemblies on Mercury Mariner?A:Before one is able to remove those piston and connecting rod assemblies, it becomes necessary to also take off the cylinder head as well as the oil pan. First delete any ridges which should in most cases be present at upper limit of ring travel in cylinder and normally requires the use of a ridge reamer. After filing down the ridges, stand the engine on its Crankshaft and check for end float of the connecting rod end using a feeler gauge and if this does not fall within prescribed limits then it may be necessary to change connecting rods. For differentiation, paint the connecting rods and caps then take off the connecting rod cap bolts and caps and along with the bearing insert. Slide out the connecting rod and piston assembly through the top of the engine while making sure that all the ridges have been evidenced. Do the above on the rest of the cylinders then put the caps on and the inserts back to cover the bearing surfaces. The below steps are the one followed when installing the piston rings: Ensure that the ring end gaps are accurate as per the set standards and if not adjust to the right limits. Start with placing the oil control ring but remember to place the middle and top rings with the proper alignment. It is necessary to remove scales on the inner surface of the cylinder and sharpen the edges of the pin before placing the new bearing inserts, and it will be the time to do this; no lubrication should be applied when races are being installed. Position which piston ring gaps should face each other at 90 degrees intervals, lubricate the piston and rings and then place the piston with the rings compressed into the cylinder. Verify the Crankshaft connecting rod bearing oil clearance with help of Plastigage and use the correct size of bearing inserts. After ensuring the clearance, use the grease on the bearing faces, then put the rod cap with new bolts and tighten them in the recommended force. Follow the same process to the other assemblies also, after ensuring that the equipment is clean and well oriented before use. Last of all, turn the crankshaft with your fingers and check for any binding and measure the connecting rod small end clearance and adjust it if unsatisfactory.
