
My Garage
My Account
Cart
Genuine Lincoln Town Car Fuel Pump
Gas Pump- Select Vehicle by Model
- Select Vehicle by VIN
Select Vehicle by Model
orMake
Model
Year
Select Vehicle by VIN
For the most accurate results, select vehicle by your VIN (Vehicle Identification Number).
19 Fuel Pumps found
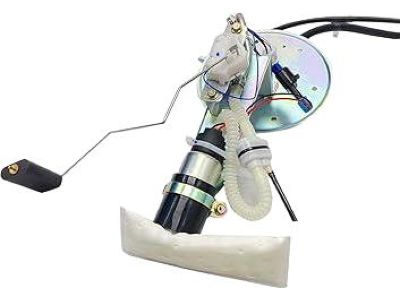
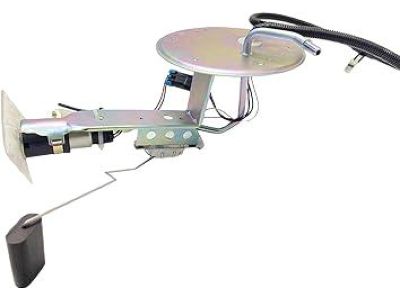
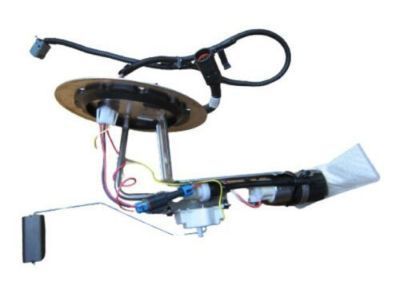
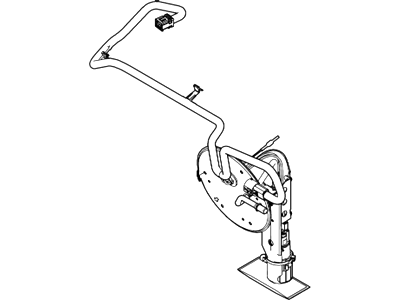
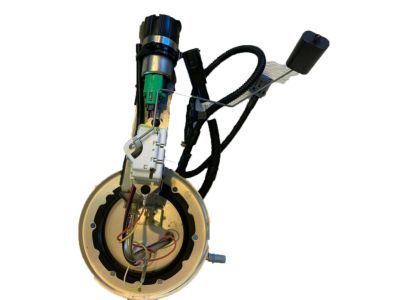
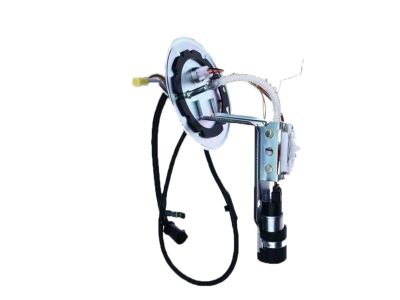
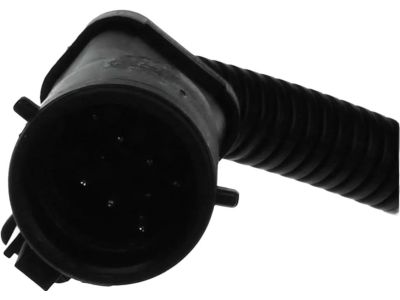
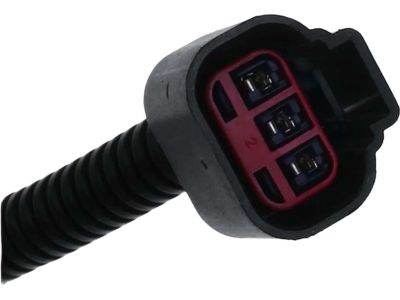
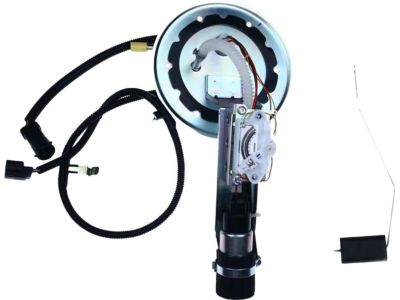
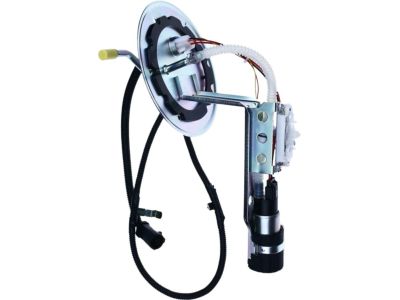
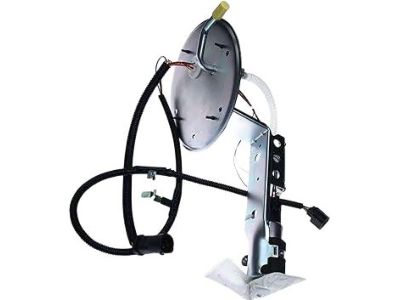
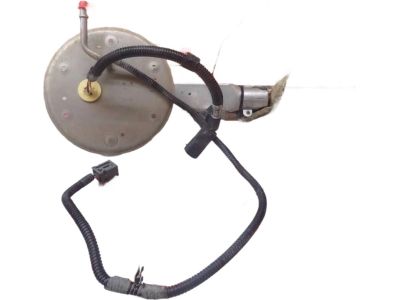
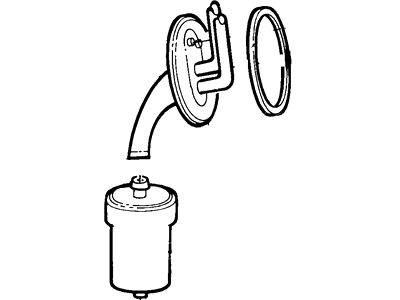
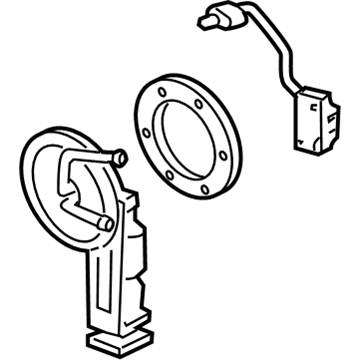
Lincoln Town Car Sender And Pump Assembly
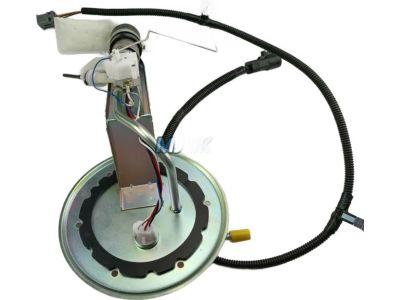
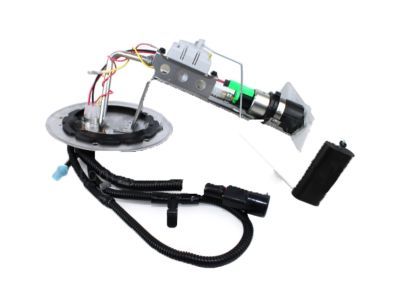
Part Number: 6W1Z-9H307-A$285.58 MSRP: $476.36You Save: $190.78 (41%)Ships in 1-3 Business DaysLincoln Town Car Sender And Pump Assembly
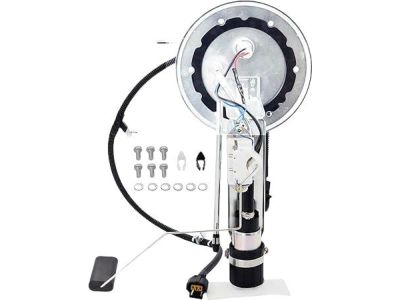
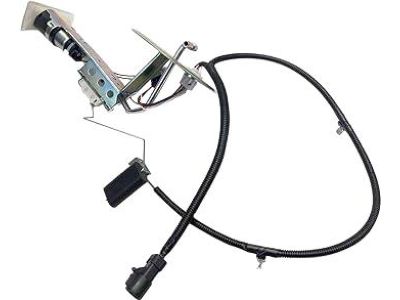
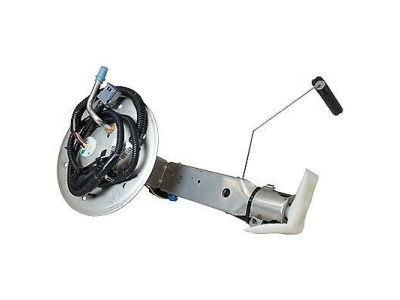
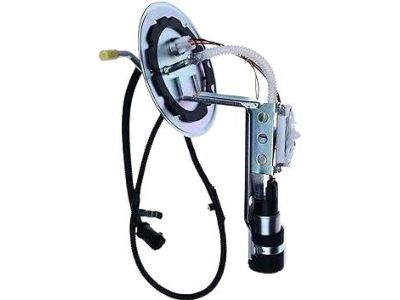
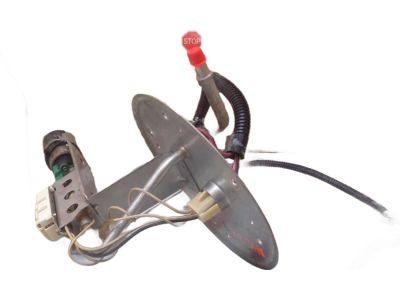
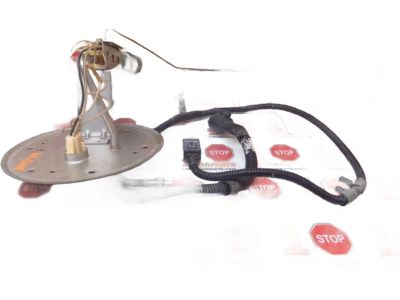
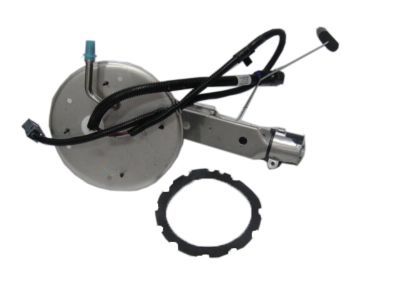
Part Number: BW1Z-9H307-A$374.96 MSRP: $625.45You Save: $250.49 (41%)Ships in 1-2 Business DaysLincoln Town Car Sender And Pump Assembly
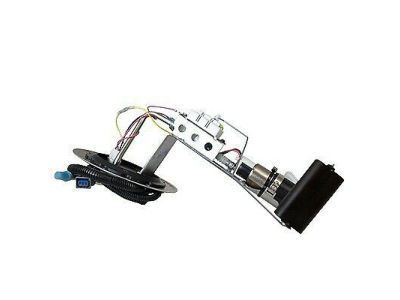
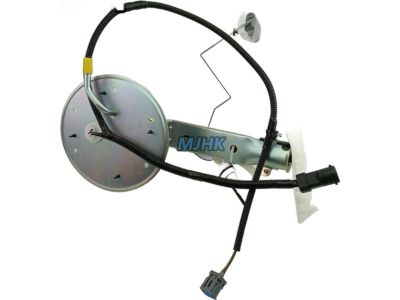
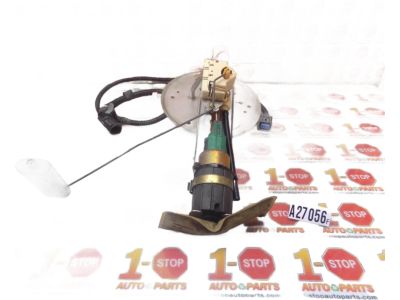
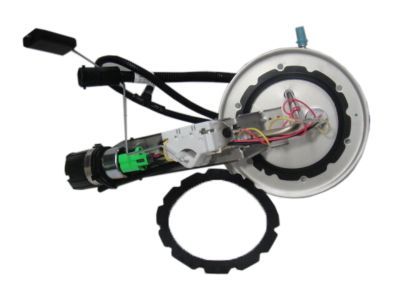
Part Number: AW1Z-9H307-A$374.96 MSRP: $625.45You Save: $250.49 (41%)Ships in 1-3 Business DaysLincoln Town Car Sender And Pump Assembly
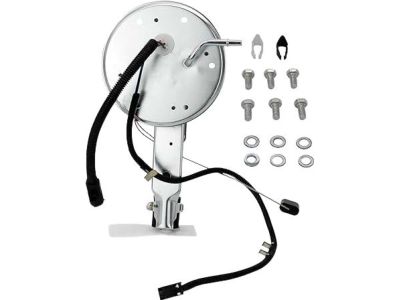
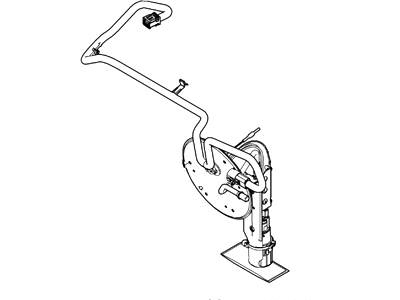
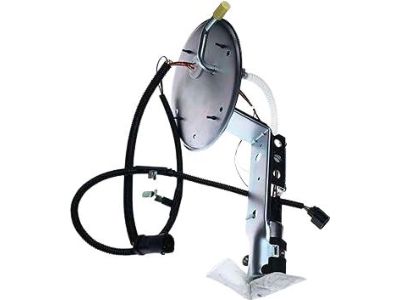
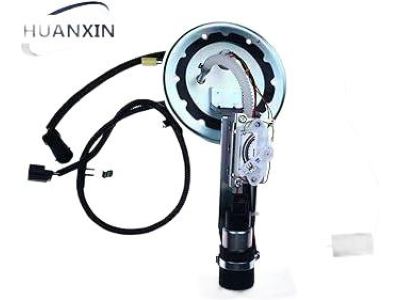
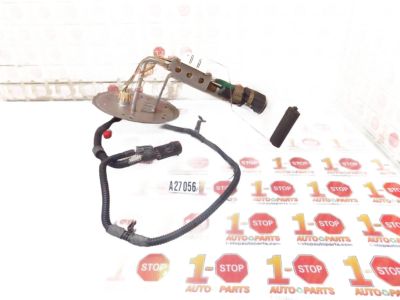
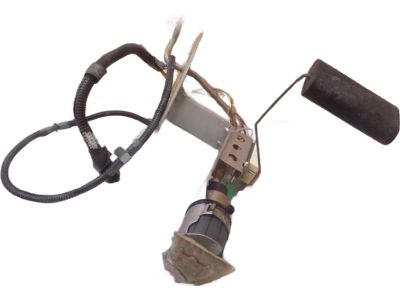
Part Number: 6W1Z-9H307-C$296.06 MSRP: $476.36You Save: $180.30 (38%)Lincoln Town Car Sender And Pump Assembly
Part Number: 6W1Z-9H307-D$297.19 MSRP: $478.18You Save: $180.99 (38%)Lincoln Town Car Sender And Pump Assembly
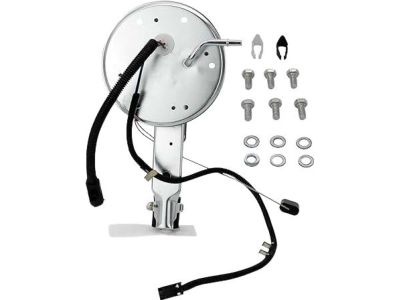
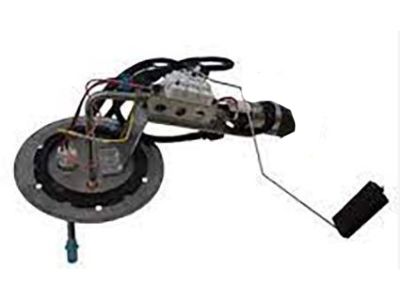
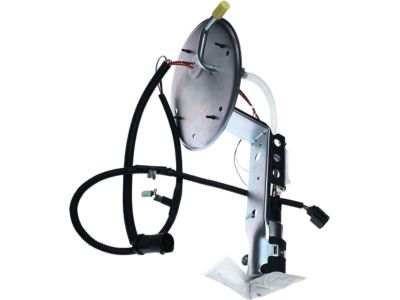
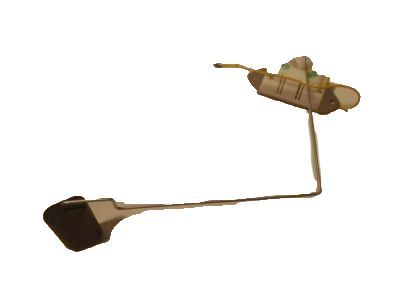
Part Number: 5W1Z-9H307-AC$297.19 MSRP: $478.18You Save: $180.99 (38%)Lincoln Town Car Fuel Pump And Sender Assembly
Part Number: 6W1Z-9H307-B$297.19 MSRP: $478.18You Save: $180.99 (38%)
Lincoln Town Car Fuel Pump
Lincoln Town Car Fuel Pump is thus an important component which has the function of delivering fuel from the tank to the carburetor or the assembly of fuel injection. An example of an electric part is electric fuel pump which is used in fuel injection system and is usually installed inside the tank. On the other hand, a carbureted engine maybe fitted with engine mounted mechanical fuel pumps which are energized by the engine. Diaphragm and plunger differential pumps of a mechanical type also exist and run under the pressure of camshaft to avoid over-pumping. While mechanical pumps produce a suction of up to 15 psi, the electric pumps create a pressure of 40-60 psi or more as per their design, so more suitable for high-pressure fuel injection system vehicles. LINCOLN TOWN CAR OWNERS can select among the range of replacement FUEL MODULES, HANGER ASSEMBLIES and separate PUMPS to deliver the needed amount of fuel and pressure to the car.
We provide a wide range of Lincoln Town Car Fuel Pump at the best prices possible. If you need Lincoln Town Car Fuel Pump, you can shop with confidence on our website. All our OEM parts come with a manufacturer's warranty and are delivered to your door step with a fast delivery service.
Lincoln Town Car Fuel Pump Parts Questions & Experts Answers
- Q: How to replace an in-tank fuel pump on Lincoln Town Car fuel-injected engine?A:For in-tank fuel pumps, first, siphon any remaining fuel from the tank if needed, and then relieve the fuel pressure. Disconnect the battery's negative terminal and raise the rear of the vehicle on jackstands. Disconnect the fuel lines and the fuel pump/fuel level sender electrical connector. For forward-mounted fuel pumps, use a brass punch to turn the locking ring counterclockwise and carefully remove the fuel pump/sending unit assembly from the tank. Replace the old lock ring gasket and, if reusing the original pump, clean and reinstall the strainer. To separate the fuel pump from the assembly, remove the clamp and disconnect the electrical connector. Clean the mounting surfaces and seal ring groove before installing the new pump. For rear-mounted fuel pumps, unbolt the fuel tank straps and lower the tank partially. Disconnect the fuel lines and electrical connector from the fuel pump assembly, and remove the assembly from the tank by tapping the locking ring counterclockwise. Replace the old lock ring gasket and clean or install the new strainer if necessary. Separate the fuel pump from the assembly by removing the clamp and disconnecting the electrical connector. Clean the mounting surfaces and seal ring groove before installing the new pump. For chassis-mounted fuel pumps, relieve the fuel system pressure, disconnect the battery cable, and raise the vehicle on jackstands. Disconnect the fuel pump harness electrical connector and fuel lines. Slide the fuel pump out of the retaining ring by bending down the retaining tab. If necessary, transfer the wiring harness and fittings to the new pump with new gaskets. Wrap the sound isolator around the fuel pump and slide it into the retaining ring, making sure the bracket tabs do not contact the fuel pump body. Bend the retaining ring tab up to secure it. Reconnect the fuel lines and harness electrical connector to the pump. Finally, start the engine and check for fuel leaks.
- Q: How to perform a fuel pressure and fuel pump test on Lincoln Town Car fuel-injected engine?A:To perform the fuel pressure test, you will need a fuel pressure gauge and adapter set. Before proceeding, relieve the fuel system pressure and lay a shop towel over any fuel connection to absorb residual fuel. Start the preliminary inspection by checking if the fuel system delivers the proper amount of fuel. Listen for a whirring sound at the fuel filler opening when turning the ignition key to the On position. If there's no sound, check the fuel pump fuse, relay, and circuit. Check for battery voltage to the fuel pump relay connector and power relay connector. If there's no voltage, inspect the fuses and wiring circuit. For the operating pressure check, attach the fuel pressure gauge to the test port and activate the fuel pump without starting the engine. Note the fuel pressure and start the engine to measure the pressure while idling. Detach the vacuum hose from the fuel pressure regulator to check for an immediate increase in pressure. If pressure is too high, inspect for obstructions or replace the fuel pressure regulator. If pressure is low, check the fuel filter and hoses, and if needed, replace the fuel pressure regulator or check the fuel pump. For the fuel pump output pressure check (dead-head pressure), use a fuel pressure gauge with a bleeder valve to relieve pressure after the test. Attach the gauge directly to the fuel feed line at the fuel tank and bridge the terminals on the Diagnostic Test connector to activate the fuel pump. Note the pressure reading and compare it after five minutes. If the hold pressure is less than specified, check the fuel line for leaks or replace the fuel pump.
- Q: What are some important things to check for in the fuel pump and lines on Lincoln Town Car carbureted engine?A:A ruptured fuel pump diaphragm can cause fuel to leak into the crankcase, check the engine oil. Next, to test fuel pressure, disconnect the fuel line, install a T-fitting, and connect a fuel pressure gauge. Start the engine and monitor the pressure and if it drops instantly, replace the fuel pump.
- Q: Where is the fuel pump located and how do you remove and install it on Lincoln Town Car carbureted engine?A:The fuel pump is located on the left side of the engine, on the timing chain cover. Place rags under the fuel pump to catch any spilled gasoline. Carefully unscrew the fuel line fittings and detach the lines from the pump using a flare-nut wrench and a back-up wrench on the pressure-side fitting. Unbolt and remove the fuel pump. Before installation, coat both sides of the gasket surface with RTV sealant, position the gasket and fuel pump against the block, and install the bolts securely. Attach the lines to the pump and tighten the pressure fitting securely using a flare-nut wrench. Use a new hose clamp on the fuel hose. Run the engine and check for leaks.
