
My Garage
My Account
Cart
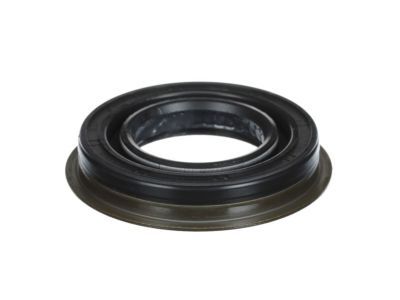
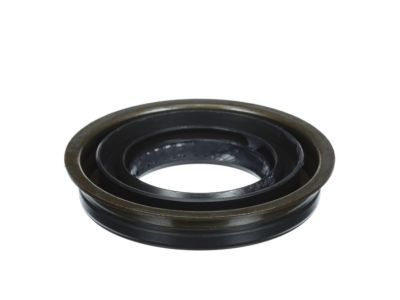
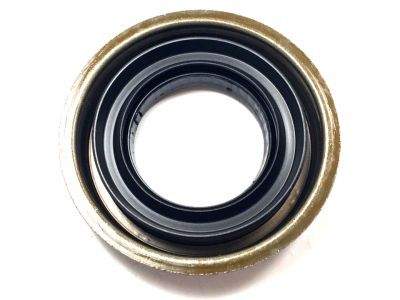
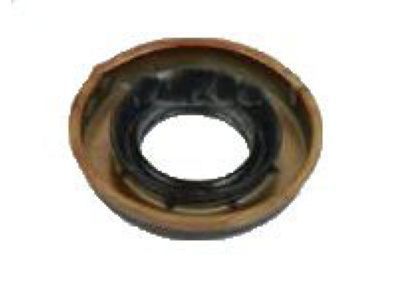
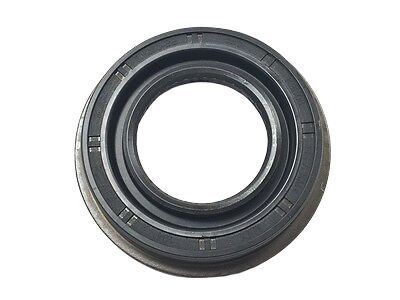
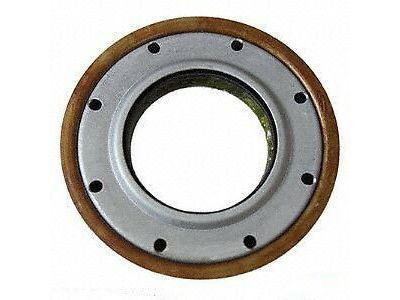
Genuine Lincoln MKX Transfer Case Seal
Transfer Case Output Shaft Seal- Select Vehicle by Model
- Select Vehicle by VIN
Select Vehicle by Model
orMake
Model
Year
Select Vehicle by VIN
For the most accurate results, select vehicle by your VIN (Vehicle Identification Number).
9 Transfer Case Seals found
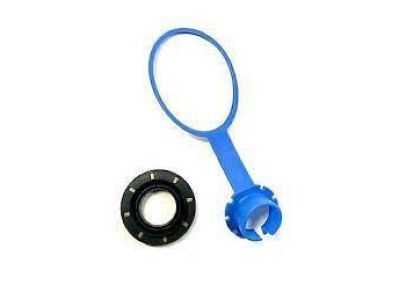
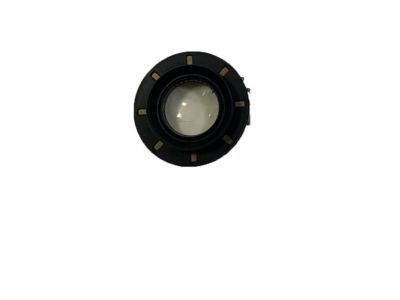
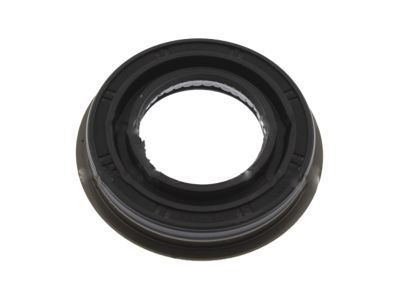
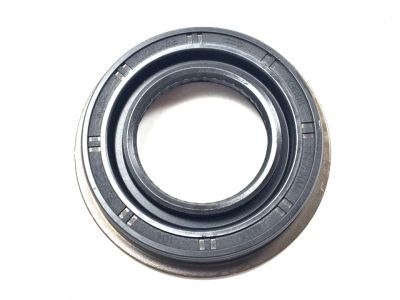
Lincoln MKX Seal
Part Number: 7T4Z-1177-C$21.65 MSRP: $30.83You Save: $9.18 (30%)Ships in 1 Business DayLincoln MKX Seal
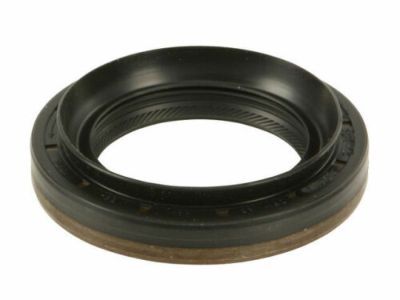
Part Number: BB5Z-1S177-C$15.39 MSRP: $24.55You Save: $9.16 (38%)Ships in 1 Business DayLincoln MKX Seal
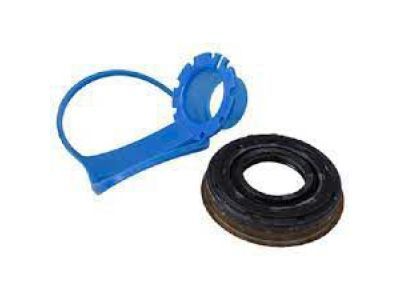
Part Number: BB5Z-1S177-A$15.39 MSRP: $24.55You Save: $9.16 (38%)Ships in 1 Business DayLincoln MKX Seal
Part Number: 7T4Z-1177-B$21.65 MSRP: $30.83You Save: $9.18 (30%)Ships in 1 Business DayLincoln MKX Seal
Part Number: 9L8Z-1177-A$18.72 MSRP: $26.67You Save: $7.95 (30%)Ships in 1 Business DayLincoln MKX Seal
Part Number: 7T4Z-1177-D$21.65 MSRP: $30.83You Save: $9.18 (30%)Ships in 1 Business DayLincoln MKX Seal
Part Number: 9L8Z-1177-C$15.39 MSRP: $25.09You Save: $9.70 (39%)Ships in 1 Business DayLincoln MKX Seal
Part Number: DT4Z-7F337-A$4.45 MSRP: $5.85You Save: $1.40 (24%)Ships in 1-3 Business DaysLincoln MKX Seal
Part Number: 7T4Z-1177-A$21.65 MSRP: $30.83You Save: $9.18 (30%)Ships in 1 Business Day
Lincoln MKX Transfer Case Seal
We provide a wide range of Lincoln MKX Transfer Case Seal at the best prices possible. If you need Lincoln MKX Transfer Case Seal, you can shop with confidence on our website. All our OEM parts come with a manufacturer's warranty and are delivered to your door step with a fast delivery service.
Lincoln MKX Transfer Case Seal Parts Questions & Experts Answers
- Q: How do you remove and install the oil seal on Lincoln MKX?A:Raise the vehicle and support it securely on jackstands, then drain the Transfer Case lubricant. Remove the driveshaft and mark the relative positions of the pinion, nut, and flange. Use a beam- or dial-type inch-pound torque wrench to determine the torque required to rotate the pinion while the vehicle is in Neutral, and record it for later use. Count the number of threads visible between the end of the nut and the end of the pinion shaft, recording that as well. Remove the flange mounting nut using a two-pin spanner to hold the pinion flange while loosening the locknut, then take off the companion flange with a puller that can attach to the flange's driveshaft bolt holes. Pry out the seal carefully with a screwdriver or seal removal tool, ensuring not to damage the seal bore, and then remove the seal deflector and the pinion seal using a seal-puller. After removing the seal, take out the collapsible bearing spacer and install a new one. Lubricate the lips of the new seal with multi-purpose grease and tap it evenly into position with a seal installation tool or a large socket, ensuring it enters the housing squarely and is fully seated. Align the mating marks made before disassembly and install the companion flange, tightening the pinion nut if necessary to draw the flange into place. Carefully tighten the new nut until the original number of threads are exposed and the marks are aligned, then measure the torque required to rotate the pinion, tightening the nut in small increments until it matches the previously recorded figure. If the original torque reading is exceeded by more than 3 in-lbs, the assembly will need to be disassembled again to install a new collapsible spacer. Finally, connect the driveshaft, add the specified lubricant to the transfer case, and lower the vehicle, ensuring that all driveshaft flange and support bearing bolts are replaced with new fasteners.
