My Garage
My Account
Cart
Genuine Lincoln Hood
Engine Hood- Select Vehicle by Model
- Select Vehicle by VIN
Select Vehicle by Model
orMake
Model
Year
Select Vehicle by VIN
For the most accurate results, select vehicle by your VIN (Vehicle Identification Number).
47 Hoods found


Lincoln Hood
Part Number: EJ7Z-16612-A$788.93 MSRP: $1258.27You Save: $469.34 (38%)Ships in 1-3 Business DaysProduct Specifications- Other Name: Hood Assembly; Hood


Lincoln Hood
Part Number: CE9Z-16612-A$410.77 MSRP: $647.08You Save: $236.31 (37%)Ships in 1-2 Business DaysProduct Specifications- Other Name: Hood Assembly; Hood
- Replaces: AE9Z-16612-A

 Product Specifications
- Other Name: Hood Assembly; Hood
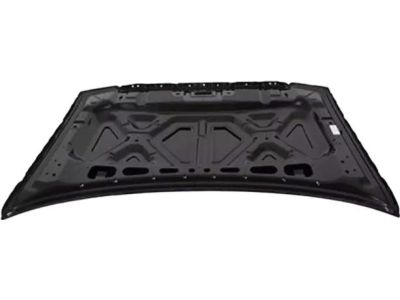
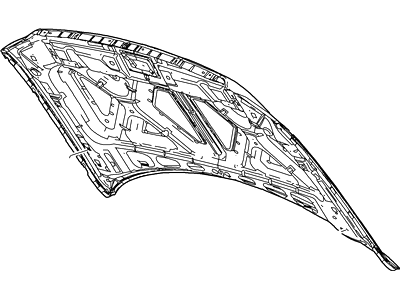
Lincoln Hood
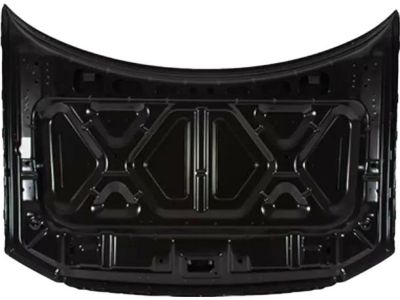
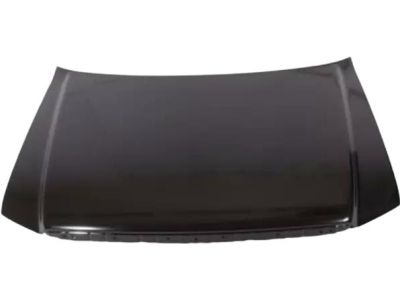
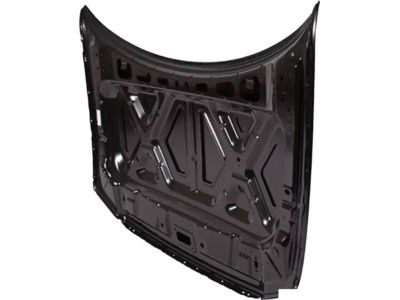
Part Number: 4L3Z-16612-AA$675.74 MSRP: $1077.73You Save: $401.99 (38%)Ships in 1-3 Business DaysProduct Specifications- Other Name: Hood Assembly; Hood


Lincoln Hood
Part Number: 7L7Z-16612-A$482.96 MSRP: $665.37You Save: $182.41 (28%)Ships in 1-2 Business DaysProduct Specifications- Other Name: Hood Assembly; Hood


Lincoln Hood
Part Number: DA5Z-16612-A$468.69 MSRP: $738.33You Save: $269.64 (37%)Ships in 1-3 Business DaysProduct Specifications- Other Name: Hood Assembly; Hood


Lincoln Hood
Part Number: 6E5Z-16612-AA$416.45 MSRP: $636.77You Save: $220.32 (35%)Ships in 1-3 Business DaysProduct Specifications- Other Name: Hood Assembly; Hood


Lincoln Hood
Part Number: BA1Z-16612-A$763.81 MSRP: $1167.90You Save: $404.09 (35%)Ships in 1-3 Business DaysProduct Specifications- Other Name: Hood Assembly; Hood


Lincoln Hood
Part Number: BE5Z-16612-A$508.93 MSRP: $778.18You Save: $269.25 (35%)Ships in 1-2 Business DaysProduct Specifications- Other Name: Hood Assembly; Hood
- Replaces: 9E5Z-16612-A


 Product Specifications
- Other Name: Hood Assembly; Hood
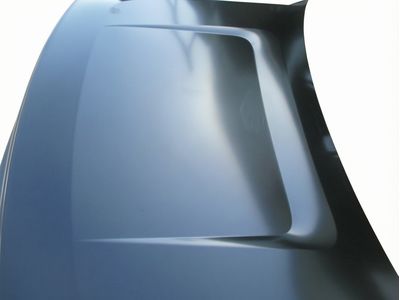
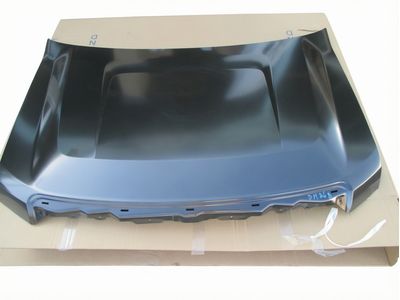
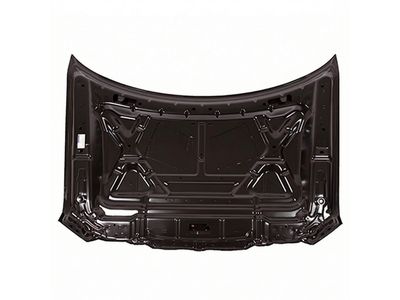
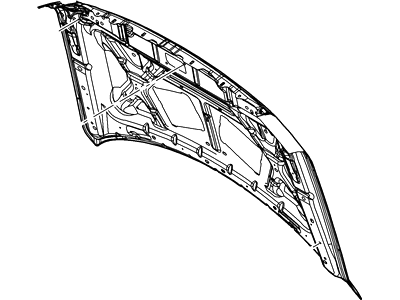
Lincoln Hood
Part Number: 9L3Z-16612-A$900.76 MSRP: $1354.93You Save: $454.17 (34%)Ships in 1-3 Business DaysProduct Specifications- Other Name: Hood Assembly; Hood
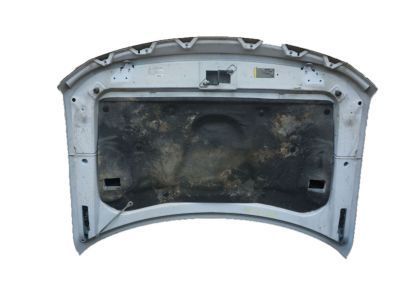
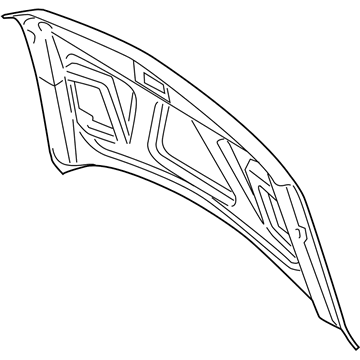
Lincoln Hood
Part Number: CL3Z-16612-A$745.92 MSRP: $1122.02You Save: $376.10 (34%)Ships in 1-3 Business DaysProduct Specifications- Other Name: Hood Assembly; Hood
- Replaces: AL3Z-16612-A


Lincoln Hood
Part Number: FA1Z-16612-A$783.55 MSRP: $1839.32You Save: $1055.77 (58%)Ships in 1-3 Business DaysProduct Specifications- Other Name: Hood Assembly; Hood


Lincoln Hood
Part Number: 9H6Z-16612-A$640.62 MSRP: $963.63You Save: $323.01 (34%)Ships in 1 Business DayProduct Specifications- Other Name: Hood Assembly; Hood


Lincoln Hood Assembly
Part Number: KA1Z-16612-A$718.82 MSRP: $1146.45You Save: $427.63 (38%)Ships in 1-3 Business DaysProduct Specifications- Replaced by: KA1Z-16612-B

Lincoln Hood
Part Number: 3C5Z-16612-CA$801.70 MSRP: $1113.69You Save: $311.99 (29%)Ships in 1-2 Business DaysProduct Specifications- Other Name: Hood Assembly; Hood
- Replaces: 3C5Z-16612-BA

Lincoln Hood
Part Number: F8OZ-16612-AA$420.86 MSRP: $579.82You Save: $158.96 (28%)Ships in 1-2 Business DaysProduct Specifications- Other Name: Hood Assembly; Hood


 Product Specifications
- Other Name: HOOD ASY


 Product Specifications
- Other Name: Hood Assy; Hood


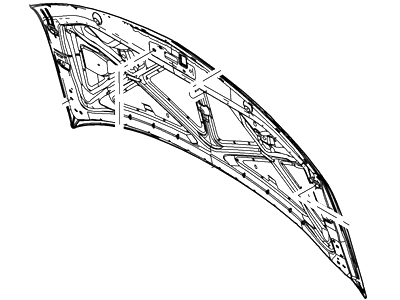 Product Specifications
- Other Name: Hood Assy; Hood
| Page 1 of 3 |Next >
1-20 of 47 Results
Lincoln Hood
Should you require any OEM Lincoln Hoods, feel free to browse through our comprehensive catalogue of genuine Lincoln Hoods. Not only do we offer these parts at market-leading prices, even outperforming the affordability of cheap aftermarket parts, but we also ensure rapid delivery and provide a manufacturer's warranty as standard.
Lincoln Hood Parts Questions & Experts Answers
- Q:How to remove, install, and adjustment of the hood on Lincoln Navigator?Posted by Jamichael S.A:The hood is heavy and somewhat awkward to remove and install, so at least two people should perform this procedure. Begin by using blankets or pads to cover the cowl area of the body and fenders to protect the paint. Make marks or scribe a line around the hood hinge for proper alignment during installation. Disconnect any cables or wires that may interfere with removal. Have an assistant support the hood while detaching the support struts and removing the hinge-to-hood nuts or bolts. Lift off the hood with assistance. For installation, reverse the removal steps. Adjust the hood's fore-and-aft and side-to-side positioning by moving the hinge plate slot after loosening the bolts or nuts, and scribe a line around the hinge plate to track movement. Loosen the bolts or nuts, adjust the hood into the correct alignment, and tighten the hinge bolts, checking the position as you go. If necessary, adjust the entire hood latch assembly up-and-down and side-to-side on the radiator support to ensure the hood closes securely and flush with the fenders. Mark around the hood latch mounting bolts for reference, loosen them, reposition the latch assembly, and retighten the bolts before checking the fit. Finally, adjust the hood bumpers on the radiator support to ensure the hood is flush with the fenders when closed, and periodically lubricate the hood latch assembly and hinges with white, lithium-base grease to prevent binding and wear.Answered by Ford Parts Specialist Sonny / Jun 16, 2026