
My Garage
My Account
Cart
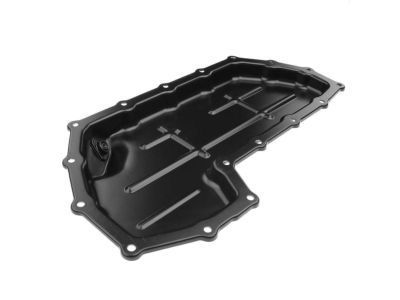
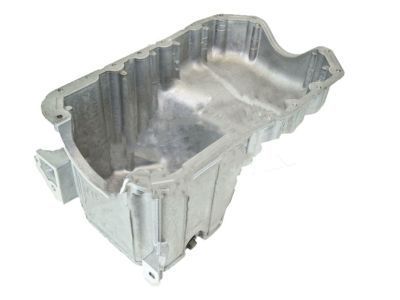
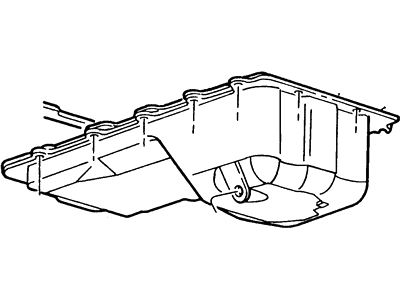
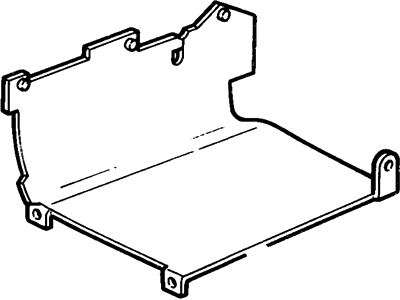
Genuine Ford Thunderbird Oil Pan
Oil Drain Pan- Select Vehicle by Model
- Select Vehicle by VIN
Select Vehicle by Model
orMake
Model
Year
Select Vehicle by VIN
For the most accurate results, select vehicle by your VIN (Vehicle Identification Number).
8 Oil Pans found
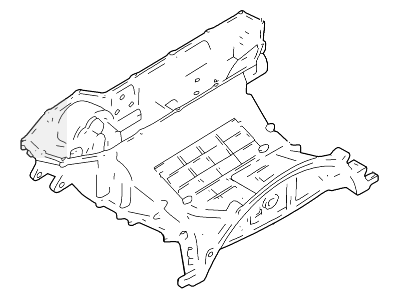
Ford Thunderbird Body Assembly
Part Number: 3W4Z-6675-AA$99.37 MSRP: $138.04You Save: $38.67 (29%)Ships in 1-2 Business Days
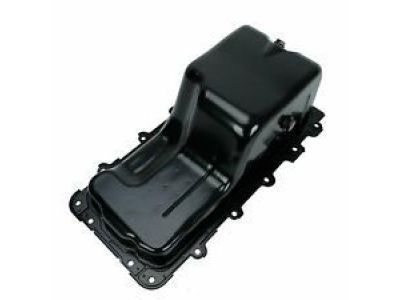
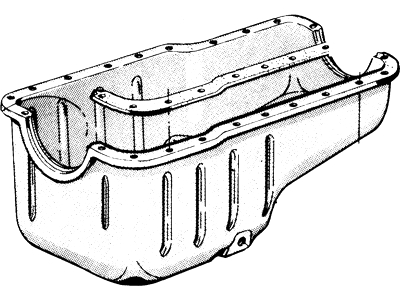
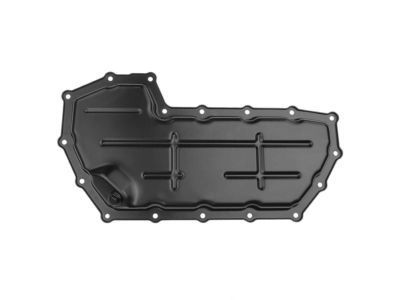
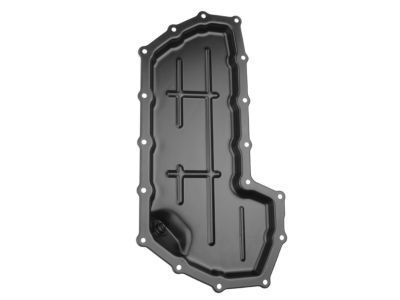
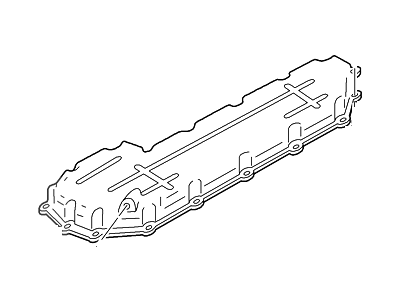
Ford Thunderbird Oil Pan
The Oil Pan available in Ford Thunderbird automobiles is designed to store the engine oil that is vital for lubricating and cooling several of the engine parts. Wet sump system is incorporated in the Oil Pan whereby the oil sucked through a pickup tube by the oil pump circulates in the engine before finding its way into the pan. This design is however necessary in maintaining sufficient quantity of oil under different operating conditions. Traditionally, Ford Thunderbird Oil Pans where mostly produced from stamped steel while today engines are manufactured using cast aluminum making them more reliable and efficient. Thus, the change in the material turnover may imply the changes in the engineering in an attempt to enhance the performance and reliability of the Ford Thunderbird through the years.
We provide a wide range of Ford Thunderbird Oil Pan at the best prices possible. If you need Ford Thunderbird Oil Pan, you can shop with confidence on our website. All our OEM parts come with a manufacturer's warranty and are delivered to your door step with a fast delivery service.
Ford Thunderbird Oil Pan Parts Questions & Experts Answers
- Q: How to remove and install the oil pan on Ford Thunderbird?A:To replace the oil pan, first, disconnect the car's negative terminal, followed by the removal of the air cleaner duct assembly. Subsequently, remove wiper arms and module, and weather strip and the plastic shield on the cowl. If fitted, unbolt the crankshaft position sensor cover and, in case of supercharged variants, the intercooler pipes. Bolt an engine support fixture as close as possible to the lifting eyes by the exhaust manifolds, and then lift it and securely set on supporting jackstands. Take out the oil level dipstick and disconnect the oil level sensor from the oil pan and thereafter, drain the engine oil and finally remove the oil filter. In the case where automatic transmission is used, remove the transmission cooler lines at the radiator. There will be constant connections to most of the starter motor assembly which includes the wire harness, the ground strap as well as the steering flex coupling which should be disconnected. The through bolts at the front Engine Mounts and the side mount retainer strap if used should be unbolted. Place a transmission jack or floor jack under the crossmember beneath the oil pan Pull the six bolts of the back part of the crossmember and free the two bolts of the front part. Loosen and take off the nuts and bolts that joins the shock absorber to the control arm, finish detaching the nuts from the crossmember and lower it. Loosen the oil pan to bell housing and block mounting bolts and by using a large rubber mallet or a piece of wood and a hammer to carefully knock off the oil pan from the block so as not to score the sealing surface. For installation, use a gasket scraper or a putty knife scrape off the old gasket material and sealant from the pan and block, without causing scratches on the aluminium surfaces. Scrub the surfaces and the holes, and install a new rear seal, while applying RTV material to put pressure to the new seal and put a RTV around the block. Place the pan onto the block and loosely fit the bolts and make sure that gaskets have not moved and tighten the bolts to the required torque with a pattern of tightening with the center bolt first. The rest of the steps are the opposite of the removal process and do not forget to add oil into the engine before the starting of the engine. Inspection after starting the engine should be done to check for oil leaks round the oil pan it and after driving the vehicle check again.
