
My Garage
My Account
Cart
Genuine Ford Focus Brake Booster
Brake Power Booster- Select Vehicle by Model
- Select Vehicle by VIN
Select Vehicle by Model
orMake
Model
Year
Select Vehicle by VIN
For the most accurate results, select vehicle by your VIN (Vehicle Identification Number).
14 Brake Boosters found
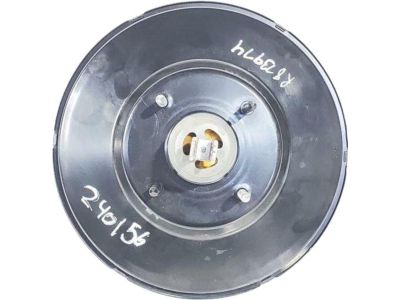
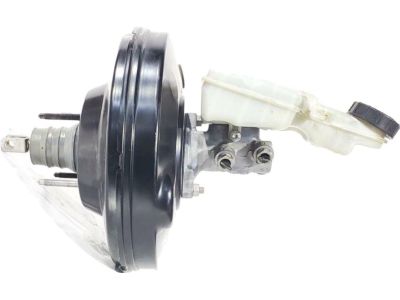
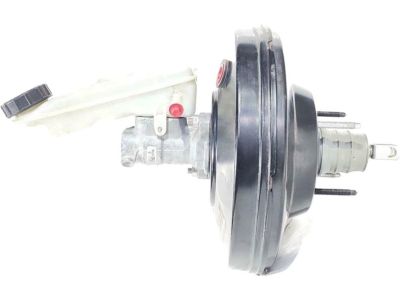
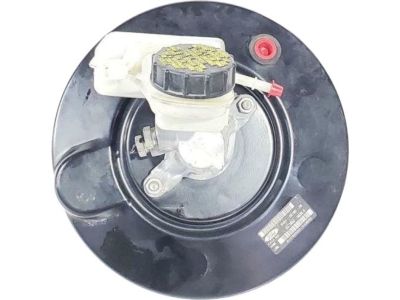
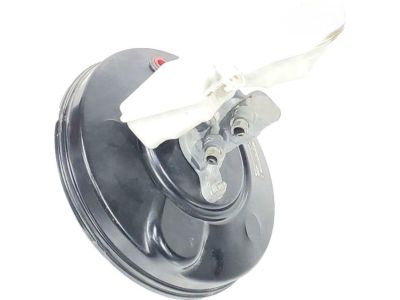
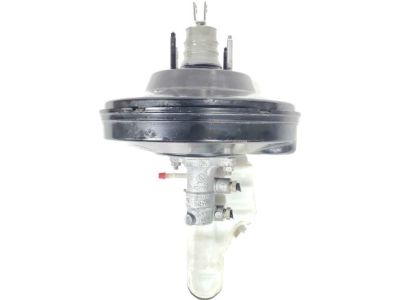
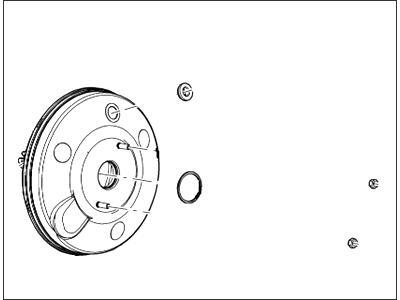
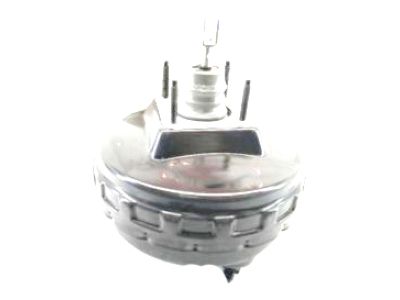
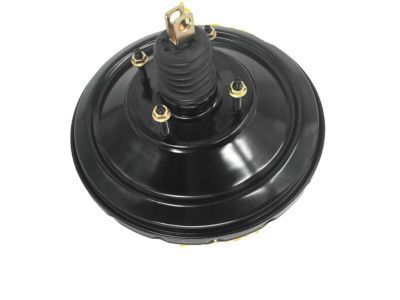
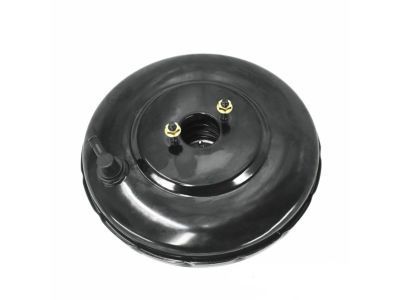
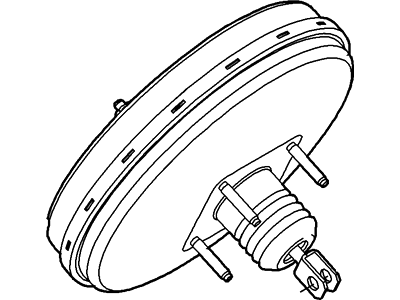
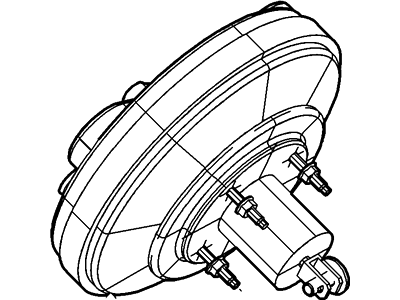
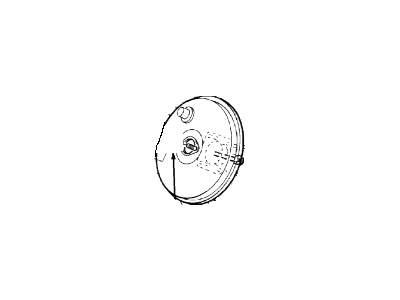
Ford Focus Brake Booster Assembly
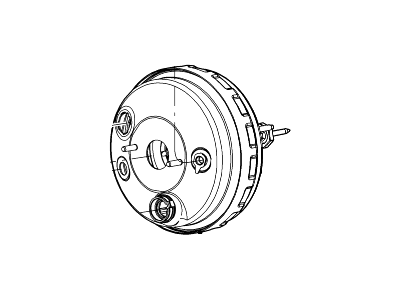
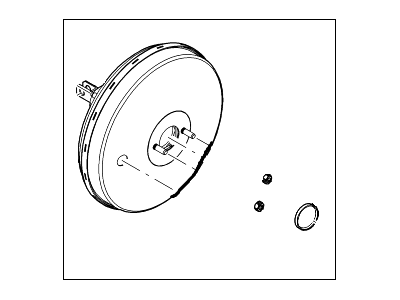
Part Number: AV6Z-2005-A$220.35 MSRP: $354.55You Save: $134.20 (38%)Ships in 1-3 Business DaysFord Focus Brake Booster Assembly
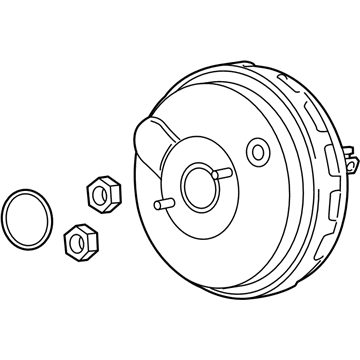
Part Number: BV6Z-2005-B$238.71 MSRP: $398.18You Save: $159.47 (41%)Ships in 1-2 Business DaysFord Focus Brake Booster Assembly
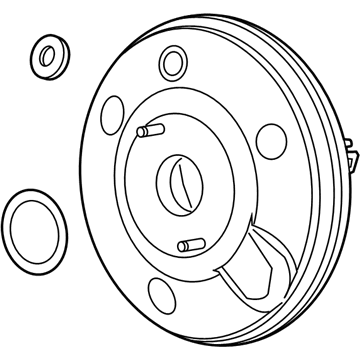
Part Number: CV6Z-2005-D$329.73 MSRP: $550.00You Save: $220.27 (41%)Ships in 1-2 Business DaysFord Focus Brake Booster Assembly
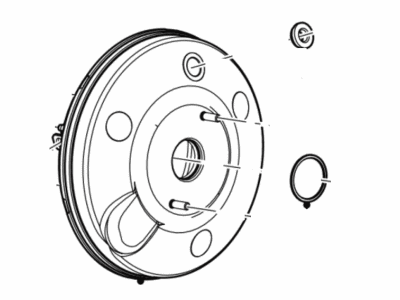
Part Number: BV6Z-2005-A$238.71 MSRP: $398.18You Save: $159.47 (41%)Ships in 1-2 Business DaysFord Focus Brake Booster Assembly
Part Number: CV6Z-2005-P$197.29 MSRP: $329.09You Save: $131.80 (41%)Ships in 1-3 Business DaysFord Focus Brake Booster Assembly
Part Number: CV6Z-2005-J$205.66 MSRP: $330.91You Save: $125.25 (38%)Ships in 1-3 Business DaysFord Focus Brake Booster Assembly
Part Number: F1FZ-2005-A$207.43 MSRP: $346.00You Save: $138.57 (41%)Ships in 1-3 Business DaysFord Focus Brake Booster Assembly
Part Number: BV6Z-2005-C$178.20 MSRP: $294.55You Save: $116.35 (40%)Ships in 1-3 Business DaysFord Focus Brake Booster Assembly
Part Number: AV6Z-2005-C$181.05 MSRP: $309.09You Save: $128.04 (42%)Ships in 1-3 Business DaysFord Focus Brake Booster Assembly
Part Number: CV6Z-2005-H$341.83 MSRP: $550.00You Save: $208.17 (38%)
Ford Focus Brake Booster
The Brake Booster is a complex system used in the Ford Focus cars to improve the braking system since it will require minimal effort from the driver. It works at its premier through a vacuum mechanism which helps to magnify the force applied on the brake pedal and transfers it to the master cylinder. This system depends on engine vacuum in its operation and this means that the engine should be running for this system to function. From the above discussion it is evident that Ford Focus models have used various types of brake boosters, mainly the vacuum operated and hydraulic booster. vacuum boosters are normally used, but can sometimes fail while hydraulic boosters employ the pressure of a fluid as an aid. The potential of single and dual diaphragm designs and different diameter sizes provides an opportunity for liquids to be optimised depending on their performance requirements especially in cases of disc or drum break systems.
We provide a wide range of Ford Focus Brake Booster at the best prices possible. If you need Ford Focus Brake Booster, you can shop with confidence on our website. All our OEM parts come with a manufacturer's warranty and are delivered to your door step with a fast delivery service.
Ford Focus Brake Booster Parts Questions & Experts Answers
- Q: How to test and remove the brake booster unit on Ford Focus?A:To test the operation of the booster unit, depress the Brake Pedal four or five times to dissipate the vacuum, then start the engine while keeping the brake depressed; there should be a noticeable give in the brake pedal as vacuum builds up. Allow the engine to run for at least two minutes, then switch it off. If the brake pedal is depressed again, a hiss from the booster should be audible, and after four or five applications, no further hissing should be heard, with the pedal feeling harder. Before assuming a problem exists in the booster unit, inspect the non-return valve. To remove the booster unit, first remove the master cylinder, then disconnect the electrical connector from the brake booster solenoid on vehicles with TCS, and remove the mounting screws at the firewall for models with cruise control to set the actuator aside. Release the cover on the hydraulic control unit and disconnect the electrical connector, then remove the brake pipes to the hydraulic control unit, capping the ends to prevent dirt contamination. Remove the securing bolts from the hydraulic unit and unclip the brake lines from the retaining clips on the firewall. Access the brake pedal by removing the driver's lower dash panel, then depress the clip and remove the pin from the booster actuator rod, followed by removing the four nuts from the booster unit mounting bracket above the pedals. Withdraw the booster unit from the firewall and engine compartment, taking care not to damage any other components, noting that the booster unit cannot be disassembled for repair or overhaul and must be replaced if faulty. For installation, reverse the removal procedure, ensuring to compress the actuator rod into the brake booster before replacement, correctly position the gasket on the booster, and test the brakes carefully before returning the vehicle to normal service.
Related Ford Focus Parts
Browse by Year
2018 Brake Booster 2017 Brake Booster 2016 Brake Booster 2015 Brake Booster 2014 Brake Booster 2013 Brake Booster 2012 Brake Booster 2011 Brake Booster 2010 Brake Booster 2009 Brake Booster 2008 Brake Booster 2007 Brake Booster 2006 Brake Booster 2005 Brake Booster 2004 Brake Booster 2003 Brake Booster
