
My Garage
My Account
Cart
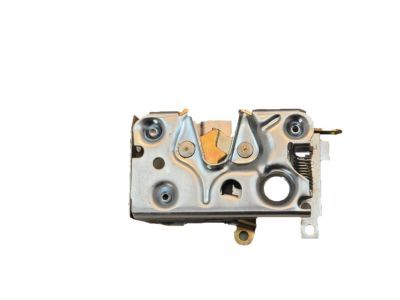
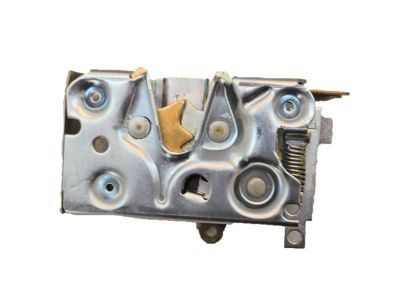
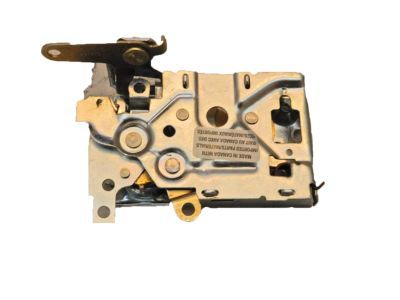
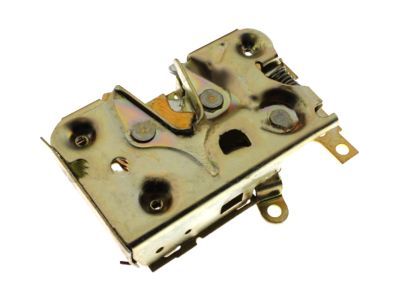
Genuine Ford Fairmont Door Latch Assembly
Door Latch- Select Vehicle by Model
- Select Vehicle by VIN
Select Vehicle by Model
orMake
Model
Year
Select Vehicle by VIN
For the most accurate results, select vehicle by your VIN (Vehicle Identification Number).
2 Door Latch Assemblys found
Ford Fairmont Door Latch Assembly
We provide a wide range of Ford Fairmont Door Latch Assembly at the best prices possible. If you need Ford Fairmont Door Latch Assembly, you can shop with confidence on our website. All our OEM parts come with a manufacturer's warranty and are delivered to your door step with a fast delivery service.
Ford Fairmont Door Latch Assembly Parts Questions & Experts Answers
- Q: How do you remove and reinstall the front and rear door latches on Ford Fairmont?A:To work on front door initially, uninstall the door trim and water shield, next, identify position of rear run lower bolt and remove it. Remove the rod ends from the latch; it should be mentioned that the remote link and latch-to-lock rod cannot be removed as they are designed. Lower these off with the lock cylinder rod from the cylinder lever, then you remove the screws that install the latch assembly to the door, then finally you remove the latch. After that, take out the remote link and the latch-to-cylinder rods and then proceed to lock the cylinder rod, replace the remote link and the latch. Align the latch towards the door opening and fasten it with the screws of the attaching part, fasten the latch-to-cylinder rod to the lock cylinder lever and connect rest of the rods and observe the working of the latch. Last of all, replace the rear run lower attaching bolt in the marked position, and fit back the water shield and trim panel. In regards to the rear door, first step is to remove the trim panel and the water shield of the rear door from its hinges, next is to disengage the rear door latch actuating rod from the rear door latch assembly. Disconnect the screw where the door latch bell crank is mounted and then remove the bell crank, and three more screws will unlock the door latch. To install, set up the latch assembly then place it at the proper place then input the attaching screws, and the door latch actuating rod. Put the door latch bell crank to the push button rod control link and mount it on the door inner panel, test for the working of the latch assembly, the last part to fit is the door water shield and trim.
