
My Garage
My Account
Cart
Genuine Ford F-250 Car Speakers
Audio Speakers- Select Vehicle by Model
- Select Vehicle by VIN
Select Vehicle by Model
orMake
Model
Year
Select Vehicle by VIN
For the most accurate results, select vehicle by your VIN (Vehicle Identification Number).
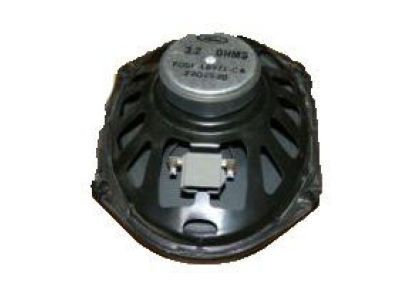
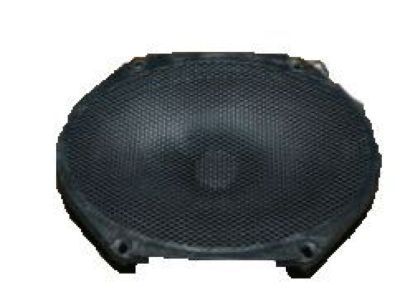
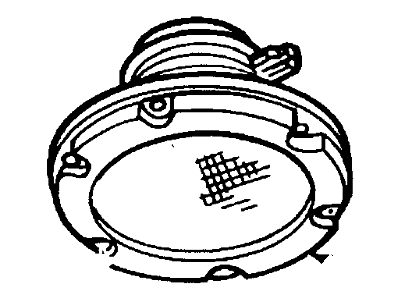
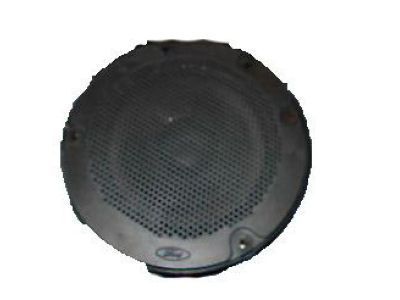
5 Car Speakers found
Ford F-250 Car Speakers
We provide a wide range of Ford F-250 Car Speakers at the best prices possible. If you need Ford F-250 Car Speakers, you can shop with confidence on our website. All our OEM parts come with a manufacturer's warranty and are delivered to your door step with a fast delivery service.
Ford F-250 Car Speakers Parts Questions & Experts Answers
- Q: How to remove and install AM, AM/FM stereo radios, and speakers on Ford F-250?A:To DO away with an AM or AM/FM stereo radio from early models, it is necessary to turn off the cable from the negative terminal of the battery, then to take away the knobs, discs and nuts fastened to radio control shafts in case they exist. Next, unbend the instrument panel bezel and delete the rear support bracket screw, if the exist. Pull the radio out of the instrument panel and remove the antenna cable, wire connector(s) and then proceed to remove the radio chassis from the mounting plate. For later models removal is easier but a special radio removal tools that can be obtained from a dealer or automotive radio shops. Remove the negative terminal of the battery, insert the radio puller on the left and right side of the instruction face plate, push the puller in to releases the radio plate clip and pull out the radio. Remove the wiring connectors and the antenna cable at the rear of the radio, if you are replacing it, transfer the rear mounting bracket to the new radio and connect the wiring connectors and the antenna cable. Put back the radio into the instrument panel slot, fasten the rear mounting bracket and connect the lead-negative battery terminal. For front speakers, to have access to them, the instrument panel pad has to be uninstalled, then the speaker wire connector has to be disconnected, the screws holding the speaker to the instrument panel have to be unscrewed and finally the speaker can be removed. For door speakers: unclip the door trim panel, then unscrew the speaker; pull the speaker out of the mounting recess and disconnect the electrical connection. For rear speakers, if not covered above then disconnect the cable from the negative terminal, then take out the screws and bodyside trim panel grille and if necessary the speaker trim to get to the screws. Last of all, pop off the speaker and grille assembly, unplug the wiring connector and installation is the reverse of removal for all the parts.
Related Ford F-250 Parts
Browse by Year
1996 Car Speakers 1995 Car Speakers 1994 Car Speakers 1993 Car Speakers 1992 Car Speakers 1991 Car Speakers 1990 Car Speakers 1989 Car Speakers 1988 Car Speakers 1987 Car Speakers 1986 Car Speakers 1985 Car Speakers 1984 Car Speakers 1983 Car Speakers 1982 Car Speakers 1981 Car Speakers 1980 Car Speakers
