
My Garage
My Account
Cart
Genuine Ford Explorer Sport Trac Drive Shaft
Axle Shaft- Select Vehicle by Model
- Select Vehicle by VIN
Select Vehicle by Model
orMake
Model
Year
Select Vehicle by VIN
For the most accurate results, select vehicle by your VIN (Vehicle Identification Number).
11 Drive Shafts found
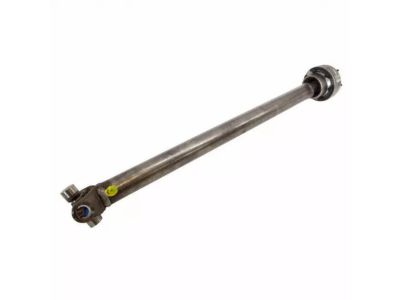
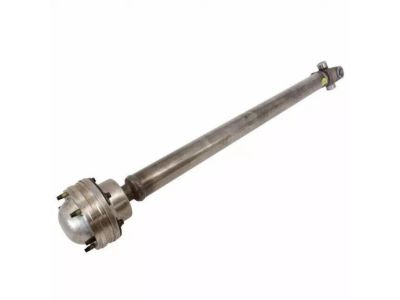
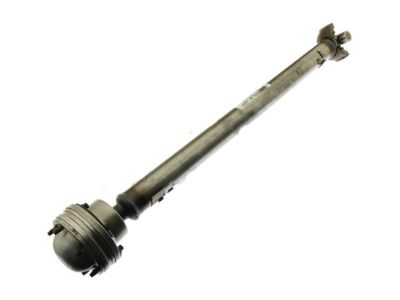
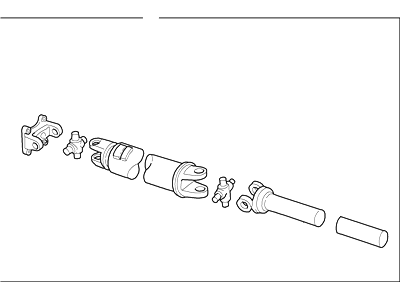
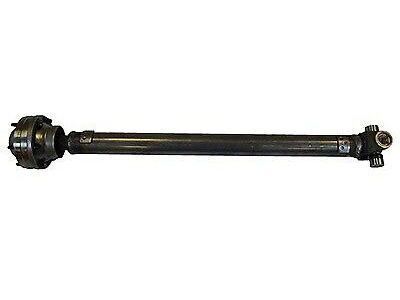
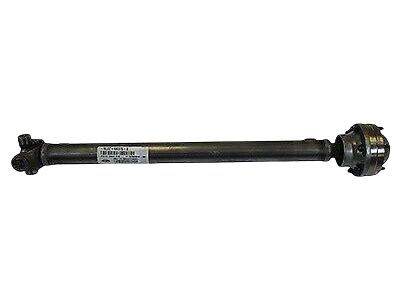
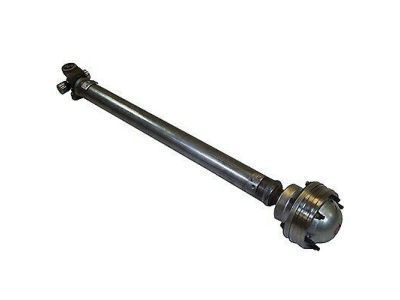
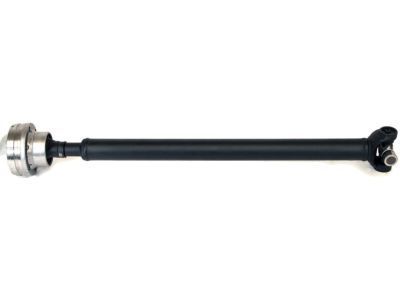
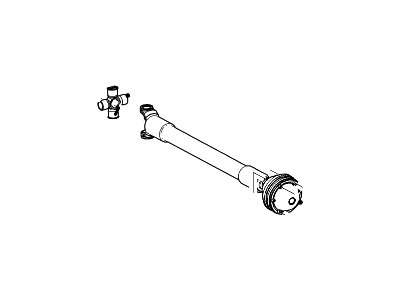
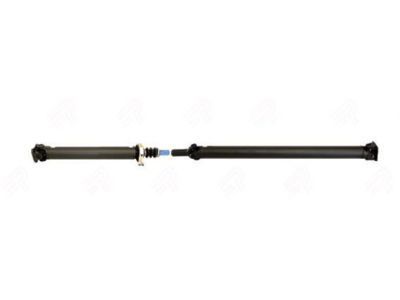
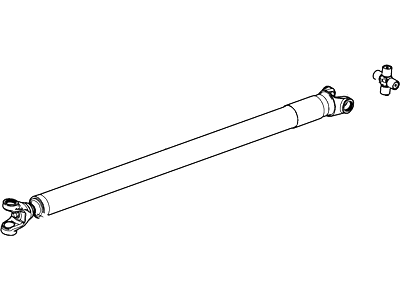
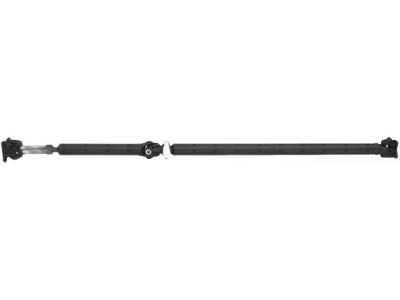
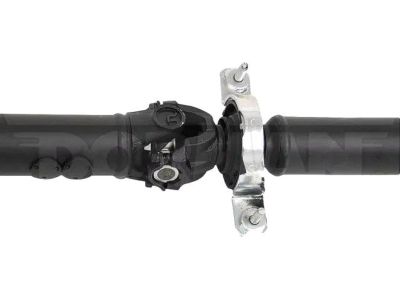
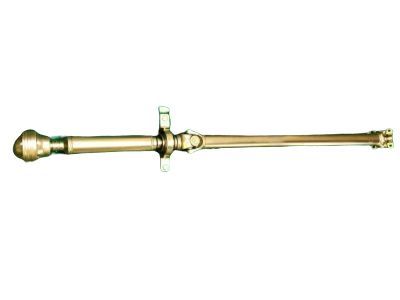
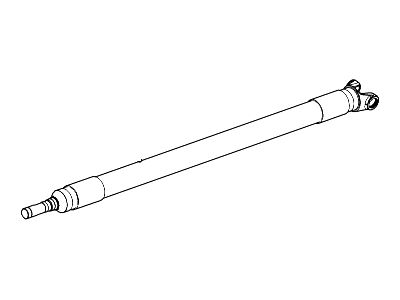
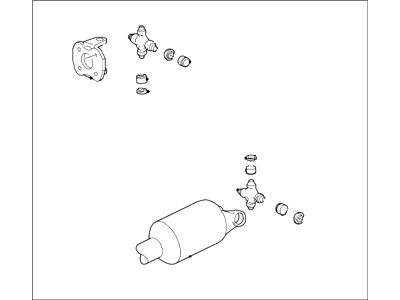
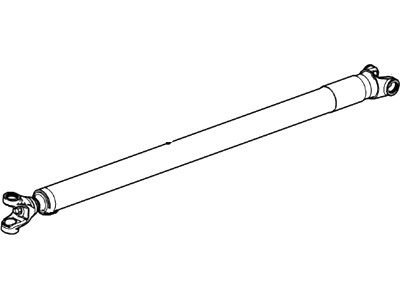
Ford Explorer Sport Trac Drive Shaft Assembly
Part Number: XL2Z-4A376-AA$412.45 MSRP: $561.54You Save: $149.09 (27%)
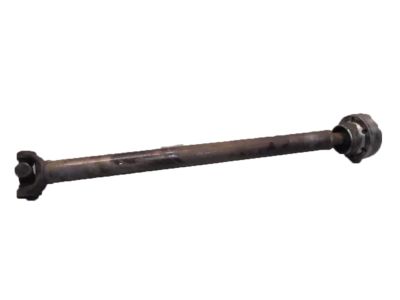
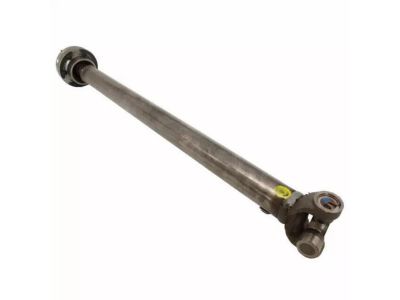
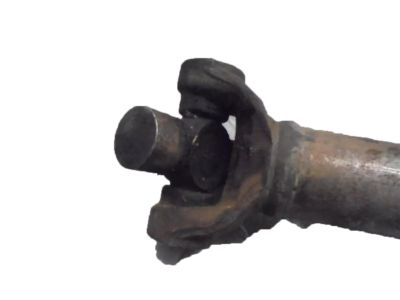
Ford Explorer Sport Trac Drive Shaft
This is the Drive Shaft in Ford Explorer Sport Trac vehicles plays the mandatory role of transferring mechanical power and torque from the engine or transmission to the drive wheels. This component is vital in ensure that power gets to the wheels in an efficient manner so as to cause movement of the vehicle. It is usually made up of S U joints or splined kind, for this reason, account for changes in the alignment and the distance in between the engine and the driven elements. A one piece as well as two piece Drive Shafts have been used in the Explorer Sport Trac through different years of production. The decision between these types mainly depends on vehicle layout and its performance characteristics. For instance, costs, or performance characteristics may depend on the selection between two-piece driveshafts which make the flexible and crash-safe construction to a one-piece solution where a more direct connection is possible. In summary, driveshaft is one of the most crucial components of the drivetrain that provides power output required for different driving situations.
We provide a wide range of Ford Explorer Sport Trac Drive Shaft at the best prices possible. If you need Ford Explorer Sport Trac Drive Shaft, you can shop with confidence on our website. All our OEM parts come with a manufacturer's warranty and are delivered to your door step with a fast delivery service.
Ford Explorer Sport Trac Drive Shaft Parts Questions & Experts Answers
- Q: How to remove and reinstall a driveshaft on a Ford Explorer Sport Trac?A:Disconnect the negative cable from the battery. Raise the vehicle and support it securely on jackstands. Place the transmission in Neutral with the parking brake off. Look for the yellow paint marks made at the factory on the axle companion flange and the driveshaft flange. If these aren't visible, use a scribe, white paint or a hammer and punch to place marks on the driveshaft and the differential flange in line with each other. This is to make sure the driveshaft is reinstalled in the same position to preserve the balance. On 4WD On models, repeat for the front end of the driveshaft. Remove the bolts and lower the rear of the driveshaft. On 4WD models, remove the bolts and detach the front end from the transfer case. On 2WD models, slide the front end out of the transmission. Installation is the reverse of the removal with the following additions: On 2WD models, slide the front of the driveshaft into the transmission. On 4WD models, position the front end of the driveshaft on the transfer case with the alignment marks aligned. Raise the rear of the driveshaft into position, checking to be sure the marks are in alignment. If not, make sure the transmission is still in Neutral, then turn the rear wheels to match the pinion flange and the driveshaft. For 4WD models, use a scribe, white paint or a hammer and punch, place marks on the driveshaft and differential flanges in line with each other. Make alignment marks on the driveshaft and transfer case flanges. Unbolt the flange that secures the driveshaft double-cardan joint to the transfer case. Remove the bolts and straps that secure the front end of the driveshaft to the differential yoke. Wrap tape around the universal joint bearings at the axle end of the driveshaft so they won't fall off. Installation is the reverse of the removal with the following additions: Raise the front of the driveshaft into position, checking to be sure the marks are in alignment. If not, make sure the transmission is still in Neutral, then turn the front wheels to align the marks. Remove the tape securing the bearing cups and install the straps and bolts. Tighten the bolts.
- Q: How to check Drive Shaft and Universal Joint on Ford Explorer Sport Trac?A:That is a tube running between the transmission and the rear (or front) axle which transmits power towards wheel. It has universal joints on either end to allow for bending. On some driveshafts, there is a splined lip yoke that attaches it onto the transmission assembly while others have a slip yoke that permits suspension movement. Since the slip yoke at the front is not sealed completely, it uses an oil seal to prevent leaks. A driveshaft calls for infrequent attention such as lubricated universal joints and replacement in case of breakdowns. Hence, it should remain clean from dirt and debris or checked for possible wearing out of balancing weights. This will be indicated through noise or vibration when driving possibly diagnosed by road testing or checking for worn universal joint caps.
