
My Garage
My Account
Cart
Genuine Ford Explorer Transfer Case
Speed Transfer Case- Select Vehicle by Model
- Select Vehicle by VIN
Select Vehicle by Model
orMake
Model
Year
Select Vehicle by VIN
For the most accurate results, select vehicle by your VIN (Vehicle Identification Number).
86 Transfer Cases found
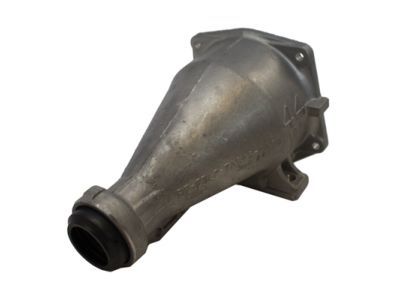
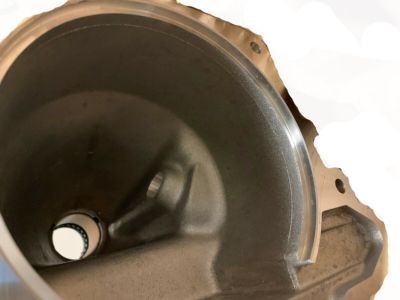
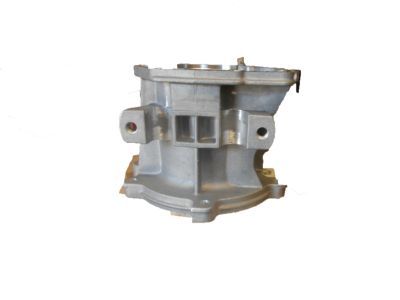
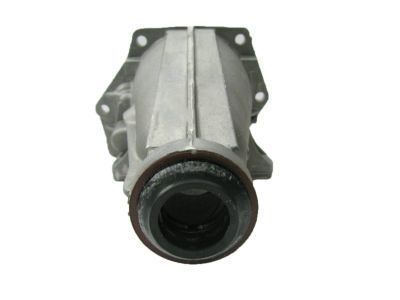
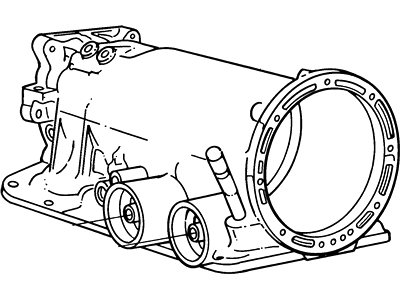
Ford Explorer Transmission Extension Housing
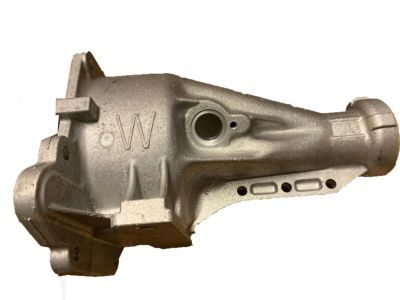
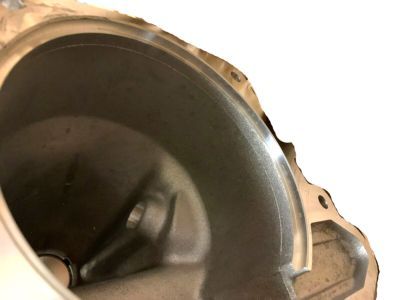
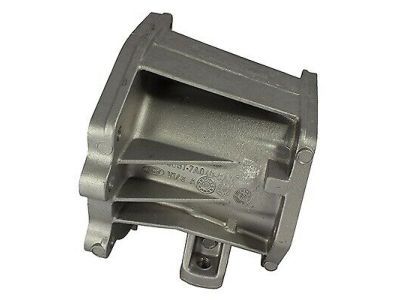
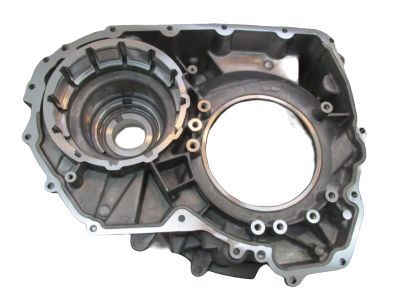
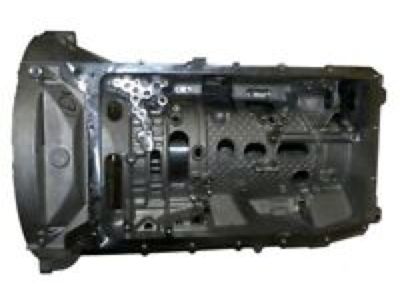
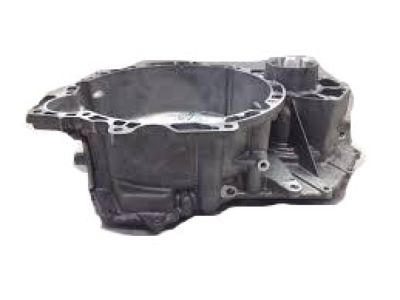
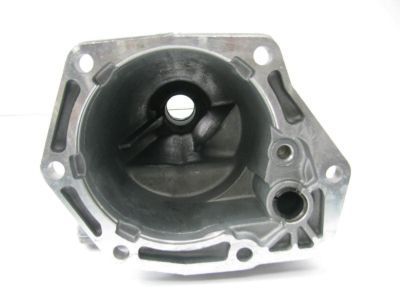
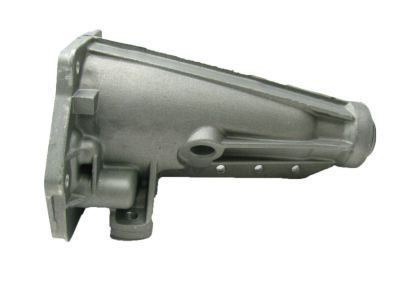
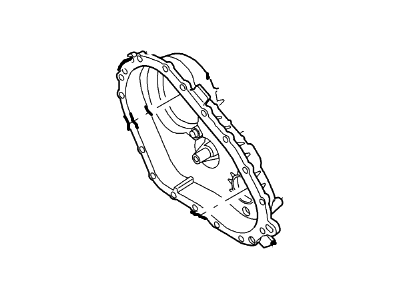
Part Number: F3LY-7A039-A$293.35 MSRP: $432.67You Save: $139.32 (33%)Ford Explorer Transmission Extension Housing
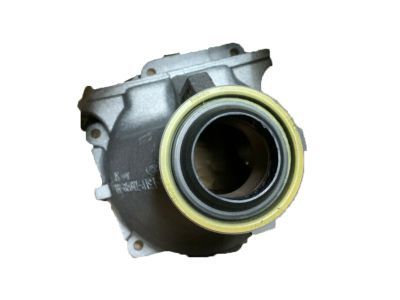
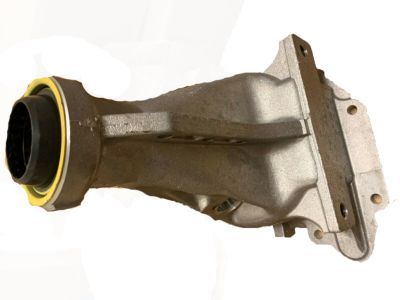
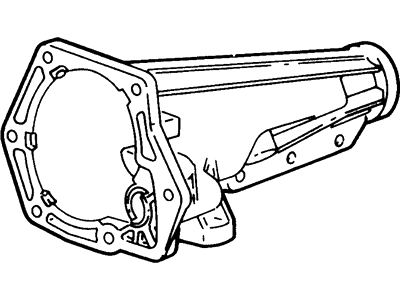
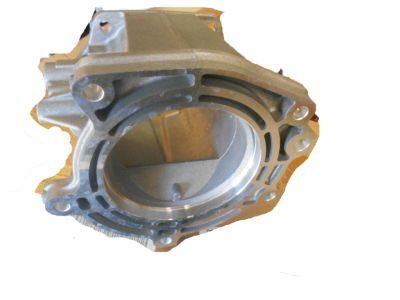
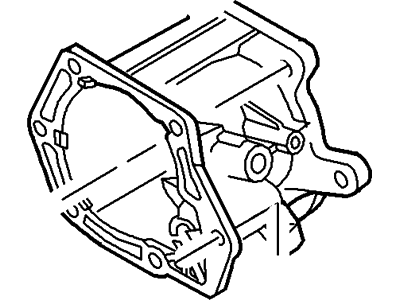
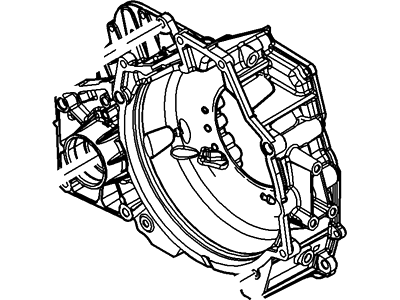
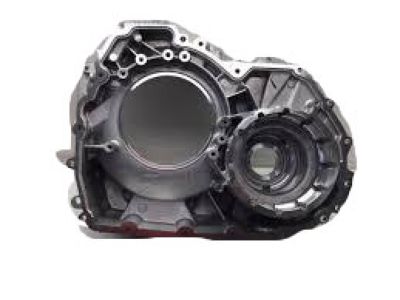
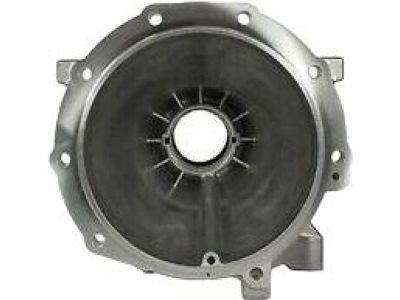
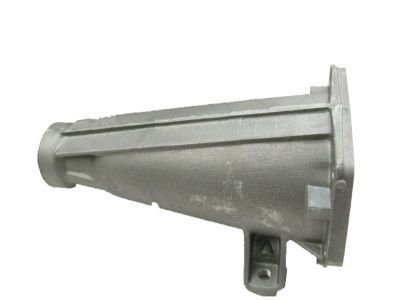
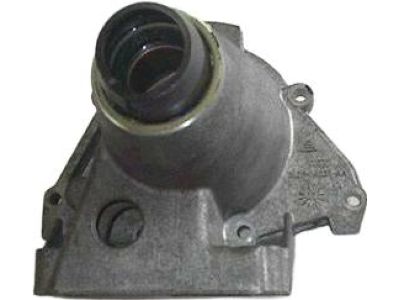
Part Number: FOTZ-7A039-B$190.61 MSRP: $278.67You Save: $88.06 (32%)Ford Explorer Converter Housing Assembly
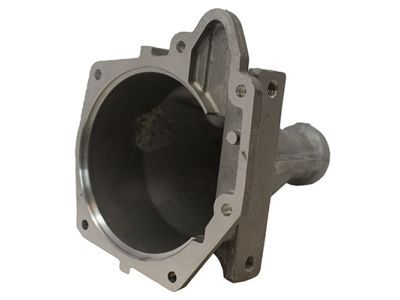
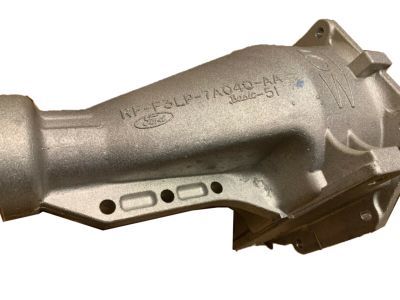
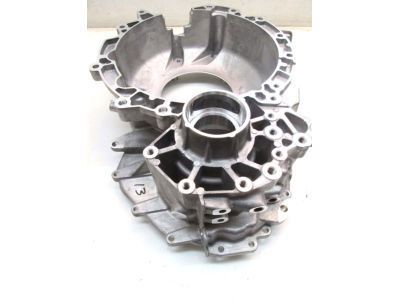
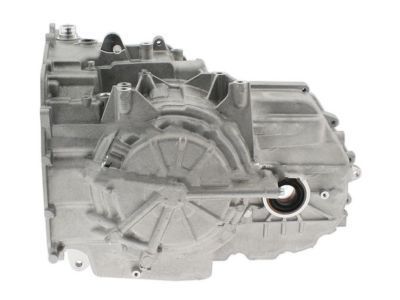
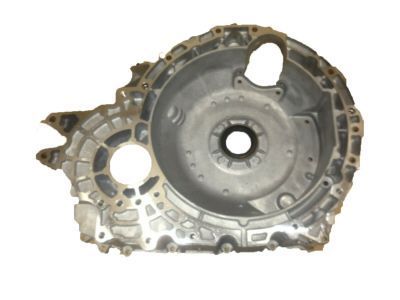
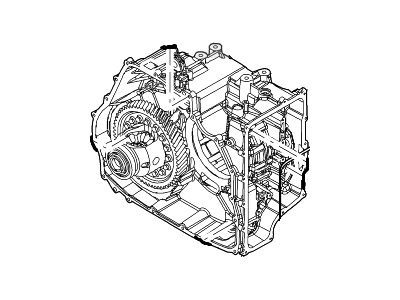
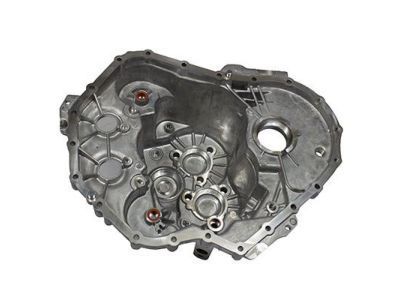
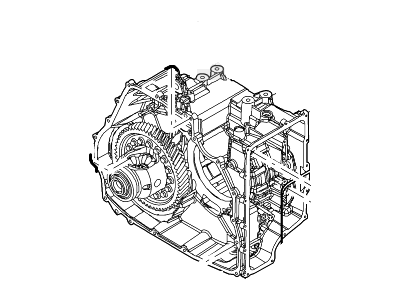
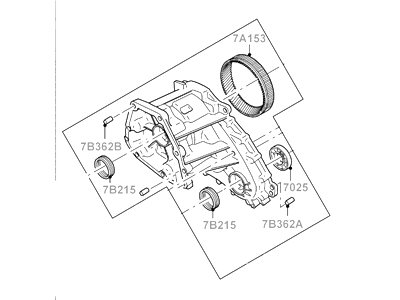
Part Number: BB5Z-7005-A$448.59 MSRP: $652.31You Save: $203.72 (32%)Ships in 1-3 Business DaysFord Explorer Transmission Case Assembly
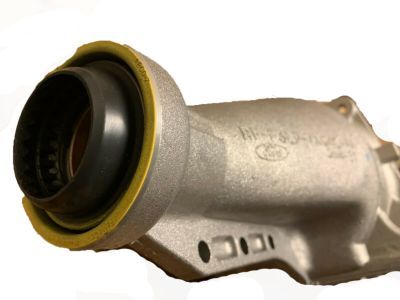
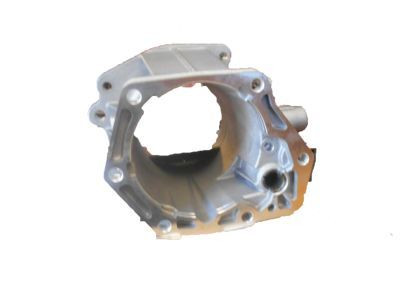
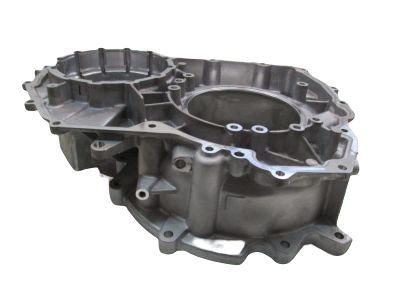
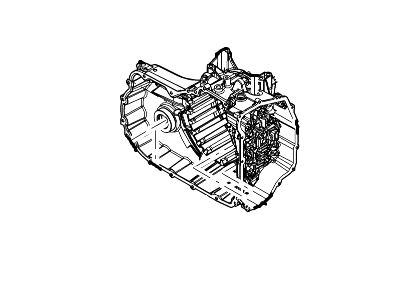
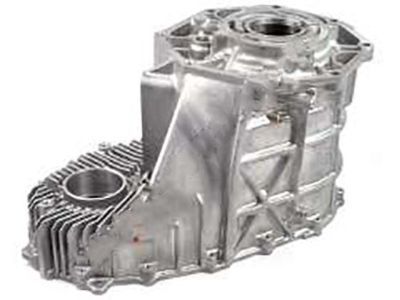
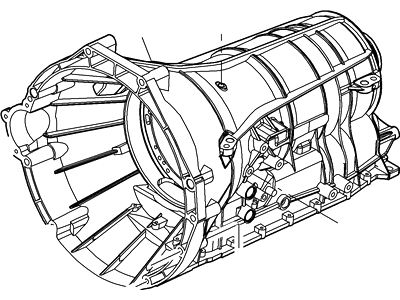
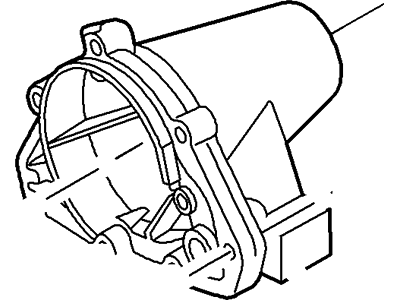
Part Number: CV6Z-7005-E$677.60 MSRP: $930.77You Save: $253.17 (28%)Ships in 1-3 Business DaysFord Explorer Converter Housing Assembly
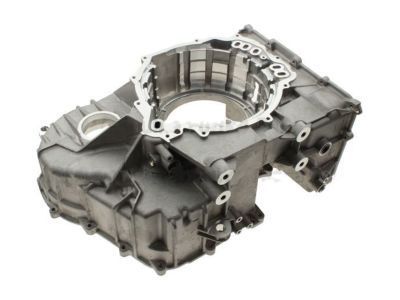
Part Number: AA5Z-7005-A$553.14 MSRP: $753.08You Save: $199.94 (27%)Ships in 1-3 Business DaysFord Explorer Transmission Case Assembly
Part Number: BT4Z-7005-C$592.96 MSRP: $836.92You Save: $243.96 (30%)Ships in 1-3 Business DaysFord Explorer Transmission Case Assembly
Part Number: BT4Z-7005-D$586.25 MSRP: $863.08You Save: $276.83 (33%)Ford Explorer Transmission Case Assembly
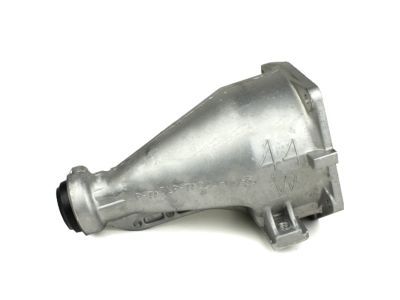
Part Number: CV6Z-7005-D$677.60 MSRP: $930.77You Save: $253.17 (28%)Ships in 1-3 Business DaysFord Explorer Transmission Extension Housing
Part Number: 1L2Z-7A039-DA$44.70 MSRP: $62.10You Save: $17.40 (29%)Ships in 1-2 Business DaysFord Explorer Transmission Case Assembly
Part Number: EG9Z-7005-B$258.77 MSRP: $352.31You Save: $93.54 (27%)Ships in 1-2 Business DaysFord Explorer Transmission Case Assembly
Part Number: BT4Z-7005-B$586.25 MSRP: $863.08You Save: $276.83 (33%)Ships in 1-3 Business DaysFord Explorer Transmission Extension Housing
Part Number: F77Z-7A039-CA$205.10 MSRP: $302.50You Save: $97.40 (33%)Ships in 1-3 Business DaysFord Explorer Transfer Case Assembly
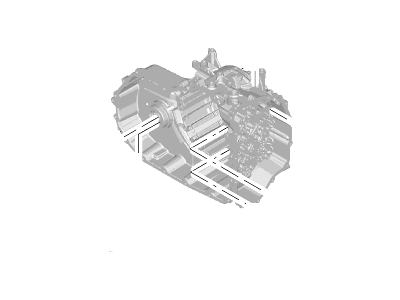
Part Number: L1MZ-7A195-B$874.72 MSRP: $1201.54You Save: $326.82 (28%)Ships in 1-2 Business DaysFord Explorer Transmission Case Assembly
Part Number: BT4Z-7005-A$609.28 MSRP: $836.92You Save: $227.64 (28%)Ships in 1-3 Business DaysFord Explorer Transmission Case Assembly
Part Number: BL3Z-7005-C$693.62 MSRP: $952.77You Save: $259.15 (28%)Ships in 1-3 Business DaysFord Explorer Case Assembly-Transmission
Part Number: 6L2Z-7005-BA$56.39 MSRP: $78.33You Save: $21.94 (29%)Ships in 1-2 Business DaysFord Explorer Transmission Case Assembly
Part Number: 6L2Z-7005-B$62.33 MSRP: $86.58You Save: $24.25 (29%)Ships in 1-2 Business Days
| Page 1 of 5 |Next >
1-20 of 86 Results
Ford Explorer Transfer Case
We provide a wide range of Ford Explorer Transfer Case at the best prices possible. If you need Ford Explorer Transfer Case, you can shop with confidence on our website. All our OEM parts come with a manufacturer's warranty and are delivered to your door step with a fast delivery service.
Ford Explorer Transfer Case Parts Questions & Experts Answers
- Q: How to remove and install the transfer case on Ford Explorer?A:Removing the transfer case requires lifting the rig on jack stands and, if it has Automatic Ride Control, turning off the air suspension switch. If models have a skid plate, then first of all the bolts of fastening this plate to the frame and it should be removed. If so required, remove the damper from the transfer case then turn the case to drain the lubricant. For electronically-controlled models-Press the locking tabs on the electrical connecter and pull it to separate it from the transfer case motor as well as the connector mounting bracket. Also, remove the speed sensor electrical connector and speedometer cable if it is available, this in addition to removing the front and rear driveshafts. Take off the vent hose from the shift lever bracket or the mounting bracket, for the models with manual-control; unscrew the nut from the shift lever and pull the lever off. Slacken and then completely withdraw the bolts that attach the shifter to the extension housing; then use a transmission jack to lift the transfer case upward just enough for the safety chains to hold it in place. Take out the five bolts that screw the transfer case onto the transmission extension housing, push the transfer case back off the transmission output shaft and eliminate the gasket laying between the transfer case and transmission extension housing. For installation take the reverse process that of the removal including putting in a new gasket, ensure that the splines are aligned when sliding the transfer case over the transmission output shaft before fixing it using the five bolts and in the right torque sequence. The white marking on the vent assembly must be properly oriented, the rear driveshaft must be mated to the transfer case output flange, and the transfer case should be filled with the correct lubricant.
Related Ford Explorer Parts
Browse by Year
2023 Transfer Case 2022 Transfer Case 2021 Transfer Case 2020 Transfer Case 2019 Transfer Case 2018 Transfer Case 2017 Transfer Case 2016 Transfer Case 2015 Transfer Case 2014 Transfer Case 2013 Transfer Case 2012 Transfer Case 2011 Transfer Case 2010 Transfer Case 2009 Transfer Case 2008 Transfer Case 2007 Transfer Case 2006 Transfer Case 2005 Transfer Case 2004 Transfer Case 2003 Transfer Case 2002 Transfer Case 2001 Transfer Case 2000 Transfer Case 1999 Transfer Case 1998 Transfer Case 1997 Transfer Case 1996 Transfer Case 1995 Transfer Case 1994 Transfer Case 1993 Transfer Case 1992 Transfer Case 1991 Transfer Case
