
My Garage
My Account
Cart
Genuine Ford Excursion Transfer Case
Speed Transfer Case- Select Vehicle by Model
- Select Vehicle by VIN
Select Vehicle by Model
orMake
Model
Year
Select Vehicle by VIN
For the most accurate results, select vehicle by your VIN (Vehicle Identification Number).
8 Transfer Cases found
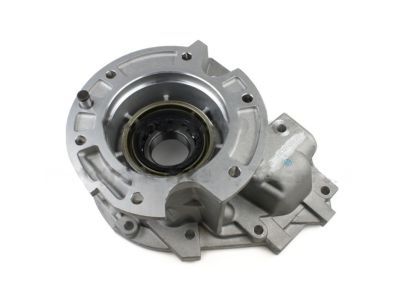
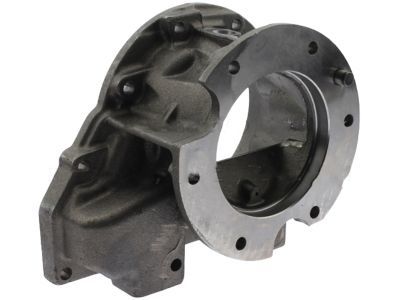
Ford Excursion Transmission Extension Housing
Part Number: 3C3Z-7A039-JB$144.21 MSRP: $210.83You Save: $66.62 (32%)Ships in 1-2 Business DaysFord Excursion Transmission Extension Housing
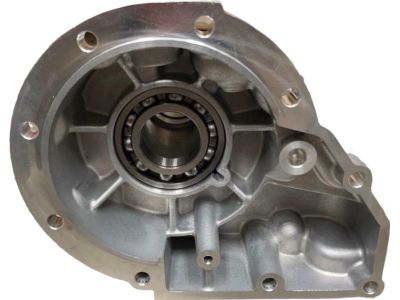
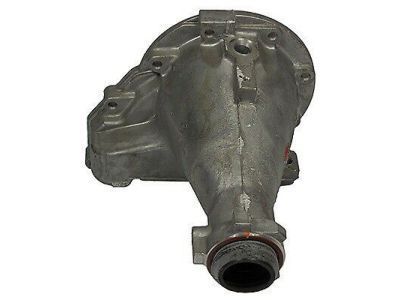
Part Number: 3C3Z-7A039-GA$580.27 MSRP: $863.50You Save: $283.23 (33%)Ships in 1-3 Business DaysFord Excursion Transmission Extension Housing
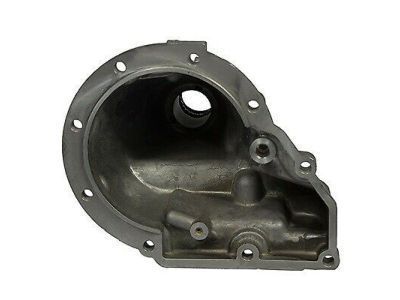
Part Number: 3C3Z-7A039-JC$144.21 MSRP: $210.83You Save: $66.62 (32%)Ford Excursion Transmission Extension Housing
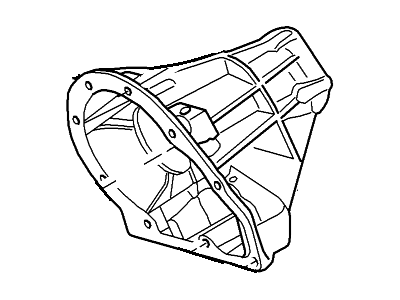
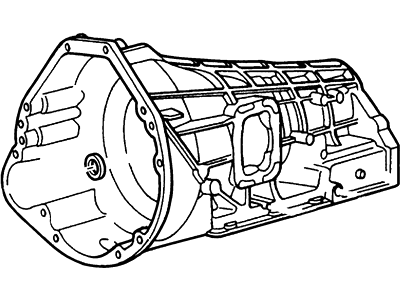
Part Number: 5C3Z-7A039-BA$580.27 MSRP: $863.50You Save: $283.23 (33%)
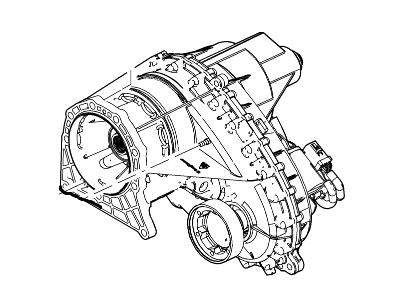
Ford Excursion Transfer Case
We provide a wide range of Ford Excursion Transfer Case at the best prices possible. If you need Ford Excursion Transfer Case, you can shop with confidence on our website. All our OEM parts come with a manufacturer's warranty and are delivered to your door step with a fast delivery service.
Ford Excursion Transfer Case Parts Questions & Experts Answers
- Q: How to remove and install the transfer case on Ford Excursion?A:To remove the transfer case, ensure it is shifted to 2WD High, then disconnect the negative battery terminal cables. Raise the vehicle securely on jackstands and, if applicable, remove the transfer case skid plate by taking out the bolts. Drain the transfer case lubricant and remove the front and rear driveshafts. For manual-shift vehicles, take out the shifter and unplug the position switch electrical connector on top of the transfer case; for electric-shift vehicles, unplug the electric shift motor connectors. Support the transfer case with a jack, ideally a specialized one, using safety chains or tie-downs for stability. Remove the transfer case crossmember, disconnect the vent hose, and take out the bolts connecting the transfer case to the transmission extension housing. Ensure all wires and hoses are disconnected, then carefully move the transfer case and jack toward the rear of the vehicle until it is clear of the transmission, keeping it level. For installation, reverse the removal steps, ensuring to install a new mounting gasket and tighten the transmission-to-transfer case bolts to the specified torque. Fill the transfer case with the appropriate fluid, run the engine, and check for any fluid leaks.
